LESSON 4: Printing Over the Arduino Serial Port
Summary
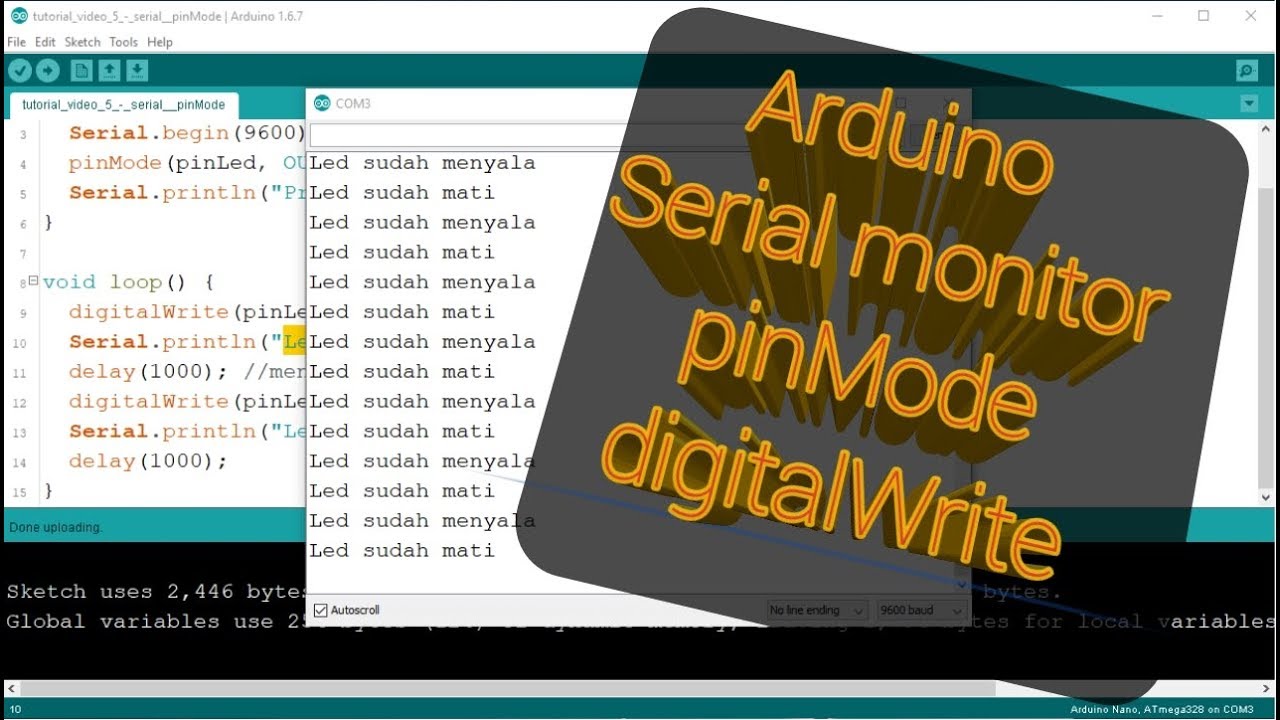
TLDRThis video tutorial introduces fundamental concepts for working with an Arduino, focusing on setting up the serial monitor and utilizing the `Serial.print()` function. The instructor walks through the process of printing messages to the monitor, explaining the importance of syntax, such as closing brackets, quotes, and using semicolons. The lesson also highlights formatting options like indentation and adding spaces for improved readability. Viewers are encouraged to experiment with the code and adjust baud rates, while the instructor sets the stage for future lessons on string variables and deeper programming concepts.
Takeaways
- 😀 Always ensure that all code elements, such as curly brackets and quotes, are properly closed to avoid errors later in the code.
- 😀 The `Serial.print()` function keeps the output on the same line, while `Serial.println()` moves the output to a new line.
- 😀 Pay attention to formatting when printing data to the serial monitor to improve readability, like adding spaces or indentation.
- 😀 Debugging is often about identifying missing elements in your code, such as an unclosed bracket or forgotten semicolon.
- 😀 Ensure your serial communication is correctly initialized using `Serial.begin()` with the appropriate baud rate (9600 or higher).
- 😀 It's important to use indentation and spacing in the serial output to make it clearer and easier to read.
- 😀 Experiment with different print statements to understand how data can be displayed in various formats on the serial monitor.
- 😀 Strings can be used as variables in Arduino programming, though detailed explanations of this concept will come in a later lesson.
- 😀 When using the serial monitor, make sure to match the baud rate between your Arduino and the serial monitor for proper communication.
- 😀 In the provided example, the code prints blink numbers in a formatted manner to demonstrate how serial output works effectively.
- 😀 Practice experimenting with different print settings, baud rates, and formats to become more comfortable with serial communication in Arduino.
Q & A
What is the importance of closing brackets and quotes in the code?
-Closing brackets and quotes are essential for the code to run correctly. Missing a closing bracket or quote can lead to errors that may not appear immediately but can cause issues further down the line during execution. It's important to carefully review the code for these omissions when debugging.
What is the difference between `Serial.print()` and `Serial.println()`?
-`Serial.print()` outputs text on the same line, while `Serial.println()` adds a newline after printing, moving the cursor to the next line in the Serial Monitor. This difference is useful for formatting output to be more readable and structured.
How can you improve the readability of printed output in the Serial Monitor?
-You can improve readability by adding spaces between printed values, using indentation for clear separation of different print statements, and ensuring that numbers and text are visually distinct (e.g., adding spaces between a colon and numbers).
What is the role of `Serial.begin()` in Arduino programming?
-`Serial.begin()` is used to initialize the serial communication between the Arduino board and the Serial Monitor. It is essential to start serial communication and ensure the baud rate matches the settings in the Serial Monitor (usually 9600 or higher).
Why is it important to match the baud rate in the Arduino code and the Serial Monitor?
-Matching the baud rate ensures proper communication between the Arduino and the Serial Monitor. If the baud rates don't match, the data displayed in the Serial Monitor can become garbled or unreadable.
What does the `Serial.print()` function do in Arduino programming?
-`Serial.print()` outputs a string, variable, or number to the Serial Monitor without advancing to a new line. It is used to display ongoing data or status updates without interrupting the flow of output.
What does `Serial.println()` do differently from `Serial.print()`?
-`Serial.println()` outputs a string, variable, or number to the Serial Monitor and then moves the cursor to the next line. This is useful when you want each output to appear on its own line for better organization and clarity.
What are some common mistakes when using `Serial.print()` and `Serial.println()`?
-Common mistakes include forgetting to initialize the serial communication with `Serial.begin()`, mismatched baud rates, and not formatting output properly (such as omitting spaces or newlines). These can result in unreadable or cluttered output in the Serial Monitor.
What should you do if the output in the Serial Monitor is hard to read?
-You can make the output more readable by adding spaces, indenting lines for organization, and ensuring there is clear separation between values. Also, avoid cramming numbers and text too closely together, which can cause confusion.
How can you experiment with print statements in Arduino?
-To experiment with print statements, you can modify the existing code by adjusting the content inside `Serial.print()` and `Serial.println()`, changing the format, or adding additional variables. It's also useful to change baud rates and test different outputs to better understand how serial communication works.
Outlines

Этот раздел доступен только подписчикам платных тарифов. Пожалуйста, перейдите на платный тариф для доступа.
Перейти на платный тарифMindmap

Этот раздел доступен только подписчикам платных тарифов. Пожалуйста, перейдите на платный тариф для доступа.
Перейти на платный тарифKeywords

Этот раздел доступен только подписчикам платных тарифов. Пожалуйста, перейдите на платный тариф для доступа.
Перейти на платный тарифHighlights

Этот раздел доступен только подписчикам платных тарифов. Пожалуйста, перейдите на платный тариф для доступа.
Перейти на платный тарифTranscripts

Этот раздел доступен только подписчикам платных тарифов. Пожалуйста, перейдите на платный тариф для доступа.
Перейти на платный тарифПосмотреть больше похожих видео
BELAJAR 2 PEMROGRAMAN ARDUINO PEMULA - SERIAL MONITOR, PINMODE, DIGITALWRITE

Simulasi Lampu Lalu Lintas Menggunakan Arduino UNO di Wokwi

Arduino Trash Bin with Waste Level Detection
VERY EASY Arduino IR Sensor Tutorial for Beginners | IR Sensor Arduino Tutorial | Infrared Sensor

Part 4: Belajar Menggunakan ADC Arduino untuk Membaca Data Sensor dengan Mudah

Simulasi ESP32 - modul GPS Neo 6M dengan Wokwi IoT Simulator
5.0 / 5 (0 votes)
