Upgrade SSD Laptop Lenovo Ideapad 330 Gampang Banget!!
Summary
TLDRIn this tutorial, the presenter demonstrates how to replace the hard drive with an SSD in a Lenovo Ideapad 330. The video covers the steps of opening the laptop, removing the old hard drive, and installing a new 128GB SSD using an HDD caddy. The process includes removing screws, detaching the DVD drive, transferring the protective bracket, and securely mounting the SSD. After reassembling the laptop, the BIOS is checked to confirm the successful detection of both drives. For the operating system installation, the presenter provides further resources in the description.
Takeaways
- 😀 The video demonstrates how to replace the HDD in a Lenovo Ideapad 330 laptop with an SSD.
- 😀 Tools used in the video include a MidasForce 128GB SSD, a 9.5mm HDD caddy, screws, and a prying tool.
- 😀 The laptop is opened by removing 13 screws, which is the first step of the disassembly process.
- 😀 The original DVD drive is removed using a plastic prying tool to avoid damaging the laptop body.
- 😀 After removing the DVD drive, the back cover is carefully opened using the prying tool.
- 😀 The original HDD is unplugged and removed from the laptop, and its bracket is transferred to the SSD.
- 😀 The SSD is placed into the HDD caddy, and the caddy is mounted in the slot where the DVD drive used to be.
- 😀 Two screws are used to secure the HDD caddy in place, though more screws could be used if preferred.
- 😀 The DVD drive's original connector is transferred to the HDD caddy to maintain proper functionality.
- 😀 After reassembling the laptop, the BIOS is accessed (using FN + F2) to verify that both the SSD and HDD are detected.
- 😀 The video concludes by suggesting that viewers check out other tutorials for the installation of Windows or operating systems.
Q & A
What is the purpose of installing an SSD in the Lenovo Ideapad 330?
-The SSD is installed to replace the existing hard drive for faster system performance, especially to speed up boot times and improve the loading of applications.
What type of SSD and HDD caddy are used in the video?
-The video uses a MidasForce 128GB SSD and a 9.5mm HDD caddy.
How many screws need to be removed to open the laptop?
-A total of 13 screws need to be removed to open the Lenovo Ideapad 330.
What is the first step after opening the laptop?
-The first step is to remove the DVD drive, which involves detaching its connector.
What tools are suggested for opening the laptop without damaging it?
-The video suggests using a spudger or a hard plastic card, like an old SIM card, instead of a screwdriver to avoid damaging the laptop's body.
How should the existing hard drive be detached?
-The hard drive can be easily detached by gently pulling it out of its connector.
What needs to be transferred from the old hard drive to the SSD?
-The protective bracket from the old hard drive needs to be transferred to the new SSD before installation.
How should the SSD be installed in the HDD caddy?
-The SSD should be placed into the HDD caddy and the bracket should be securely fixed, ensuring that it is not upside down or backward.
How do you ensure that the SSD and HDD are securely installed?
-After installing the SSD into the HDD caddy, secure it with screws provided in the installation kit, typically using two screws for stability.
How do you confirm that the SSD and HDD are recognized by the system after installation?
-To confirm that the SSD and HDD are properly installed, enter the BIOS menu by pressing FN + F2 during startup. The devices should be detected in the BIOS settings.
Outlines

Этот раздел доступен только подписчикам платных тарифов. Пожалуйста, перейдите на платный тариф для доступа.
Перейти на платный тарифMindmap

Этот раздел доступен только подписчикам платных тарифов. Пожалуйста, перейдите на платный тариф для доступа.
Перейти на платный тарифKeywords

Этот раздел доступен только подписчикам платных тарифов. Пожалуйста, перейдите на платный тариф для доступа.
Перейти на платный тарифHighlights

Этот раздел доступен только подписчикам платных тарифов. Пожалуйста, перейдите на платный тариф для доступа.
Перейти на платный тарифTranscripts

Этот раздел доступен только подписчикам платных тарифов. Пожалуйста, перейдите на платный тариф для доступа.
Перейти на платный тарифПосмотреть больше похожих видео

Mantenimiento "Instalando Disco Duro Sólido M2 y Memoria RAM"
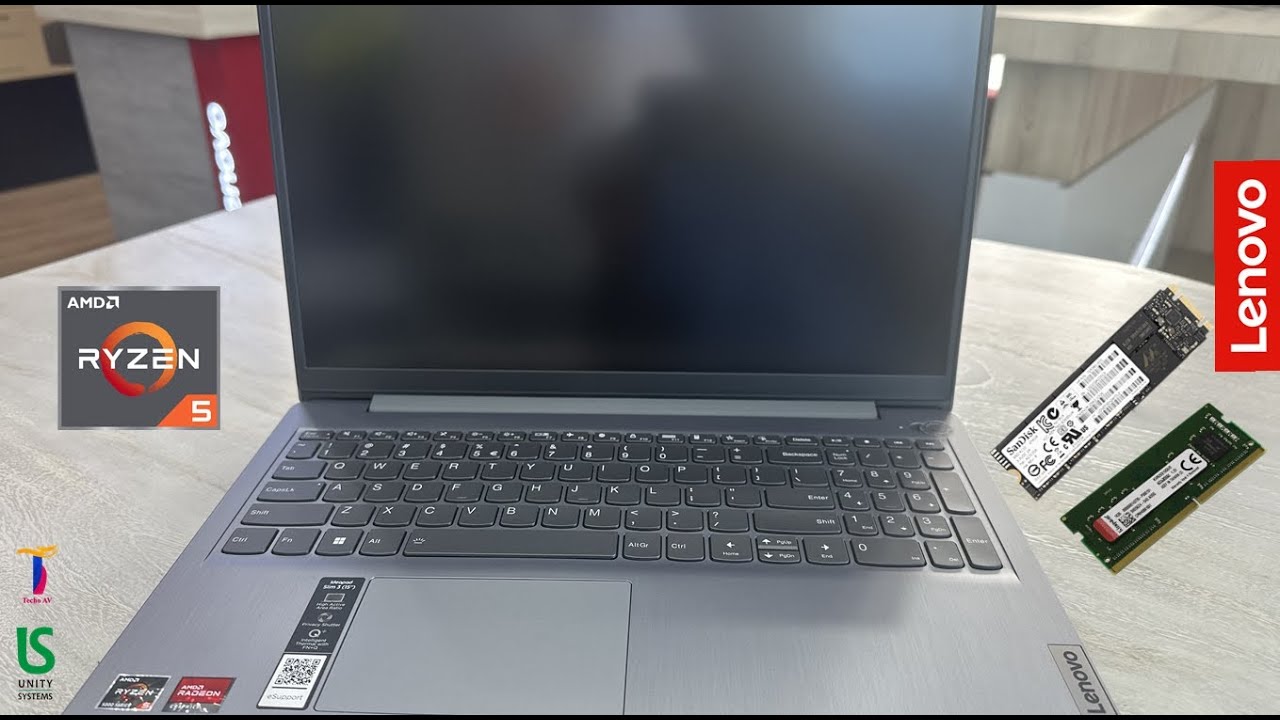
Lenovo IdeaPad Slim 3 Ryzen 5 15ALC6 Review | Unboxing | AMD Ryzen 5 5500U | Upgrade Options

Best Laptop Under 40000 in 2024 | Top 5 Best Laptops Under 40000 For Students / Gaming / Office use
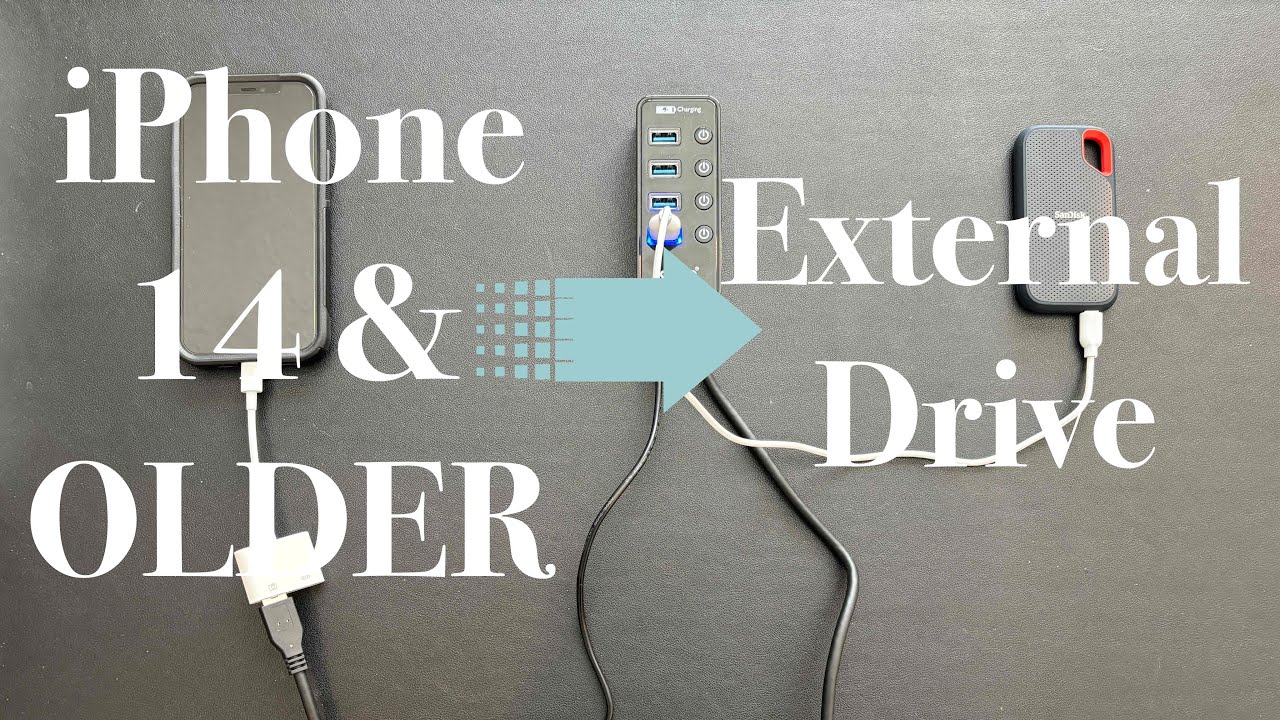
Move Photos & Videos Directly From iPhone to External Drive - Step by Step Instructions
Migrate Windows to Another SSD Drive For FREE
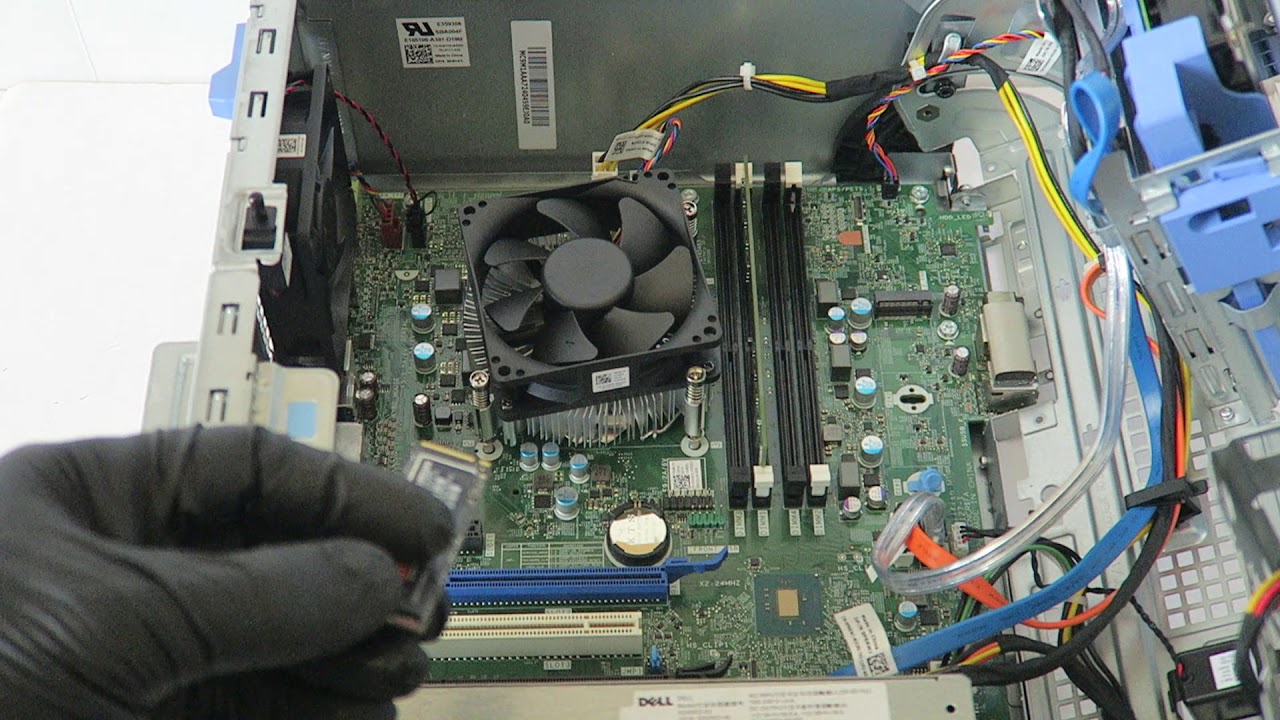
Dell Optiplex 7050 Upgrade Gaming Video Card RAM SSD
5.0 / 5 (0 votes)
