Cara Setting Hotspot Mikrotik Dengan WinBox Untuk Pemula
Summary
TLDRThis tutorial walks you through the process of setting up a Mikrotik hotspot using Winbox. It covers everything from connecting to the router and assigning IP addresses, to configuring DHCP, DNS, and user profiles. You'll learn how to create and manage user access, set bandwidth limits, and bypass the login page for specific devices. The video also demonstrates how to customize the hotspot settings and troubleshoot common issues. This easy-to-follow guide is perfect for anyone looking to set up a secure and efficient Mikrotik hotspot network.
Takeaways
- 😀 Open Winbox to connect to your Mikrotik router using its IP address.
- 😀 Select the correct network interface (Ether3) for configuring the Hotspot.
- 😀 Assign an IP address (e.g., 192.168.3.1/24) to the Hotspot interface from the IP settings.
- 😀 Use the 'Hotspot Setup' wizard in Winbox to automatically configure the DHCP server for the Hotspot.
- 😀 Set the DNS name (e.g., hotspot.net) for the login page that users will access to connect to the network.
- 😀 Define a username and password for login (e.g., admin / 112233) during the Hotspot setup process.
- 😀 After setup, test the Hotspot by connecting a device and ensuring it redirects to the login page.
- 😀 Customize user profiles under 'IP > Hotspot > User Profiles' to manage download/upload speed limits and session time.
- 😀 You can bypass the login page for specific devices by adding their MAC address or IP address under 'IP > Hotspot > IP Bindings'.
- 😀 Trial user access can be enabled, allowing temporary access before requiring full login, with time limitations for each session.
- 😀 Don't forget to like, comment, and subscribe for more tutorials to help your network setup process.
Q & A
What is the first step in setting up a Hotspot on Mikrotik?
-The first step is to log into the Mikrotik device using Winbox and connect via the correct IP address.
How do you configure the Hotspot interface in Mikrotik?
-You need to assign an IP address to the Hotspot interface by navigating to 'IP' > 'Addresses' and adding a new IP address for the Hotspot interface (e.g., 192.168.3.1/24).
What is the role of DHCP in setting up the Mikrotik Hotspot?
-DHCP is automatically set up for the Hotspot during the setup process, which helps assign IP addresses to devices that connect to the Hotspot.
What DNS name can be set for Mikrotik Hotspot login redirection?
-You can set a DNS name, such as 'hotspot.net', which will be used for the login page URL where users will be redirected for authentication.
How can you add a new user to the Mikrotik Hotspot?
-To add a new user, go to 'IP' > 'Hotspot' > 'Users' and create a new user profile with a specific username and password (e.g., admin / 112233).
What options can be configured in the Hotspot User Profile?
-The Hotspot User Profile allows you to set limits on download/upload speed, maximum session time, the number of active users, and more.
How can you customize the Hotspot login page in Mikrotik?
-You can customize the login page layout and settings through the 'Hotspot' menu, or refer to previous tutorials to change the appearance and functionality of the page.
What is the purpose of MAC address or IP address bypass in Mikrotik Hotspot?
-MAC address or IP address bypass allows specific users to access the internet without having to go through the login page, effectively bypassing the Hotspot authentication process.
What are trial users, and how can they be configured in Mikrotik Hotspot?
-Trial users are accounts with temporary access to the Hotspot for a limited time, such as 30 minutes. You can configure trial users under the Hotspot settings by setting the time limit for their access.
How do you ensure secure access to the Hotspot network?
-To ensure secure access, make sure to set strong passwords for users and admins, limit access through user profiles, and configure secure login methods such as HTTPS or PAP authentication.
Outlines

Этот раздел доступен только подписчикам платных тарифов. Пожалуйста, перейдите на платный тариф для доступа.
Перейти на платный тарифMindmap

Этот раздел доступен только подписчикам платных тарифов. Пожалуйста, перейдите на платный тариф для доступа.
Перейти на платный тарифKeywords

Этот раздел доступен только подписчикам платных тарифов. Пожалуйста, перейдите на платный тариф для доступа.
Перейти на платный тарифHighlights

Этот раздел доступен только подписчикам платных тарифов. Пожалуйста, перейдите на платный тариф для доступа.
Перейти на платный тарифTranscripts

Этот раздел доступен только подписчикам платных тарифов. Пожалуйста, перейдите на платный тариф для доступа.
Перейти на платный тарифПосмотреть больше похожих видео

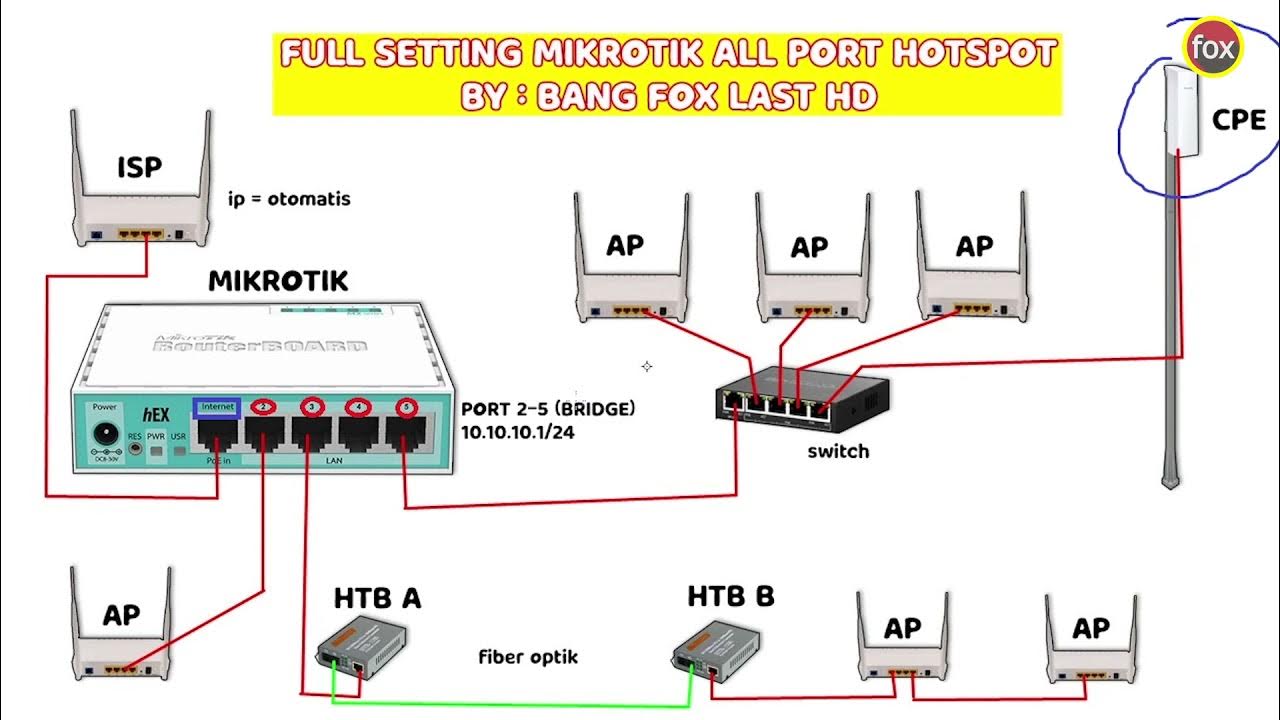
Full Setting Mikrotik Semua Port Bridge untuk Mode Hotspot Voucheran + Topologi Settingan Mikrotik

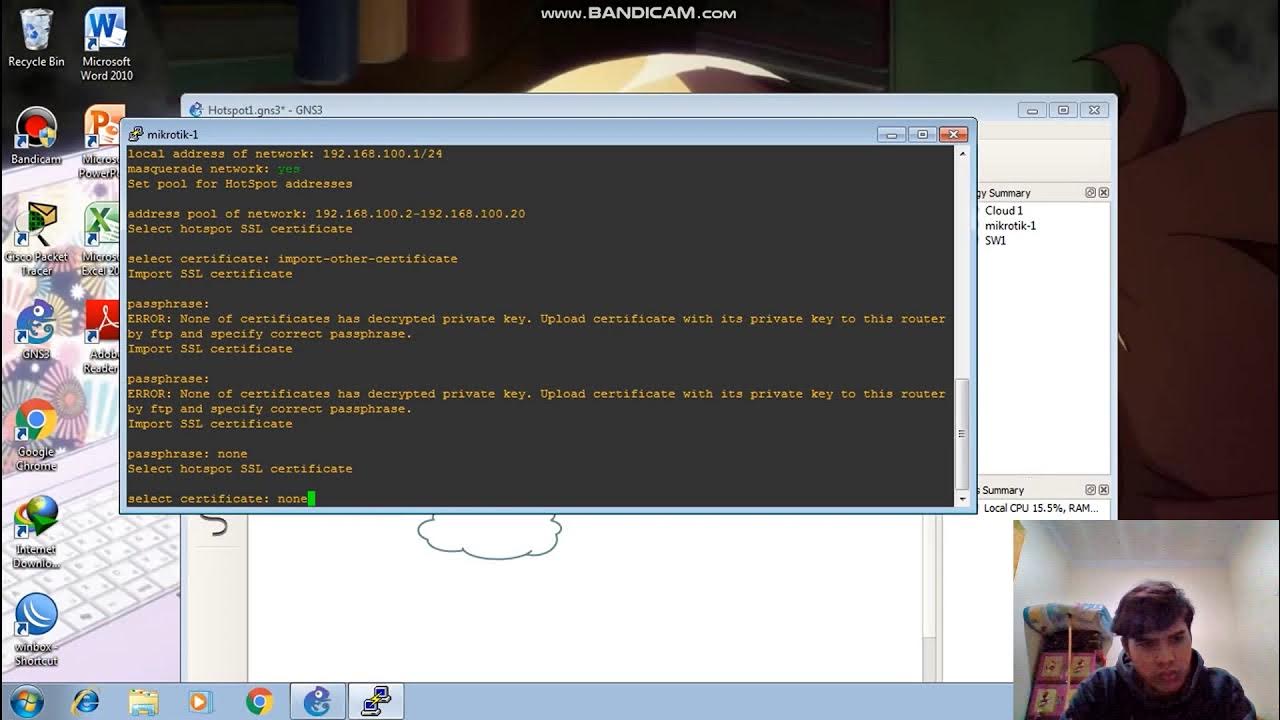
Konfigurasi Hotspot Pada GNS3

CARA SETTING HOTSPOT MIKROTIK PALING LENGKAP (part 1/5) - BASIC CONFIGURATION

Konfigurasi Bridge Hotspot dan PPPoE

TUTORIAL DASAR MIKROTIK (KONEKSI INTERNET)

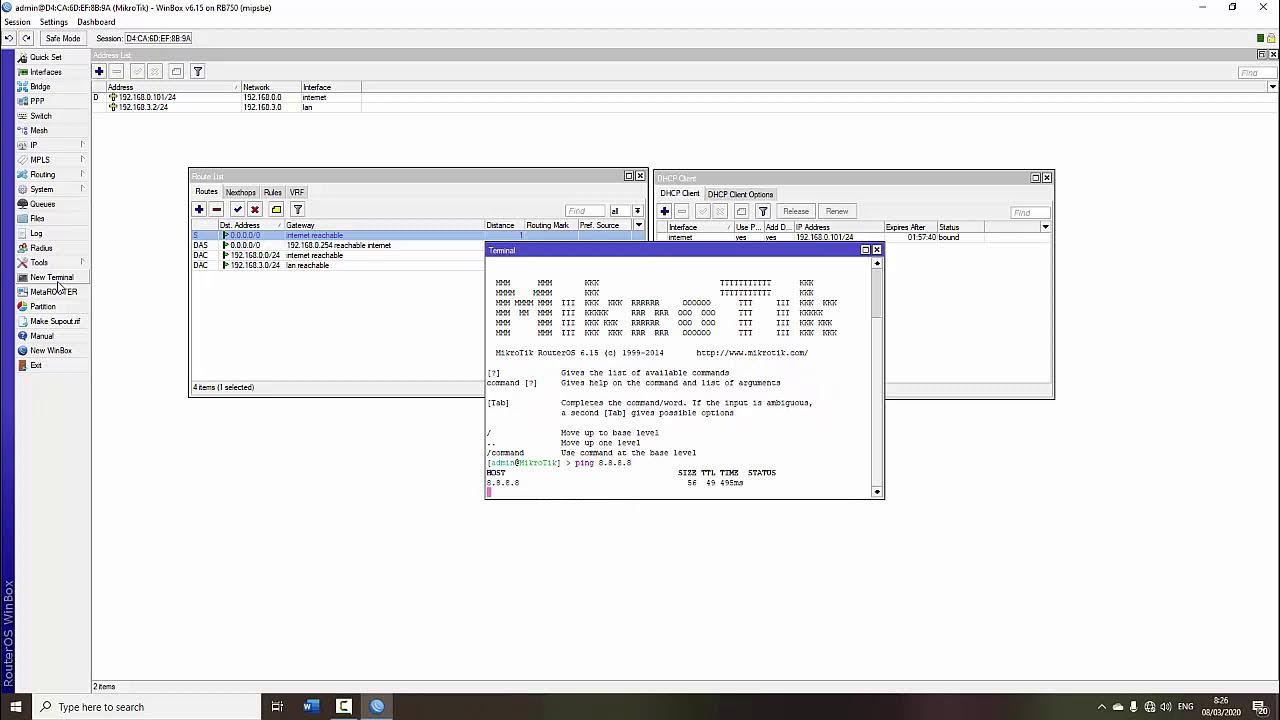
CARA SETTING / KONFIGURASI DASAR MIKROTIK - MIKROTIK TUTORIAL [IND SUB] - Part 1
5.0 / 5 (0 votes)
