Arduino To ESP32: How to Get Started!
Summary
TLDRThis video offers a beginner's guide to integrating wireless capabilities into Arduino projects using the ESP32. It compares the ESP32 DevKitC with the Arduino Uno, highlighting the ESP32's superior processing power. The video guides viewers on selecting the right ESP32 model, setting up the board with the Arduino IDE, and programming it. It also covers powering the ESP32, understanding its pinout, and connecting peripherals, emphasizing the importance of voltage compatibility. The ESP32's Wi-Fi and Bluetooth capabilities, along with the ESP-NOW protocol, are showcased, positioning the ESP32 as an excellent choice for high-performance microcontrollers with wireless features.
Takeaways
- 🚀 **ESP32 vs Arduino Uno**: The ESP32 DevKitC has a 240MHz Dual-core processor compared to Arduino Uno's 16MHz ATmega328P, making it significantly more powerful.
- 🔍 **Performance Test**: In a prime number finding test, the ESP32 found over 125,000 primes in 30 seconds, vastly outperforming the Arduino Uno which found over 3000.
- 🛠️ **Board Features**: Both boards have microcontrollers, voltage regulation, programming ICs, and GPIO pins, but the ESP32 also includes a boot button.
- 🏭 **ESP32 Models**: Espressif produces official ESP32 DevKits, but there are also many third-party boards available due to open-sourced schematics and PCBs.
- 🛒 **Getting Started**: For beginners, the ESP32 DevKitC is recommended as it is a standard model with a built-in PCB antenna and 38 pins.
- 💻 **Programming with Arduino IDE**: The ESP32 can be programmed using the Arduino IDE with a simple setup process involving installing the ESP32 board package.
- 🔌 **Powering the ESP32**: The ESP32 can be powered in three ways: through a USB cable, by supplying 5V to the 5V and GND pins, or by supplying 3.3V to the 3.3V and GND pins.
- 📍 **Pinout and Capabilities**: The ESP32 has 38 pins with 26 GPIO pins, 22 of which can output PWM with 16-bit resolution and 16 pins can read analog signals with 12-bit ADCs.
- ⚙️ **Peripheral Compatibility**: ESP32 operates on 3.3V, so peripherals must be compatible with this voltage. Level shifters can be used for components requiring 5V.
- 🌐 **Communication Protocols**: The ESP32 supports UART, I2C, and SPI protocols with multiple software-configurable GPIO pins for I2C and SPI.
- 📡 **Wi-Fi and Bluetooth**: The ESP32 can operate in Station, Access Point, and Dual Mode for Wi-Fi, and supports Bluetooth connectivity for device pairing and data transmission.
- 📶 **ESP-NOW Protocol**: A unique protocol by Espressif that allows two ESP32s to communicate directly over Wi-Fi band without needing a router or Access Point.
Q & A
What is the primary difference between the Arduino Uno and the ESP32 DevKitC in terms of processing power?
-The Arduino Uno has a 16MHz ATmega328P chip, while the ESP32 DevKitC has a 240MHz Dual Core Xtensa®-32 D0WDQ6 chip, resulting in the ESP32 being significantly more powerful in processing tasks such as finding prime numbers.
How does the ESP32 outperform the Arduino Uno in a prime number finding test?
-In a test where both boards were programmed to find as many prime numbers as possible in 30 seconds, the Arduino Uno found over 3000 primes, while the ESP32 found over 125,000 primes, demonstrating its superior processing power.
What additional button does the ESP32 have compared to the Arduino Uno?
-The ESP32 has an additional boot button besides the reset button, which is not present on the Arduino Uno.
Why does the ESP32's open-source schematics and PCBs allow other companies to produce ESP boards?
-Espressif's decision to open source their schematics and PCBs enables other companies to create their own versions of ESP boards, increasing the availability and variety of ESP32 products in the market.
What is the recommended ESP32 model for beginners according to the script?
-For beginners, the recommended ESP32 model is the ESP32 DevKitC, which is Espressif’s entry-level development board with the standard ESP32 chip.
How can one program the ESP32 using the Arduino IDE?
-To program the ESP32 with the Arduino IDE, one must install the ESP32 board package through the Board Manager, select the board in the IDE, and include 'Arduino.h' at the top of the sketch if using Arduino functions.
What are the three ways to power the ESP32 mentioned in the script?
-The ESP32 can be powered by using a USB cable, supplying 5V to the 5V and GND pins, or supplying 3.3V to the 3.3V and GND pins.
How many GPIO pins does the ESP32 have and what can they be used for?
-The ESP32 has 26 usable GPIO pins. 22 of them can output PWM with a resolution of 16 bits, and 16 pins can read analog signals with 12-bit ADCs. It also has 2 DACs for generating analog signals.
What is the significance of the ESP32's 16-bit PWM resolution compared to the Arduino's 10-bit?
-The ESP32's 16-bit PWM resolution allows for analogWrite values from 0 to 65535, providing a much finer control over the analog output compared to the Arduino's 10-bit resolution which allows values from 0 to 1023.
How can one ensure that 5V peripherals are compatible with the 3.3V operating ESP32?
-One can use a level shifter to convert 5V signals to 3.3V for peripherals that require 5V, allowing them to communicate with the ESP32 safely.
What are the three Wi-Fi modes the ESP32 can operate in?
-The ESP32 can operate in Station Mode, Access Point Mode, and Dual Mode. Station Mode allows it to connect to existing Wi-Fi networks, Access Point Mode lets it create its own network, and Dual Mode enables it to do both simultaneously.
Outlines

Этот раздел доступен только подписчикам платных тарифов. Пожалуйста, перейдите на платный тариф для доступа.
Перейти на платный тарифMindmap

Этот раздел доступен только подписчикам платных тарифов. Пожалуйста, перейдите на платный тариф для доступа.
Перейти на платный тарифKeywords

Этот раздел доступен только подписчикам платных тарифов. Пожалуйста, перейдите на платный тариф для доступа.
Перейти на платный тарифHighlights

Этот раздел доступен только подписчикам платных тарифов. Пожалуйста, перейдите на платный тариф для доступа.
Перейти на платный тарифTranscripts

Этот раздел доступен только подписчикам платных тарифов. Пожалуйста, перейдите на платный тариф для доступа.
Перейти на платный тарифПосмотреть больше похожих видео
Introduction to ESP32 Board - Getting Started ( Step by Step)

ESP32 Servo Motor Web Server with Arduino IDE
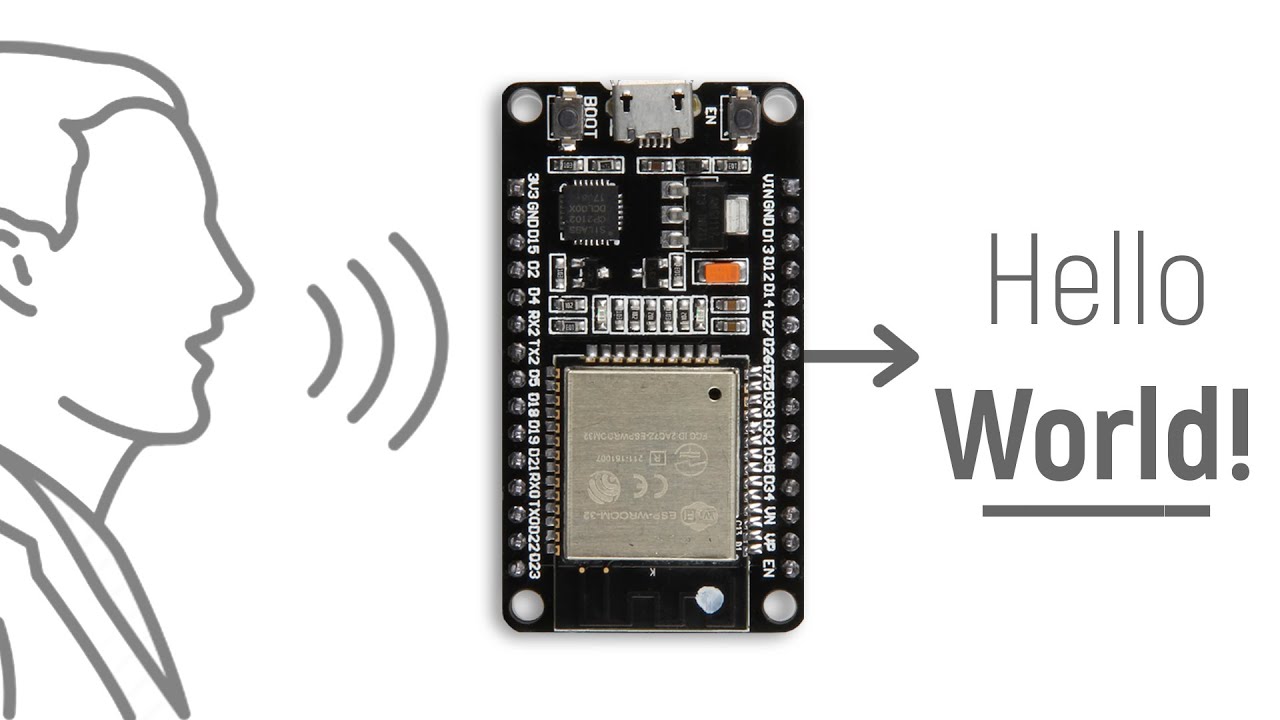
Speech To Text using ESP32
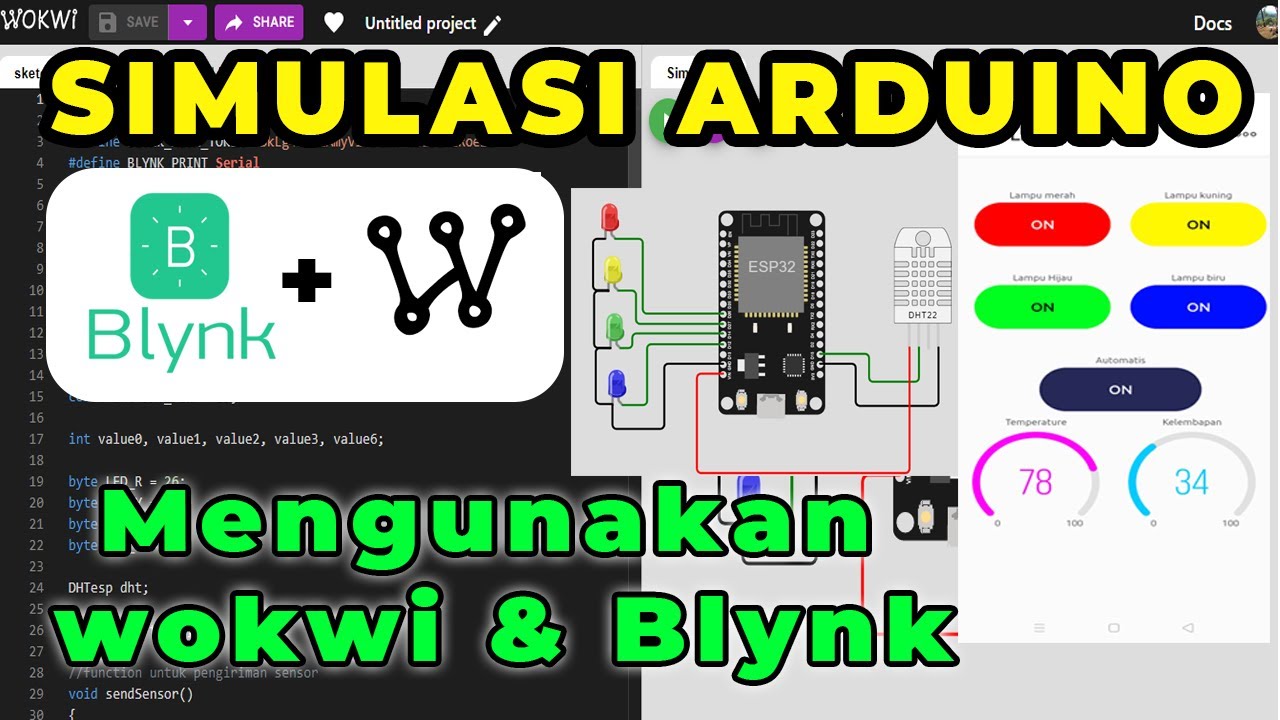
SIMULASI WOKWI MENGUANKAN BLYNK ARDUINO

MEMULAI ESP32 TUTORIAL MENAMBAHKAN BOARD ESP32 KE IDE ARDUINO, INTAL DRIVER, DAN MEMPROGRAM ESP32
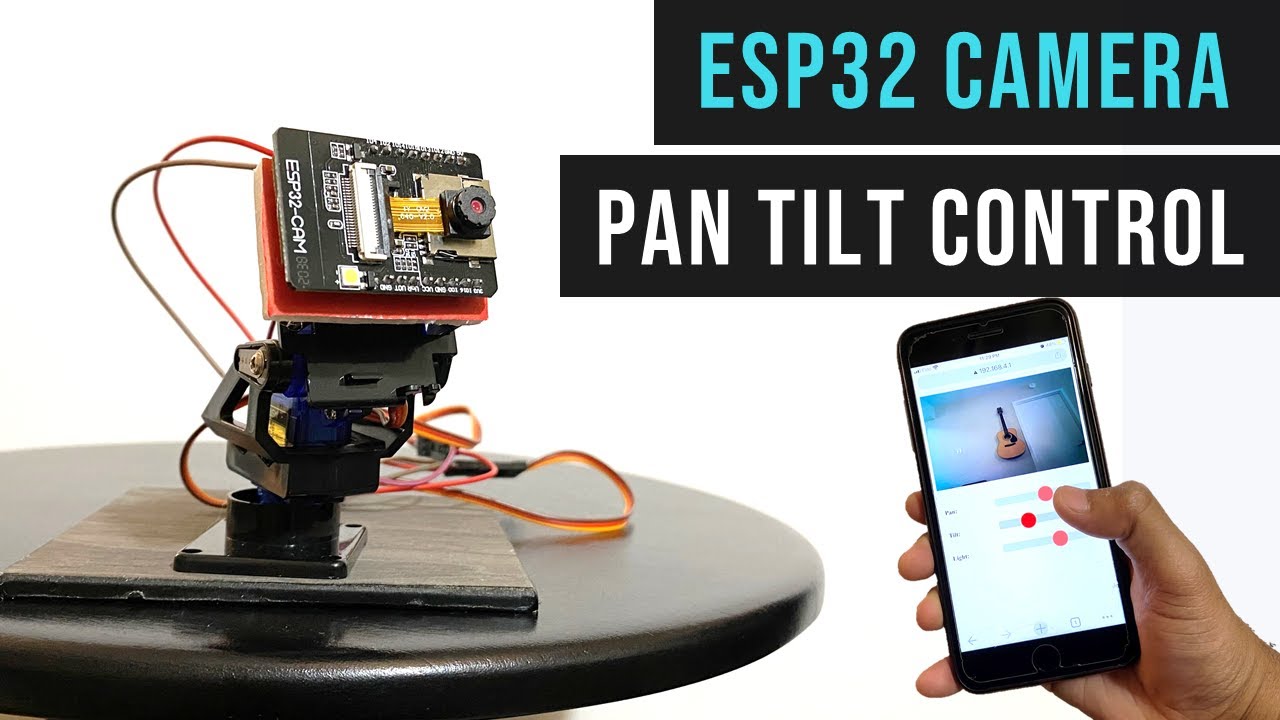
Pan Tilt Control using Servos for ESP32 Cam | WiFi Security Camera
5.0 / 5 (0 votes)
