Cara Mengatasi Cpu Hidup Tapi Tidak Tampil Di layar Monitor (Tips dan Tutorial)
Summary
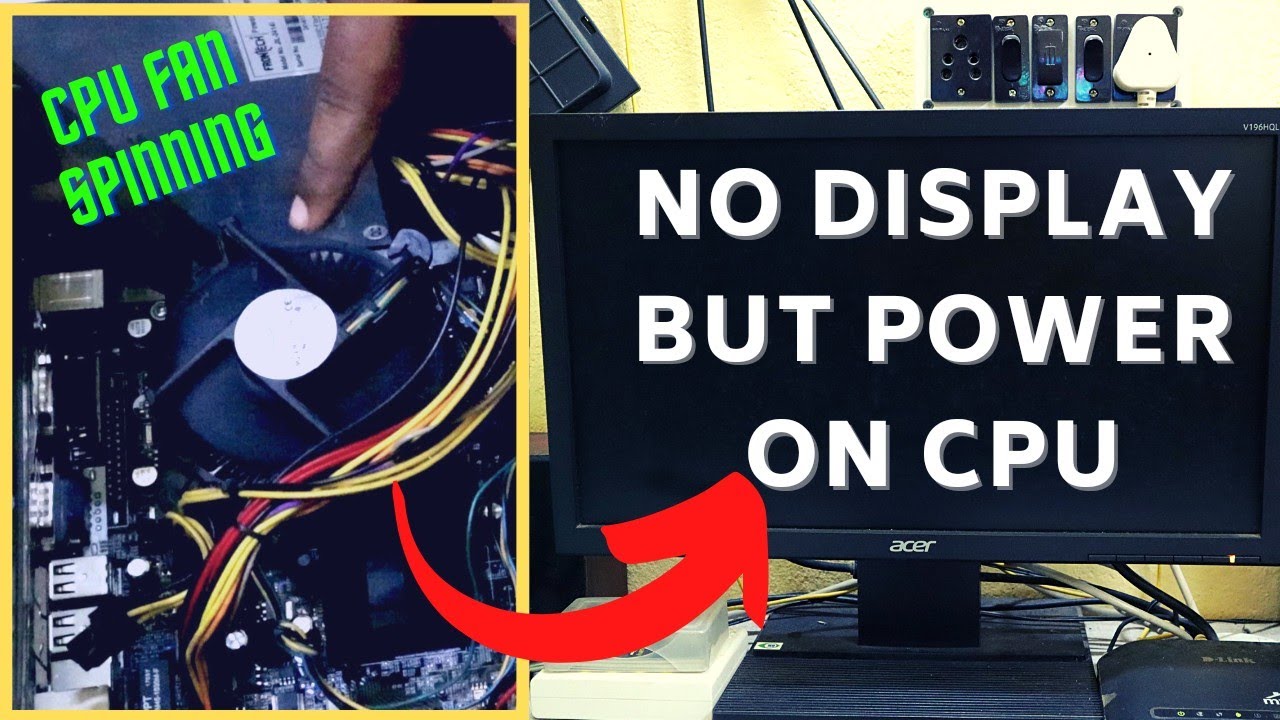
TLDRIn this instructional video, the host addresses a common computer issue where the CPU is powered on but there's no display on the monitor. The video offers a step-by-step guide to troubleshoot this problem, focusing on cleaning the RAM and checking the power and SATA cables. The host demonstrates how to safely remove and clean the RAM, ensuring a proper reinstallation. Additionally, the video suggests checking the VGA connection if the problem persists, covering possible issues with RAM, VGA, power supply, or the processor. The goal is to help viewers resolve the display issue and get their computers functioning normally again.
Takeaways
- 💻 The video addresses a common computer issue where the CPU is on but there's no display on the screen.
- 🔍 The speaker reassures viewers that they can fix the problem by following the steps in the video.
- ⏺️ The first step is to turn off the CPU and unplug the power cable after waiting for the screen to display something.
- 🛠️ The CPU cover is opened to access the internal components for troubleshooting.
- 📌 The speaker demonstrates removing and cleaning the RAM as a potential solution to the problem.
- 🔄 It's important to clean only the gold contacts (yellow part) of the RAM to ensure a good connection.
- 🔌 The power cable and hard drive SATA cable are disconnected to clean the RAM slots inside the machine.
- 🔄 After cleaning, the RAM is reinserted, ensuring it's properly seated and clicked into place.
- 🔌 The power cable and SATA cable are reconnected to the hard drive.
- 🔄 If the initial steps don't resolve the issue, the speaker suggests repeating the process or cleaning the VGA port.
- 🖥️ The video concludes with the CPU being powered on again to check if the display issue is resolved.
Q & A
What is the main issue the video aims to address?
-The video aims to address the issue of a computer where the CPU is on but there is no display on the screen.
What is the first step the video suggests to troubleshoot the issue?
-The first step suggested is to turn off the CPU by pressing the power button until it is completely dead and then unplugging the power cable.
Why does the video recommend opening the CPU cover?
-The video recommends opening the CPU cover to access and remove the RAM for cleaning as part of the troubleshooting process.
How many pieces of RAM are mentioned in the video?
-The video mentions there are 2 pieces of RAM in the computer.
What is the proper way to remove the RAM as shown in the video?
-To remove the RAM, one should first open the hooks and then carefully remove the RAM, ensuring not to install it upside down.
What part of the RAM should be cleaned according to the video?
-The video instructs to clean the yellow part of the RAM until it is really clean.
Why does the video suggest unplugging the power cable and the hard drive SATA cable?
-The video suggests unplugging the power cable and the hard drive SATA cable to safely clean the RAM and to troubleshoot potential issues with these connections.
How does the video verify if the RAM is clean enough?
-The video verifies the RAM is clean enough by visually inspecting it to ensure it is completely clean before reinserting it.
What should one do after cleaning and reinserting the RAM?
-After cleaning and reinserting the RAM, one should plug back the power cable and SATA cable, and then turn on the CPU to check if the issue is resolved.
What additional troubleshooting steps does the video suggest if the problem persists?
-If the problem persists after removing the RAM and hard drive cable, the video suggests repeating the process or cleaning the VGA connection, as issues could stem from the RAM, VGA, power supply, or processor.
What is the final outcome the video hopes to achieve?
-The video hopes that by following the steps provided, the computer will turn on normally and display will appear on the monitor.
Outlines
💻 Troubleshooting a Non-Displaying Computer
The speaker begins by greeting the audience and wishing them well. They introduce the topic of the video, which is fixing a computer that has a functioning CPU but no display on the monitor. The speaker demonstrates that the CPU is on but there is no visual output. They reassure viewers with similar issues and promise that following the steps in the video might resolve the problem. The first step is to turn off the CPU, unplug the power cable, and open the CPU cover. The speaker proceeds to remove and clean the RAM, ensuring to open the hooks before removal. They explain that there are different RAM configurations depending on the CPU and demonstrate cleaning the contacts. After cleaning, they unplug the power and SATA cables, clean the RAM slots inside the machine, and then reinsert the RAM correctly, ensuring a click sound upon secure placement. Finally, they plug back the power and SATA cables and turn on the CPU to check if the issue is resolved.
🔍 Further Diagnostics for Persistent Display Issues
In the second paragraph, the speaker addresses the situation where the computer still does not display anything after following the initial troubleshooting steps. They suggest repeating the process but also recommend cleaning the VGA cable's contacts, as the issue could be related to the RAM, VGA, power supply, or processor. The speaker expresses hope that the computer will display the Windows menu, indicating a successful resolution. They conclude by thanking the viewers for watching the video and express their hope that the content was helpful.
Mindmap
Keywords
💡CPU
💡Monitor
💡RAM
💡Power Cable
💡CPU Cover
💡SATA Cable
💡Hard Drive
💡VGA
💡Troubleshoot
💡Display
💡Motherboard
Highlights
The video aims to help viewers fix a computer with a CPU that is on but not displaying on the screen.
The presenter reassures viewers not to panic and to follow the video's steps for a potential solution.
The CPU is turned on first to confirm it is functioning but not displaying on the monitor.
The presenter demonstrates the process of turning off the CPU and unplugging the power cable.
The CPU cover is opened to access the internal components.
The presenter explains the removal of RAM as a potential solution to the problem.
A clear demonstration of how to properly remove RAM by opening the hooks is provided.
The importance of cleaning the RAM contacts is emphasized.
The presenter clarifies that the RAM should be cleaned until it is completely clean.
The power cable and hard drive SATA cable are unplugged for further cleaning.
The presenter demonstrates the correct way to reinsert the RAM into the CPU.
A click sound is mentioned as an indicator that the RAM is properly seated.
The power cable and SATA cable are reconnected after cleaning.
The presenter tests the CPU by turning on the power and checking for a display on the monitor.
If the issue persists after removing and cleaning the RAM, the presenter suggests repeating the process.
The presenter also suggests cleaning the VGA port as a potential solution.
The video concludes with a thank you to viewers and a hope that the video was helpful.
Transcripts
How is everyone? I hope that those who watch this video are healthy and always have all their affairs made easy and their wishes will be granted.
divideo this time I will discuss how to fix a damaged computer the
problem on this computer, the CPU is on but it doesn't appear on the screen
and I have waited for a few minutes, the results still don't appear on the monitor
I will try to turn on the CPU first
You can see that the CPU is on, but it doesn't appear on the screen. and there is no picture at all
so, for those of you who experience a computer like this, don't worry, don't panic. just watch the
video until it runs out hopefully by following the steps in this video, your computer can turn on and it's normal again
I have waited a few minutes after turning it on
and the results are still on the monitor screen, there is no display at all. The
first step we turn off first the CPU, by pressing the power until the CPU is completely dead, then we unplug the power cable,
then we open the CPU cover
and the steps I will do here are? I will remove the RAM, and here are 2 pieces of RAM
before removing it, make sure we open the hook first, and then we clean the RAM. like in the video
and RAM it depends on the CPU, there is one that contains 1, there is also one that contains 2
on the CPU, I fill in the RAM there. So, I unplug all of them then I clean them one by one,
we just clean the RAM in the yellow-yellow part, we clean it until it's really clean,
then we unplug the power cable and the hard drive sata cable,
then we clean the RAM in the machine, clean it until it's completely clean. completely clean
if it is clean, we put the RAM back in
and when installing the RAM make sure the position is correct and don't
turn it upside down when it feels right and correct we can press it in the middle
until you hear a click,
then we plug back the power cable and sata cable The hard drive is
so, the steps are quite easy, we just remove the RAM and the power cable,
then we clean the hard drive and then clean it
and then just plug it back in, everything is
okay, it's finished installing the RAM and power cable and the SATA hard drive,
then we plug it in again
Then we turn on the CPU power cable and see how it goes?
and this CPU is alive.
hopefully it works
you can see
that there is already a display on the monitor
if you have removed the RAM and hard drive cable, but the results are still the same,
you can repeat it again, but you can also remove the VGA
then clean the VGA in the yellow part
because problems like this could be from RAM, VGA, power supply or processor
and you can already want to appear on the windows menu
and thanks to all of you who have watched this video,
hopefully this video is useful
Посмотреть больше похожих видео
KOMPUTER MATI TOTAL - TEKAN TOMBOL POWER CPU MATI
"My Computer Will Not Turn On" - Troubleshooting PC Power Supply | Computers and Coffee
Fix Screen Flickering or Blinking Problem in Windows 11/10/8/7 Laptops & PC | Screen Flashing
LENOVO IDEAPAD SLIM 3 | NO BACKLIGHT PROBLEM | 100% SOLVED
This serious issue was a simple fix... Here's how!
Computer System Hardware
5.0 / 5 (0 votes)