Kivy Tutorial: How to create a Simple Timer in Kivy Python ~ For beginners #5 (Detailed Explanation)
Summary
TLDRIn this tutorial, Petrina continues her Simple Clock App series by adding a timer feature. She walks through the process of setting up a new 'Timer' tab, arranging the layout with labels, text inputs, and buttons, and adding functionality for starting, pausing, and resetting the timer. Along the way, Petrina demonstrates the use of regular expressions to validate user input and explains how the timer works with Python's datetime and timedelta modules. Despite not being a professional programmer, Petrina's approachable teaching style makes this tutorial accessible for beginners.
Takeaways
- 😀 The video is part of a tutorial series on creating a simple clock app, focusing on adding a timer feature.
- 🛠️ The presenter is not a professional programmer but is teaching herself to code and shares her learning process.
- 📱 A tabbed panel item named 'timer' is added to the app, positioned between 'alarm' and 'world clock'.
- 🔢 A text input is implemented for users to enter time in a specific format: 'hhmmss' for hours, minutes, and seconds.
- 🎨 The text and font properties of the label and text input are customized, including setting the font size and style.
- 🔧 Regular expressions (re module) are used to validate the input, ensuring only numbers are entered and no letters are included.
- ⏲️ The 'timedelta' function from the 'datetime' library is utilized to calculate the countdown.
- 🔄 Functions are created for 'start', 'reset', and 'pause' to control the timer's operation.
- 🔔 A sound is played when the countdown reaches zero, and the user can choose a different sound file if desired.
- 🔀 A 'toggle' function is implemented to switch between starting and resetting the timer with a single button.
Q & A
What is the main focus of this tutorial video?
-The main focus of this tutorial video is to add a timer functionality to a simple clock app.
What are the prerequisite videos recommended by Petrina before starting this tutorial?
-Petrina recommends watching parts one, two, three, and four of her simple clock app tutorial series before this part.
What is the first UI component Petrina adds to the app for the timer feature?
-The first UI component Petrina adds is a tabbed panel item called 'tab timer', which is placed between the alarm and world clock.
What layout does Petrina use for the timer tab and what are its properties?
-Petrina uses a BoxLayout for the timer tab, setting its orientation to vertical, padding to 20, and spacing to 20.
How does Petrina set up the label for the timer input?
-Petrina sets up a label with the ID 'show', adds text instructing to 'enter the time to count down', and sets the font to 'gothic bold' with a size of 17.
What is the purpose of the text input field in the timer feature?
-The text input field is for users to enter the time in a specific format (HHMMSS) for the countdown timer.
How does Petrina ensure that the timer input only contains numbers?
-Petrina uses regular expressions (importing the 're' module) to check that the input contains only numbers and no letters or empty strings.
What Python module does Petrina use to handle time calculations?
-Petrina uses the 'datetime' module, specifically the 'timedelta' function, to perform time calculations for the timer.
How does Petrina handle the button clicks for the timer?
-Petrina creates functions for 'start', 'pause', and 'reset' which are linked to the button clicks, allowing the user to control the timer.
What is the purpose of the 'running' variable in the timer functionality?
-The 'running' variable is used to track whether the timer is currently active, helping to control the start, pause, and reset functionalities.
How does Petrina handle the timer's countdown and what happens when it reaches zero?
-Petrina uses a scheduled interval to continuously update the timer's countdown. When the countdown reaches zero, a sound is played, and the timer resets.
Outlines

Этот раздел доступен только подписчикам платных тарифов. Пожалуйста, перейдите на платный тариф для доступа.
Перейти на платный тарифMindmap

Этот раздел доступен только подписчикам платных тарифов. Пожалуйста, перейдите на платный тариф для доступа.
Перейти на платный тарифKeywords

Этот раздел доступен только подписчикам платных тарифов. Пожалуйста, перейдите на платный тариф для доступа.
Перейти на платный тарифHighlights

Этот раздел доступен только подписчикам платных тарифов. Пожалуйста, перейдите на платный тариф для доступа.
Перейти на платный тарифTranscripts

Этот раздел доступен только подписчикам платных тарифов. Пожалуйста, перейдите на платный тариф для доступа.
Перейти на платный тарифПосмотреть больше похожих видео

Coding with AI: The Beginning of the Personalized Software Era?
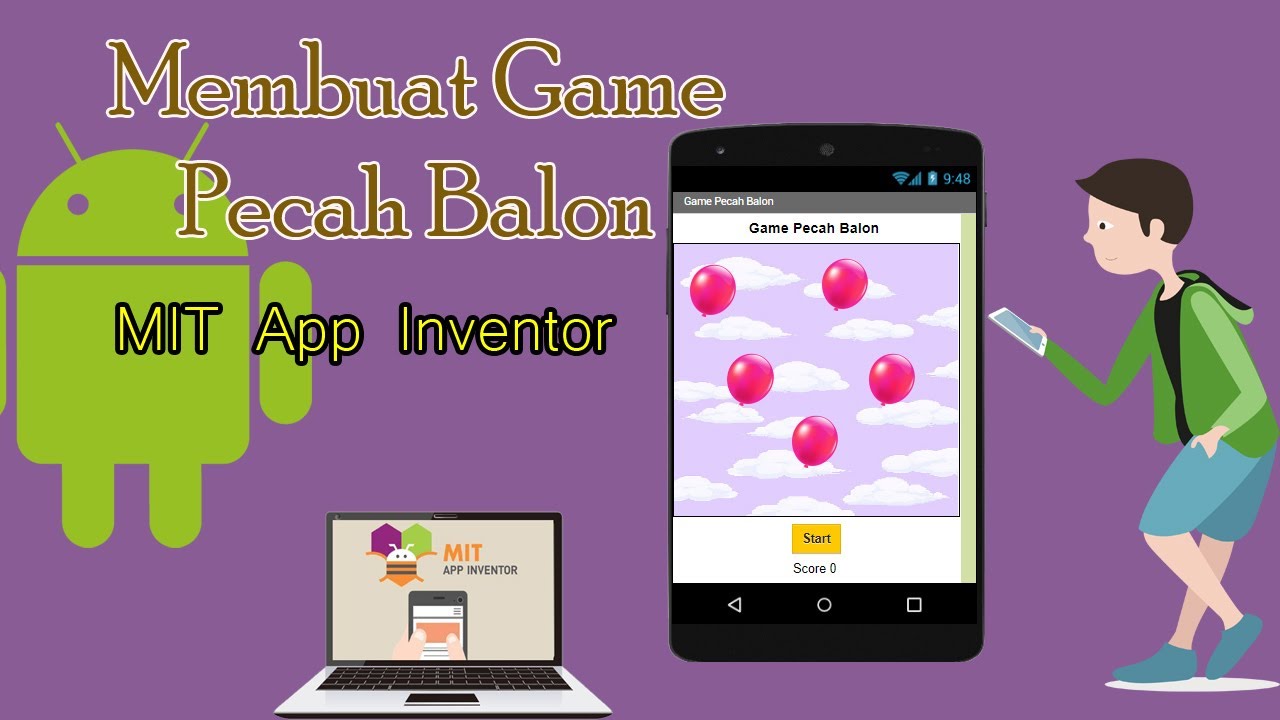
Dasar Pemrograman Android || Game Pecah Balon || MIT App Inventor
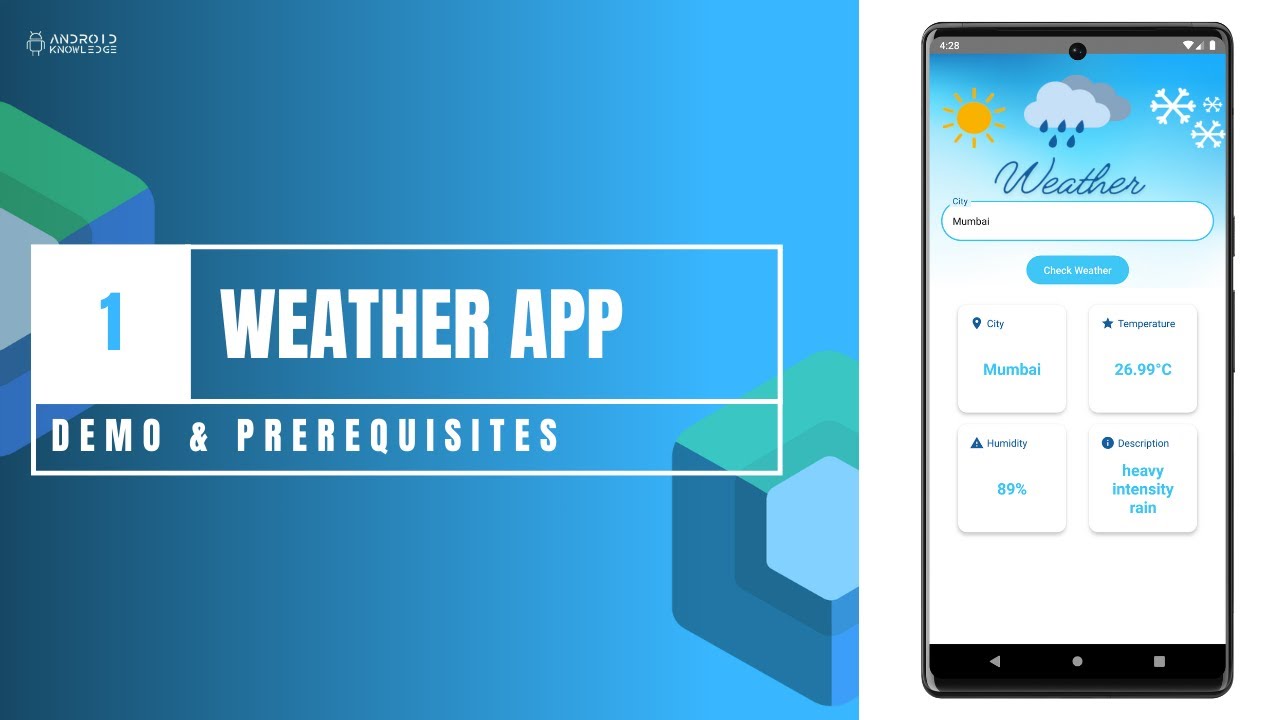
The Weather App in Jetpack Compose using Kotlin | Part 1: Prerequisites | Android Knowledge

5 Free iPad Apps You NEED ✏️
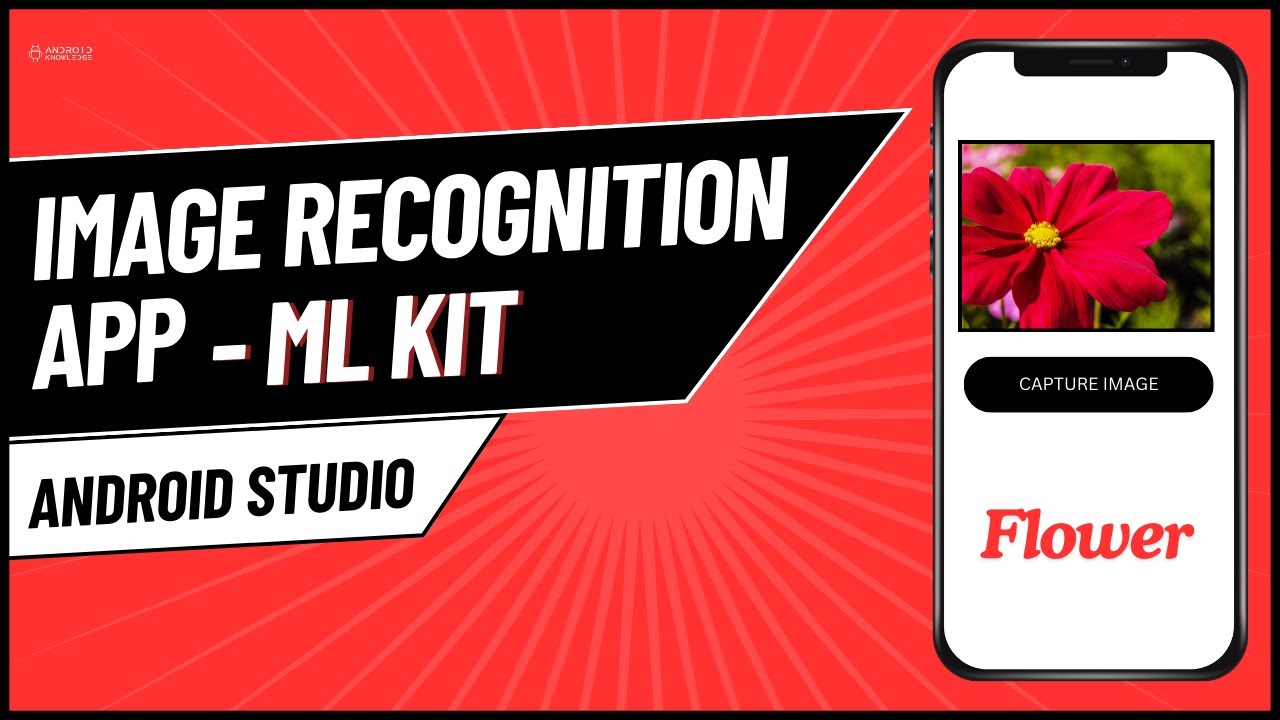
Image Recognition App using ML Kit in Android Studio | Android Knowledge
How to make a calculator in MIT App Inventor 2
5.0 / 5 (0 votes)
