HTML Course Beginner to Advance | Tables in HTML | Web Development Course Lecture 8
Summary
TLDRThis web-development course segment covers HTML tables, teaching how to create and structure them using 'table', 'tr', 'td', and 'th' tags. It explains the use of 'thead', 'tbody', and 'tfoot' for organization, 'caption' for titles, and 'colgroup' with 'col' for column styling. The instructor demonstrates Emmet shortcuts for coding efficiency and emphasizes styling tables with CSS over deprecated HTML attributes. The video also touches on 'rowspan' and 'colspan' for merging cells and encourages learners to practice by replicating a sample table.
Takeaways
- 🌐 The video is a part of a complete web-development course covering HTML, CSS, and JavaScript from beginner to advanced levels.
- 📘 The focus of the video is on creating tables in HTML, which are useful for displaying data in a structured format.
- 🔑 The 'table' tag is fundamental for creating tables, with 'tr' for table rows and 'td' for table data.
- 📝 The video demonstrates how to code a simple table with HTML, including using Emmet for quicker coding.
- 🖌️ It's recommended to style tables using CSS rather than deprecated HTML attributes for better practices in modern web development.
- 🔍 For a deeper understanding of tables, viewers are encouraged to visit MDN for comprehensive information on table elements and styling.
- 🔑 'th' is used to create table headers, making the text bold and distinct from the rest of the table data.
- 📊 The 'thead', 'tbody', and 'tfoot' tags are used to define the head, body, and foot of a table, respectively, and are good for organization but not mandatory.
- 🏷️ The 'caption' tag is used to define the title or topic of the table, which appears at the top.
- 🎨 'colgroup' and 'col' tags are used to apply styles to entire columns, simplifying the process of styling table columns uniformly.
- 🔄 'colspan' and 'rowspan' attributes are used when table data needs to span multiple columns or rows, useful for complex tables like timetables.
Q & A
What are the main topics covered in the web-development course mentioned in the script?
-The web-development course covers HTML, CSS, and JavaScript, ranging from beginner to advanced levels.
How are tables represented in HTML?
-In HTML, tables are represented using the 'table' tag, with 'tr' for table rows and 'td' for table data.
What is the purpose of the 'tr' and 'td' tags in HTML tables?
-The 'tr' tag is used to create a table row, while 'td' is used to define individual cells within that row to store data.
How can you create a table with three rows and three columns using Emmet in a code editor?
-You can create a table with three rows and three columns by typing 'table > tr*3 > td*3' and pressing 'enter'.
What does the 'thead' tag in HTML represent?
-The 'thead' tag represents the header part of a table, containing the topmost row or rows of the table.
What is the difference between 'td' and 'th' tags in HTML tables?
-The 'td' tag is used for standard table data cells, while 'th' is used for header cells, which are typically bold and centered by default.
How can you style a table using CSS?
-You can style a table using CSS by defining properties such as border, background color, spacing, and padding for the table and its elements.
What does the 'colspan' attribute do in a table?
-The 'colspan' attribute is used in 'td' or 'th' elements to make a cell span across multiple columns.
What does the 'rowspan' attribute do in a table?
-The 'rowspan' attribute is used in 'td' or 'th' elements to make a cell span across multiple rows.
What is the purpose of the 'caption' tag in a table?
-The 'caption' tag is used to define a title or caption for the table, which is displayed above the table.
How can you apply a specific style to an entire column in a table using 'colgroup'?
-You can apply a specific style to an entire column by defining it within a 'col' element inside 'colgroup' and using the 'span' attribute to specify the number of columns affected.
Outlines

Этот раздел доступен только подписчикам платных тарифов. Пожалуйста, перейдите на платный тариф для доступа.
Перейти на платный тарифMindmap

Этот раздел доступен только подписчикам платных тарифов. Пожалуйста, перейдите на платный тариф для доступа.
Перейти на платный тарифKeywords

Этот раздел доступен только подписчикам платных тарифов. Пожалуйста, перейдите на платный тариф для доступа.
Перейти на платный тарифHighlights

Этот раздел доступен только подписчикам платных тарифов. Пожалуйста, перейдите на платный тариф для доступа.
Перейти на платный тарифTranscripts

Этот раздел доступен только подписчикам платных тарифов. Пожалуйста, перейдите на платный тариф для доступа.
Перейти на платный тарифПосмотреть больше похожих видео

HTML( Heading, Table, List)

Curso HTML Completo: Aula 09 - Tabelas
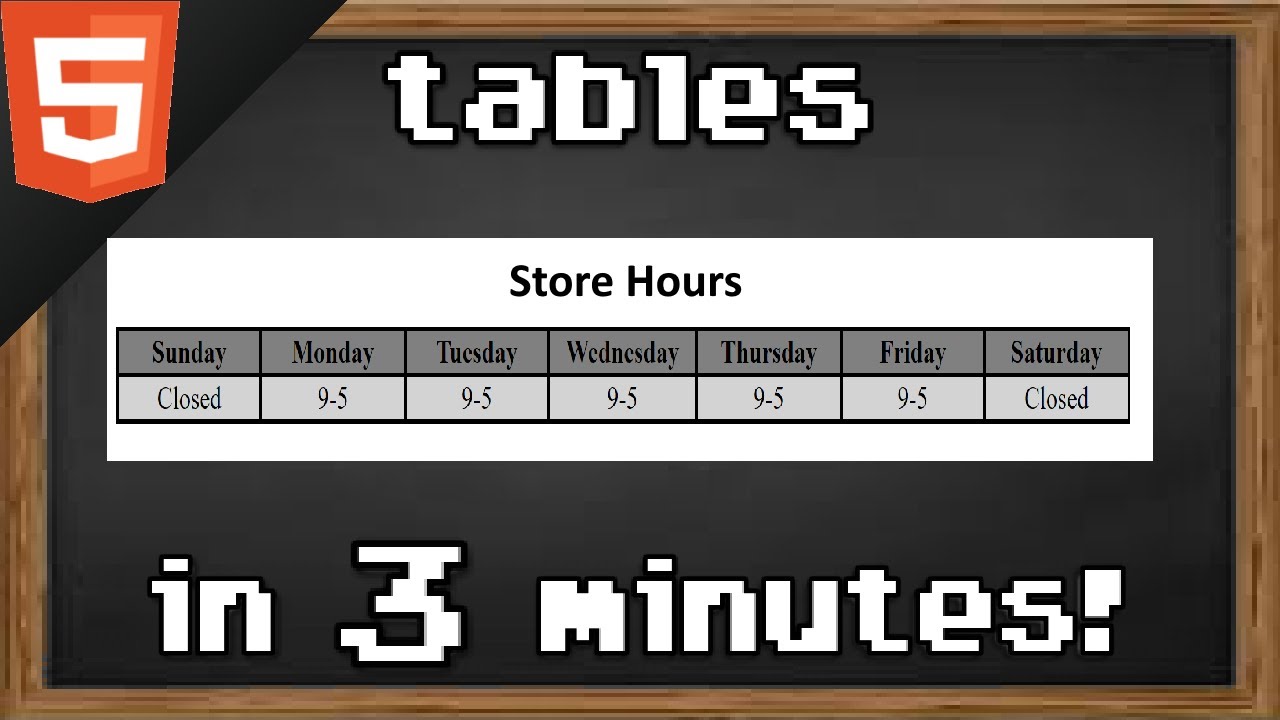
Learn HTML tables in 3 minutes 📊

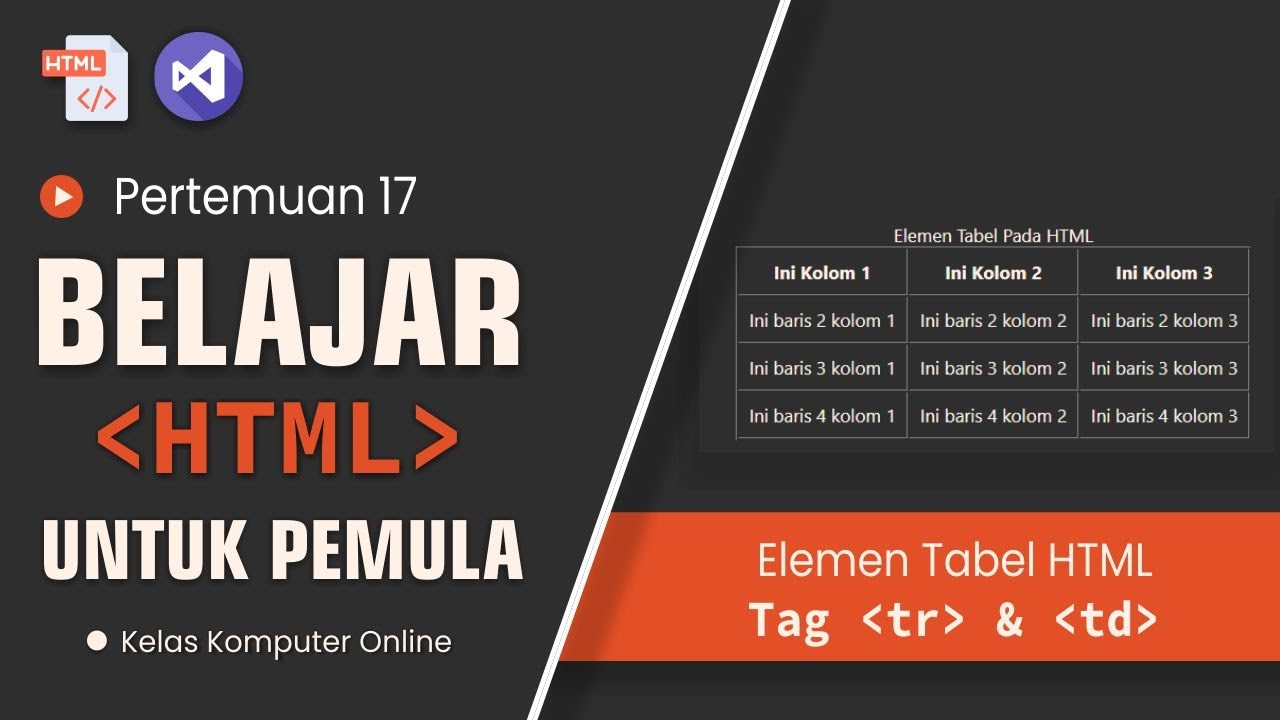
Belajar HTML Dan CSS Dari Nol Untuk Pemula | Elemen Table Pada HTML
Belajar HTML Dari Nol Sampai Mahir | Untuk Pemula | Membuat Tabel Di HTML

HTML Tutorial For Beginners | Learn HTML In 30 Minutes | Designing A Web Page Using HTML | Edureka
5.0 / 5 (0 votes)
