Godot Debugging Techniques EVERY Dev Should Know
Summary
TLDRThis video script offers a detailed guide on advanced debugging techniques for game development, moving beyond basic 'print' statements. The speaker uses a Metroid Vania prototype to demonstrate scenarios where traditional console logging is insufficient and introduces more powerful methods like 'push error' and the debugger. They also show how to use the remote tree for runtime inspection and editing, as well as how to set breakpoints for step-by-step code analysis. The script concludes with tips on using visual aids like collision shapes for debugging, advocating for a more efficient and insightful approach to finding and fixing bugs in game development.
Takeaways
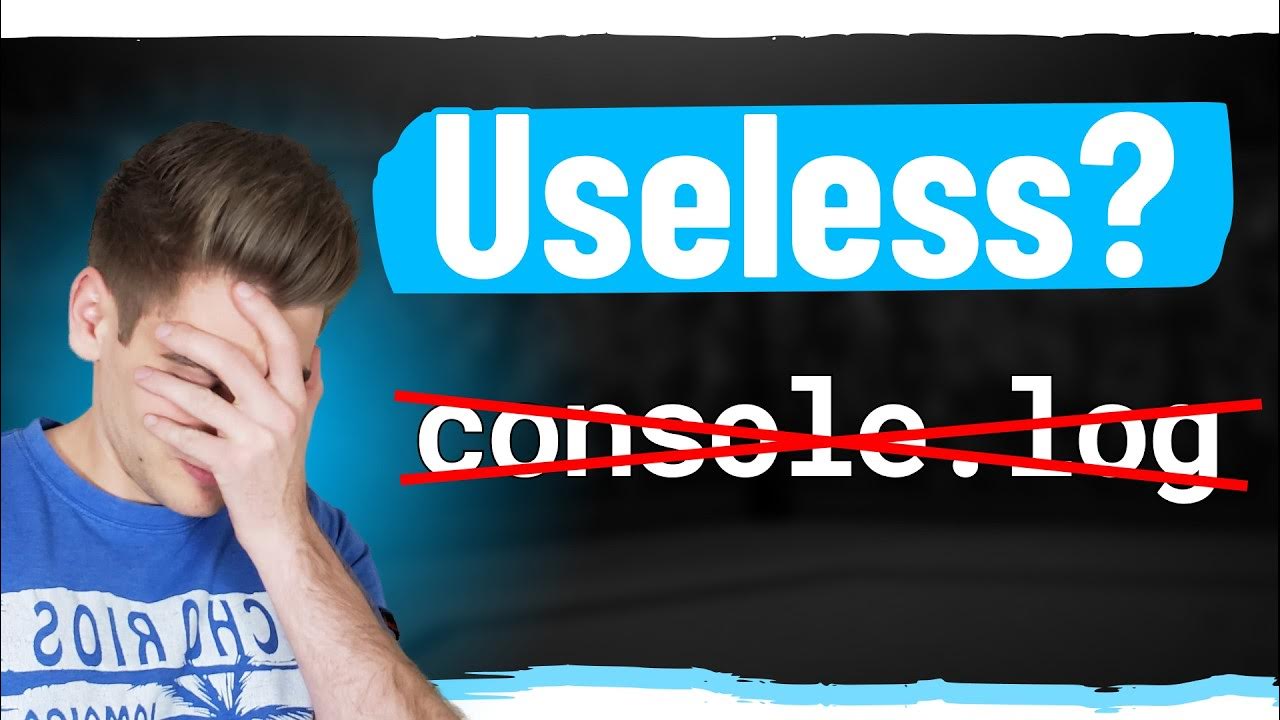
- 😀 The script emphasizes the transition from using print statements to more advanced debugging techniques to save time and improve efficiency.
- 🔍 It suggests that while print statements can be helpful, they can be visually mixed with other console output, making it difficult to isolate errors.
- 🆕 The video introduces the use of 'print_err' to make error messages stand out more in the console, but notes it doesn't add new functionality.
- 💡 The script recommends using the 'push_error' method to send errors to the debugger, allowing for better inspection and navigation to the source of the error.
- 🔧 It highlights the importance of using the debugger to expand and follow the logic of the code, providing a clearer path to identifying the root of the problem.
- 📚 The speaker discusses the various print functions and how to navigate to their definitions for further investigation of alternative options.
- 👀 The script introduces the concept of using the 'remote view' to inspect objects live during gameplay, offering a more dynamic debugging approach.
- 🛠️ It explains how to use the 'remote tree' for debugging, allowing real-time inspection and editing of game objects to identify and fix issues on the fly.
- 📱 The video shows how to use breakpoints effectively to pause the game at specific points, inspect variables, and step through the code to find where logic fails.
- 🔄 The script discusses the use of 'step into' and 'step over' features in the debugger to navigate through code methodically and understand the flow of execution.
- 🎛️ It also touches on the use of visual aids like 'visual Collision shapes' in the debugger to get immediate feedback on game mechanics and interactions.
Q & A
What is the main issue with using 'print' statements for debugging in the script?
-The main issue is that 'print' statements can be underpowered and visually mixed with less critical outputs, making it difficult to isolate and identify errors effectively.
What alternative to 'print' is suggested in the script for better debugging?
-The script suggests using the debugger or methods like 'push error' for better visibility and functionality in identifying and resolving errors.
How does using 'push error' improve the debugging experience compared to 'print'?
-'push error' pushes the error message to the debugger, where it can be expanded and investigated in a more organized manner, separate from other console outputs.
What is the advantage of using the debugger over 'print' statements?
-The debugger allows for the inspection of the state of the program at specific points, enabling the developer to follow the logic and directly jump to the line of code causing the issue.
What is the 'scene manager' mentioned in the script, and why is it relevant to debugging?
-The 'scene manager' is a part of the game that handles the loading and transitioning between different game scenes. It is relevant to debugging because issues in scene loading can cause the game to fail or behave unexpectedly.
What is the purpose of the 'remote view' in the debugger, and how does it help with debugging?
-The 'remote view' in the debugger shows the current state of the game objects and variables at runtime. It helps with debugging by providing a real-time inspection of the game's internal state, which is more useful than the static 'local view' from edit time.
How can the 'always on top' setting in the project settings improve the debugging process?
-The 'always on top' setting ensures that the debugger window remains visible and in focus, allowing developers to inspect variables and objects without losing focus when interacting with the game.
What is the benefit of using breakpoints in the debugger?
-Breakpoints allow the developer to pause the execution of the code at specific points, enabling them to inspect the state of variables and objects at that moment, which can be crucial for understanding and fixing complex issues.
What are the two main actions available when the code execution is paused at a breakpoint, and what are their purposes?
-The two main actions are 'step into' and 'step over'. 'Step into' allows the developer to enter a function and execute it line by line, while 'step over' executes the current function without stepping into it, moving to the next line. These actions help in auditing the code and understanding the flow and state changes.
How can the 'visual Collision shapes' setting in the debugger help with game development?
-The 'visual Collision shapes' setting provides visual feedback on collision detection within the game, allowing developers to see and adjust the positions and sizes of collision areas for better game mechanics and interactions.
What is the final advice given in the script regarding the use of 'print' statements and debugging?
-The script advises not to completely quit using 'print' statements but to incorporate additional techniques such as using the debugger, breakpoints, and remote views to enhance the debugging process and write fewer bugs in the first place.
Outlines

このセクションは有料ユーザー限定です。 アクセスするには、アップグレードをお願いします。
今すぐアップグレードMindmap

このセクションは有料ユーザー限定です。 アクセスするには、アップグレードをお願いします。
今すぐアップグレードKeywords

このセクションは有料ユーザー限定です。 アクセスするには、アップグレードをお願いします。
今すぐアップグレードHighlights

このセクションは有料ユーザー限定です。 アクセスするには、アップグレードをお願いします。
今すぐアップグレードTranscripts

このセクションは有料ユーザー限定です。 アクセスするには、アップグレードをお願いします。
今すぐアップグレード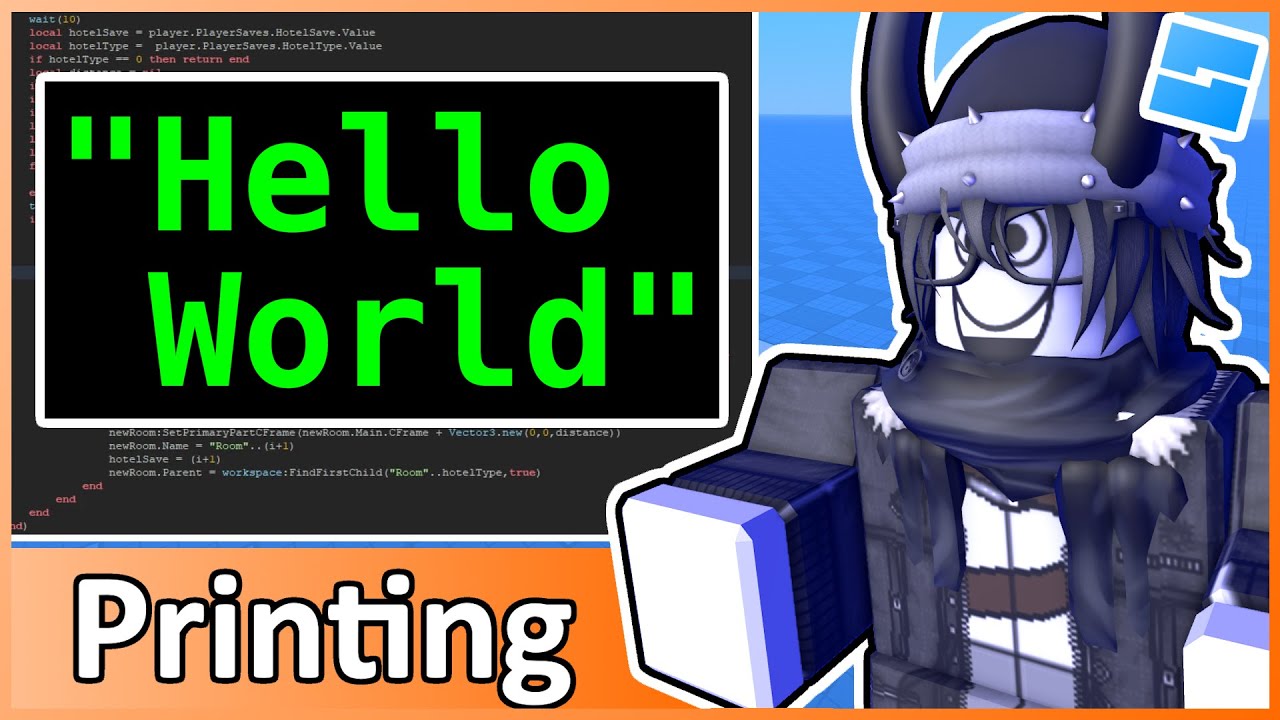

5.0 / 5 (0 votes)
