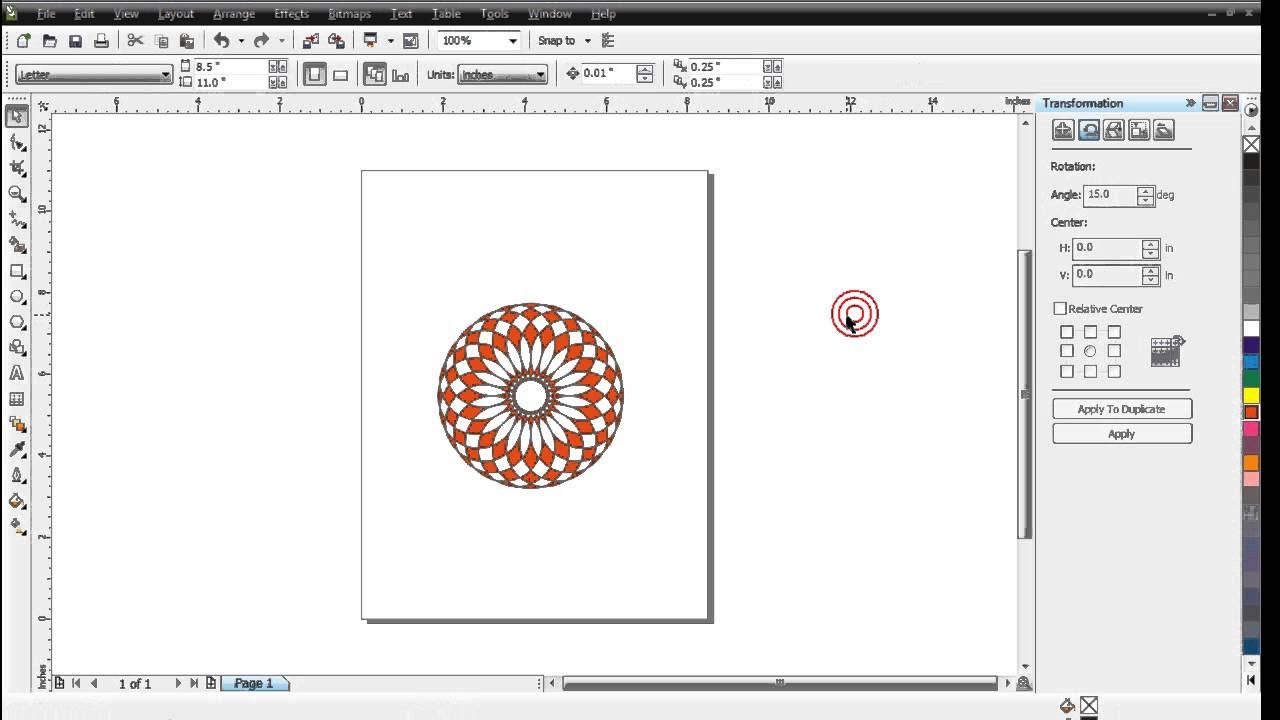
belajar coreldraw x7 bahasa indonesia - tutorial dasar coreldraw x7 #Part 1
Summary
TLDRThis tutorial introduces the basics of Corel Draw X7, covering essential tools and functionalities for graphic design. The presenter explains how to use various features, such as the Pick Tool for object selection, Freehand and Bezier tools for creating custom shapes, and the Zoom Tool for adjusting view. Other important tools highlighted include the Rectangle, Ellipse, and Polygon tools for shape creation, as well as text and shadow effects. The video aims to provide viewers with practical skills to enhance their graphic design projects, encouraging engagement through hands-on practice and exploration.
Takeaways
- 😀 Corel Draw X7 is used for graphic design, with similar functionality across different versions.
- 🖌️ The Pick Tool is essential for selecting and manipulating objects in your design.
- 🔲 The Node Tool allows users to add, remove, and adjust nodes to create curves and shapes.
- 🔍 The Zoom Tool helps in adjusting the view for a closer look at design areas.
- ✏️ The Freehand Tool enables free drawing of lines and shapes, providing flexibility in design.
- 📐 The Rectangle and Ellipse Tools are used to create precise shapes, with options for resizing.
- 🔺 The Polygon Tool allows for the creation of multi-sided shapes and customization of nodes.
- 🔤 The Text Tool is utilized for adding and manipulating text within designs.
- 🌈 The Color Eyedropper Tool lets users pick colors from the design and apply them to other objects.
- ✨ The Interactive Fill Tool is used for creating gradient fills, enhancing visual appeal.
Q & A
What is the purpose of the Pick Tool in Corel Draw?
-The Pick Tool is used to select and manipulate objects in a design. It allows you to move, resize, and transform selected items within your workspace.
How does the Node Tool help in editing objects?
-The Node Tool is used to edit the nodes (points) of an object. You can add, delete, or move nodes to adjust the shape of an object, such as converting a straight line into a curve.
What is the function of the Zoom Tool in Corel Draw?
-The Zoom Tool allows you to zoom in and out of your design area, helping you get a closer or broader view of the elements in your design. You can click and drag to zoom in or use right-click to zoom out.
How do you create a freehand line in Corel Draw?
-You can create a freehand line by selecting the Freehand Tool, clicking and dragging the mouse to draw the desired shape or line. This tool is great for creating custom, freeform paths.
What is the difference between the Freehand Tool and the Bezier Tool?
-The Freehand Tool allows you to draw continuous freeform lines, whereas the Bezier Tool is used to create precise curves and straight lines by controlling anchor points and direction handles.
What does the Rectangle Tool do?
-The Rectangle Tool allows you to draw rectangles and squares. You can create custom-sized rectangles by clicking and dragging the mouse, or use the Control key to create perfect squares.
How do you create a perfect circle using the Ellipse Tool?
-To create a perfect circle, hold down the Control key while using the Ellipse Tool. This ensures that the width and height of the ellipse are equal, forming a circle.
What is the purpose of the Drop Shadow effect in Corel Draw?
-The Drop Shadow effect is used to add depth and dimension to objects by creating a shadow behind them. This helps enhance the visual appearance and make elements stand out.
How does the Interactive Fill Tool work?
-The Interactive Fill Tool is used to create gradient fills within an object. You can drag the fill points to adjust the color transition and direction, providing smooth color gradients.
What is the purpose of the Smart Fill Tool?
-The Smart Fill Tool is used to quickly fill closed objects with a color or pattern. It automatically detects areas that are enclosed and allows you to fill them without needing to select each individual shape.
Outlines

このセクションは有料ユーザー限定です。 アクセスするには、アップグレードをお願いします。
今すぐアップグレードMindmap

このセクションは有料ユーザー限定です。 アクセスするには、アップグレードをお願いします。
今すぐアップグレードKeywords

このセクションは有料ユーザー限定です。 アクセスするには、アップグレードをお願いします。
今すぐアップグレードHighlights

このセクションは有料ユーザー限定です。 アクセスするには、アップグレードをお願いします。
今すぐアップグレードTranscripts

このセクションは有料ユーザー限定です。 アクセスするには、アップグレードをお願いします。
今すぐアップグレード関連動画をさらに表示

Tutorial Dasar CorelDraw untuk Pemula | 15 MENIT LANGSUNG PAHAM - CorelDraw #1

PANDUAN LENGKAP INSTALL CORELDRAW X7 - CUMA 7 MENIT ANTI GAGAL!!!

SMK Jurusan Desain Komunikasi Visual Kurikulum Merdeka Belajar Apa dan Bekerja Dimana ?

STEMPEL OTOMATIS |CARA MEMBUAT STEMPEL FLASH/ OTOMATIS FLASH| PART 1 - DESAIN KOMPUTER

Interview Muhammad Aidil

Belajar Corel Draw : Penggunaan Transformation
5.0 / 5 (0 votes)
