Sculpt - Create a Form
Summary
TLDRIn this instructional video, the focus is on the sculpt category of the Autodesk Fusion 360 Certified User Certification Exam objectives. The presenter guides viewers through creating forms, starting with a basic box shape in the sculpt environment. They explain the process of selecting the center, choosing symmetric options, and setting dimensions. The video highlights the differences between sketching and sculpting, emphasizing that sculpt forms lack thickness and are not solid geometry. The presenter encourages practice with various form options and editing choices, previewing upcoming topics like extrusions and solidifying forms. The goal is to familiarize users with the interface and tools for creating and manipulating 3D shapes in Fusion 360.
Takeaways
- 🎨 The video focuses on the 'Sculpt' category of the Autodesk Fusion 360 Certified User Certification Exam.
- 📝 The spotlight is on the first objective, which is to create a form.
- 🛠️ Sculpting in Fusion 360 allows you to create basic shapes like boxes, planes, cylinders, spheres, and more.
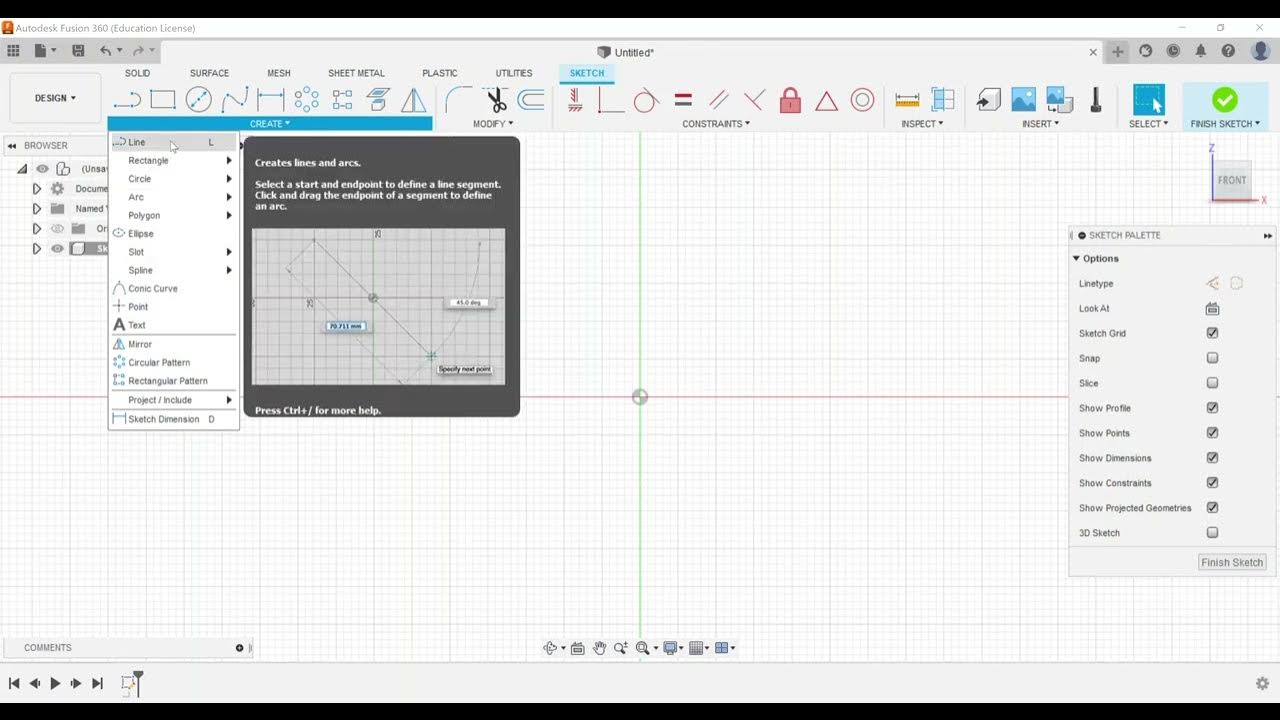
- 🔄 The 'Create' panel is where you can access the sculpt environment, which is not always visible by default.
- 📐 When creating a box, you can choose between center or two-point rectangle methods, relating to sketching exam objectives.
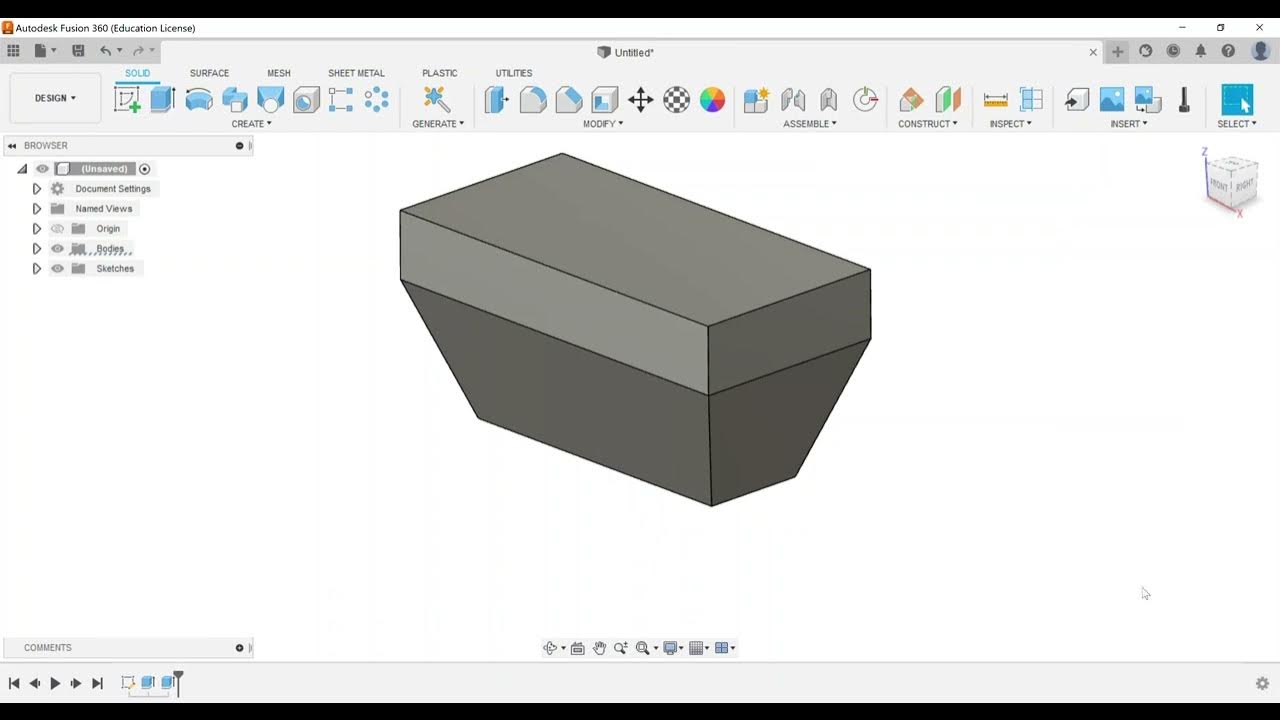
- 🔲 Options for editing a box include changing the number of faces and dimensions, such as length, width, and height.
- 🔄 The number of faces can be adjusted to change the shape's appearance, like going from a cube to a more complex polyhedron.
- 📏 There's no inherent thickness to sculpted forms; they are not solid geometry until further actions are taken.
- 👨🏫 For educational purposes, students are encouraged to experiment with different sculpting options to become familiar with the interface.
- ✂️ Editing options are available for sculpted forms, and these will be covered in more detail in a future video.
- 🔧 A subsequent video will teach how to thicken forms to convert them into solid objects, which is another exam objective.
Q & A
What is the main focus of the video script?
-The main focus of the video script is to guide viewers through the sculpt category of the Autodesk Fusion 360 Certified User Certification Exam objectives, specifically starting with creating a form.
What is the first objective discussed in the video?
-The first objective discussed in the video is to create a form within the sculpt environment of Autodesk Fusion 360.
What are some of the shapes that can be created in the sculpt environment?
-In the sculpt environment, users can create shapes such as a box, plane, cylinder, sphere, torus, quad ball, pipe, face right, and also perform extrusions, revolve, sweeps, or lofts.
How does the 'Create Form' option appear in Fusion 360?
-The 'Create Form' option appears by default in the settings if not customized, or it can be accessed under the 'Create' panel in Fusion 360.
What are the different methods to define the shape of a box in the sculpt environment?
-In the sculpt environment, users can define the shape of a box by choosing the center, selecting symmetric or one side, and deciding whether it is a new body or not.
What does the number of faces allow users to do when creating a box?
-The number of faces allows users to make different editing choices, such as changing the types of faces from two to four, which affects the overall shape of the box.
How can users change the dimensions of the faces in the box?
-Users can change the dimensions of the faces in the box by adjusting the width and height sliders, which updates the size of the box accordingly.
What is the significance of the 'symmetric' option when creating a form?
-The 'symmetric' option allows the form to be mirrored along an axis, creating a symmetrical shape relative to the chosen plane.
Why might a user choose to create a cylinder in the sculpt environment?
-A user might choose to create a cylinder in the sculpt environment to practice creating and manipulating forms that do not have thickness, as cylinders in this context are not solid geometry.
What is the difference between sculpt forms and solid geometry in Fusion 360?
-Sculpt forms in Fusion 360 do not have thickness and are not solid geometry, unlike solid geometry which is a 3D representation of physical objects with volume.
What is the next step after creating a form in the sculpt environment?
-The next step after creating a form is to edit the form, which will be covered in the next video, and subsequently, learn how to thicken forms to turn them into solid objects.
Outlines
🎨 Sculpting in Fusion 360
This video segment focuses on the sculpt category of the Autodesk Fusion 360 Certified User Certification Exam. The primary objective is to create a form. The instructor discusses the potential use of sculpting in an engineering design course and how it might be introduced. They demonstrate how to access the sculpt environment and create a box form, detailing the options available such as choosing the center or a two-point rectangle for the sketch. The instructor also explains how to adjust the number of faces and dimensions of the box, and how to create a new body. They touch on the concept of symmetry and the lack of thickness in sculpt forms, hinting at future lessons on solid geometry.
Mindmap
Keywords
💡Sculpt Category
💡Autodesk Fusion 360
💡Certified User Certification Exam
💡Create a Form
💡Customized Toolbar
💡Box
💡Cylinder
💡Extrusion
💡Revolve
💡Loft
💡Solid Geometry
Highlights
Introduction to sculpt category of Autodesk Fusion 360 certified user certification exam objectives.
Starting with the objective to create a form in the sculpt environment.
Customizing the toolbar for sculpting in Fusion 360.
Accessing the 'Create Form' option in the 'Create' panel.
Creating a form like a box, plane, cylinder, sphere, taurus, quad ball, pipe, face right, and extrusions.
Selecting the type of form creation by center or two-point rectangle.
Choosing symmetric or asymmetric form creation.
Creating a new body for the form.
Selecting the plane for the form creation.
Adjusting the length and width of the form's faces.
Changing the number of faces to alter the form's appearance.
Creating a symmetric box form with specified dimensions.
Information about individual squares or faces when selected.
Creating a cylinder form with the bottom work plane.
Noting the lack of thickness in sculpt forms, indicating they are not solid geometry.
Encouraging students to explore different form creation options.
Discussing the exam objective of setting specific form creation parameters.
Exploring editing options for forms in a subsequent video.
Looking forward to a video on how to thicken forms to make them solid.
Transcripts
hey everyone in this video we're going
to continue on to the sculpt category of
the autodesk fusion
360 certified user certification exam
objectives and with that so we're going
to start off by looking at sculpt and
the first objective the spotlight in
this video will be create a form
so with that we're going to take a look
at look at this little note as i move
into fusion and get prepared
creating a form is not something we do a
lot of if you're teaching the
introduction to engineering design
course for project lead the way so this
is something that you may take a little
maybe a day or so just to add in so
under create this may show up by default
in your settings if you have not
customized your toolbar so i've got mine
customized for this but if you go to the
create panel you can also
choose that option under create form so
this loads us into our sculpt
environment and under here again we're
looking at creating our particular form
so here you can create like a box you
can create a plane a cylinder sphere
taurus a quad ball pipe
face right and then also looking on
doing some extrusions
revolve sweeps or lofts with those
particular shapes so i'm going to take a
look at just doing a box so the first
thing will happen is it'll say what type
it'll go by either center or you can do
a two-point rectangle which corresponds
to our sketching
exam objective i'm going to choose
center have a direction one side or
symmetric i'm going to choose symmetric
and then we want it to be a new body
which is the only option that we have so
i'm going to select what plane i want to
put it on so again it doesn't really
move but i'm going to have it be the
center
draw the rectangle for the box and then
the center where i clicked is directly
in the center for the rectangle so from
here you can make some changes as far as
you know the length of the faces so this
has two i can go to four that'll change
what types of faces the faces allow you
to make some different editing choices
which we will spotlight in another video
for the exam objective and then same
thing here is like the width of the
faces so you can see how it kind of
changes as i change it from two to four
and then what's the sizes of these that
i kind of have so instead of maybe five
inches i'll go to six and you'll be able
to see how it kind of changes the size
here i'm gonna go to six as well so
these are like six by six and again and
then here on the height
we'll go six and then change my number
of faces to four so you can kind of see
this kind of box style that i get
kind of cube symmetric direction
symmetry i have none right now i can
choose mirror if i want to and we can
always look at look at that but i'm just
going to go ahead and say and this is
going to be new body so i'm going to say
okay
and here is our
sculpted shape as i click on individual
faces and everything like that you'll
see that it will tell me like if i
select a face down here what's the loop
length six inches so it'll tell me about
individual
squares or anything of that nature so
on this on this shape you can also do
some things like so box
we can also have like for example a
cylinder
so let me choose the bottom work plane
i'm going to go off to the side here
and let me see if i can track off the
origin there we go
and i'ma draw a circle and here is our
cylinder now the one thing about these
particular
sculpt or forms that we have is that
you're going to notice there's really no
thickness to them they're not solid
geometry
so which will be something that we'll do
in another exam objective but here what
i would do is just kind of maybe have
students play around with some of these
this is going to be one this would be
something fun for them to go through
play around with what are the different
types of
of options that you can go through and
set in there again just become familiar
with what like for example what diameter
what are the span faces
and maybe and what will happen is in the
exam objective
is they will go through and have you set
in different types of settings they'll
tell you what to put in here and create
the shape
and then what are some of the editing
options so create the different shapes
again just practice around and look at
some of those as well so like here for
like an extrusion you know you can go
through
you can see here i selected a face and
extruded this up or extruded this down
works very similar to what it does in
solid except for now like here if i
select multiple
ones for the form you can see what it
extrudes to
and it changes the shape as well as we
go along so this is just becoming a
little bit more familiar with forms and
as you go along
just play around with this and in the
next video we'll take a look at editing
forms
as well as in an in a subsequent video
we'll take a look at how to thicken
forms to turn them into a solid
5.0 / 5 (0 votes)