طريقة تحويل الكاميرا الثابتة الى كاميرا متحركة بواسطة Arduino
Summary
TLDRThis instructional video script details the process of converting a static camera into a movable one using Arduino. It requires two servo motors, which can vary in type, and a control board. The script explains how to connect the servos to the Arduino board and control them to move the camera in all directions. It also discusses the setup and programming necessary to achieve the desired camera movement. The video includes a link to download the code for the project, ensuring clarity and accessibility for viewers interested in transforming their cameras.
Takeaways
- 😀 The video provides a tutorial on converting a static camera into a movable camera using Arduino.
- 🛠️ It requires two servo motors, which are available in various types and specifications, including 90, 180, and 360-degree movement capabilities.
- 🔧 The specific servo motors used in the video are model number 900 and 96, which have a 180-degree movement range.
- 📦 An Arduino board is needed to control the servo motors, and additional control devices are used to manage the motors.
- 🔌 The tutorial covers the wiring process, including connecting the servo motors to the Arduino board and control devices.
- 📹 The camera is mounted in a way that allows it to move horizontally from right to left and vertically from top to bottom.
- 🔄 The video explains the initial setup of the camera and servo motors, including the basic connections and placements.
- 🔋 The Arduino board is powered by a 5-volt source, and the wiring connections for the servo motors are detailed in the video.
- 💻 The video includes a demonstration of uploading the programming code to the Arduino board to control the servo motors.
- 🔗 Links to download the programming code are provided in the video description for those who wish to replicate the project.
- 🤖 The video concludes with a clear demonstration of the converted movable camera in action, ensuring the instructions are understandable.
Q & A
What is the main topic of the video script?
-The main topic of the video script is about converting a static camera into a movable camera using Arduino and servo motors.
What type of camera can be converted into a movable one according to the script?
-A Labtop, tube camera, or a fixed surveillance camera can be converted into a movable camera as per the script.
What are the servo motors mentioned in the script and what types are used in the video?
-The script mentions two types of servo motors, one with 90-degree movement and another with 180-degree movement. The specific models used in the video are 900 and 96, which have 180-degree movement.
What is needed besides the servo motors to control the movable camera?
-Besides the servo motors, an Arduino board and control devices are needed to manage the movements of the servo motors.
How does the script describe the process of setting up the camera and servo motors?
-The script describes the process by first connecting the servo motors to the Arduino board and control devices, then transferring the code to the computer to operate the motors, and finally installing the camera and servo motors in a specific setup.
What are the different types of servo motors mentioned in the script?
-The script mentions that servo motors come in various shapes, types, and capabilities depending on the camera being used.
How many main wires does the Arduino board for the servo motor consist of?
-The Arduino board for the servo motor consists of three main wires: the signal wire, the positive wire, and the negative wire.
What is the voltage source used for the Arduino board mentioned in the script?
-The voltage source used for the Arduino board mentioned in the script is 5 volts.
How are the servo motors connected to the Arduino board in the script?
-The servo motors are connected to the Arduino board through specific pins, with the signal wire connected to pin 5 for the first servo and pin 6 for the second servo, and the positive and negative wires connected to the power and ground of the board.
What is the purpose of the code mentioned in the script?
-The purpose of the code mentioned in the script is to control the movements of the servo motors, allowing the camera to move in different directions.
How can one access the code for the project described in the script?
-The code for the project can be accessed through a download link provided in the video description.
What is the range of movement for the servo motors used in the video?
-The servo motors used in the video have a range of movement from 180 degrees, as specified in the script.
How does the script suggest one should position the camera and servo motors?
-The script suggests that the first servo motor should be positioned to move the camera from right to left, and the second servo motor should be positioned to move the camera up and down.
Outlines

Cette section est réservée aux utilisateurs payants. Améliorez votre compte pour accéder à cette section.
Améliorer maintenantMindmap

Cette section est réservée aux utilisateurs payants. Améliorez votre compte pour accéder à cette section.
Améliorer maintenantKeywords

Cette section est réservée aux utilisateurs payants. Améliorez votre compte pour accéder à cette section.
Améliorer maintenantHighlights

Cette section est réservée aux utilisateurs payants. Améliorez votre compte pour accéder à cette section.
Améliorer maintenantTranscripts

Cette section est réservée aux utilisateurs payants. Améliorez votre compte pour accéder à cette section.
Améliorer maintenantVoir Plus de Vidéos Connexes

MUDAH TERNYATA!!!.. Begini Cara Reset IP Camera Hikvision Terbaru
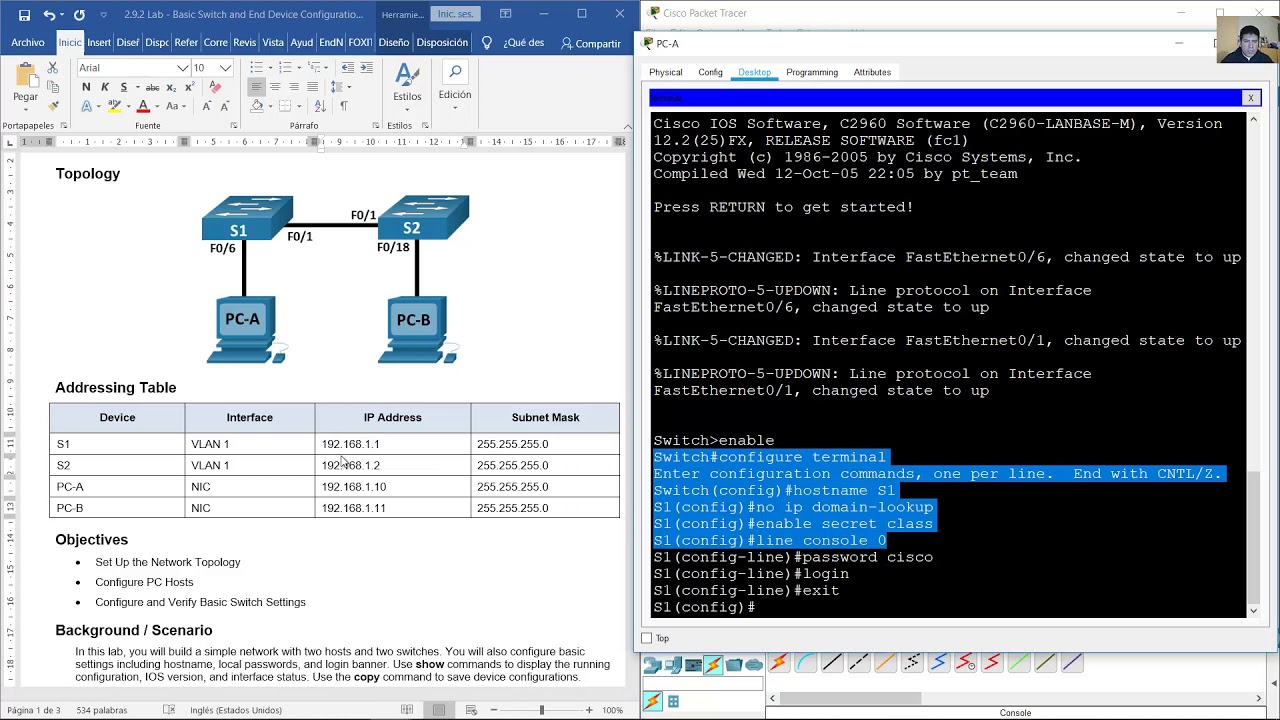
2.9.2 Lab - Basic Switch and End Device Configuration
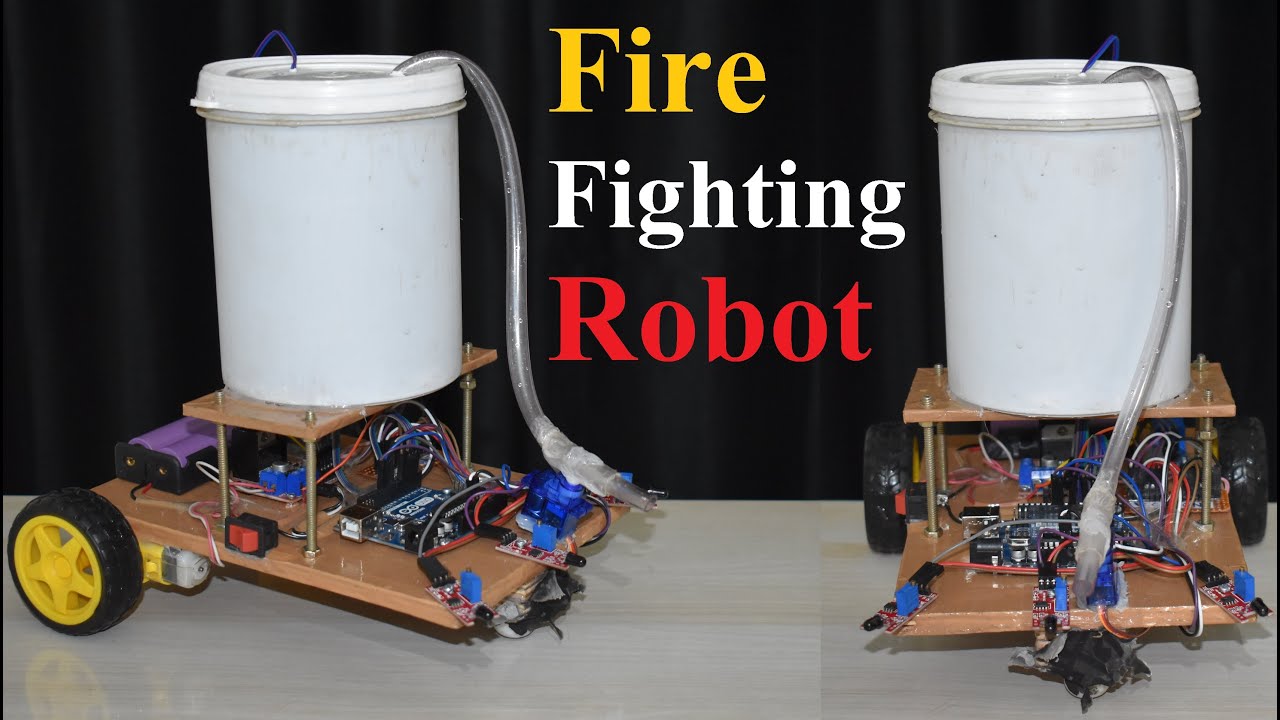
Fire Fighting Robot, Fire Fighting Robotic Car, New Electronics Project #science #shorts
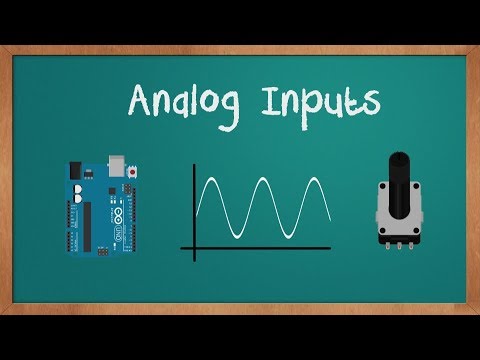
Arduino Analog Inputs
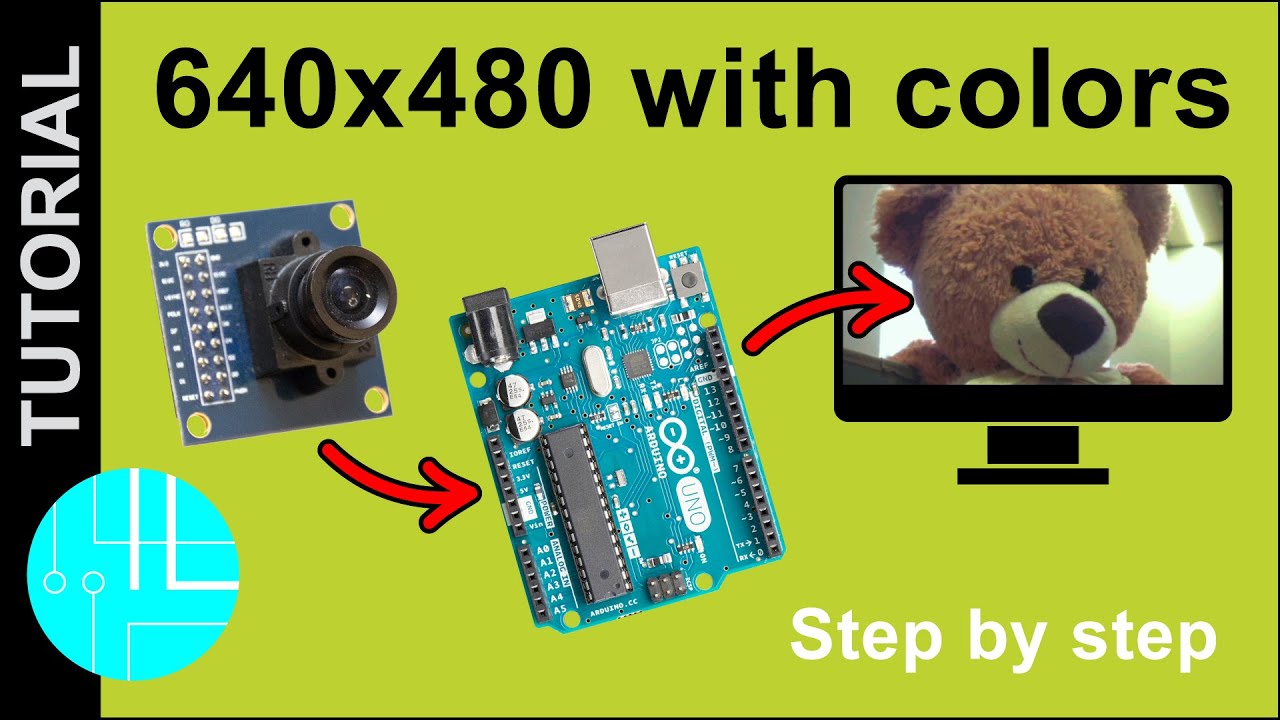
OV7670 Camera module to PC with Arduino (SIMPLIFIED!)

時空間合成【AfterEffects/アフターエフェクト チュートリアル】
5.0 / 5 (0 votes)
