ME ENGINES AIR STARTING VALVE O'HAUL PROCEDURES
Summary
TLDRThis instructional video outlines the maintenance procedures for the air starting valve on a MAN BMW 6S60 MEC 8.2 main engine. It guides viewers through the process of disassembling, cleaning, lapping, and reassembling the valve after every 12,000 running hours. The tutorial emphasizes the importance of a leak test and function check to ensure the valve operates correctly. Stay tuned for the next video on troubleshooting engine alignment errors.
Takeaways
- 🔧 The video provides a guide on how to overhaul an air starting valve on the cylinder heads of MAN B&W 6S60 MEC 8.2 main engines.
- ⏱ Maintenance of the starting air valves is required every 12,000 running hours for engines with a cylinder bore of 50 to 70 centimeters.
- 🛠️ The valve must be removed from the cylinder head, placed horizontally, and the top cover with eight Allen bolts unscrewed for maintenance.
- 🔨 A marking should be made to identify the position of the top cover for correct reassembly.
- 🔩 The piston is secured to the spindle by two screws, which are held in place by a locking device that needs to be removed.
- 🌐 After removing the piston and spring, carbon deposits should be cleaned off the piston using a wooden piece.
- 🧼 All disassembled parts must be thoroughly cleaned using clean diesel oil.
- 🛠️ The valve housing seating may need grinding or lapping depending on its condition, using grinding paste and lapping techniques.
- 🔍 Post-laping, a surface contact test is conducted to ensure perfect sealing between the valve spindle and housing.
- 🤏 Reassembly includes lubricating all internal parts with molybdenum disulfide and correctly positioning the piston and locking device.
- 💧 A leak test with clean diesel oil is essential to check the valve spindle's seal against the valve housing.
- 📊 A functional test involves using a special adapter tool, connecting service air, and ensuring the valve opens approximately 15 to 20 mm.
Q & A
What is the purpose of the video?
-The video provides a detailed procedure for overhauling an air starting valve installed on the cylinder heads of MAN B&W 6S60 MEC 8.2 main engines.
Why is it important to have a continuous 24-volt DC supply to the main engine remote control systems?
-A continuous 24-volt DC supply is crucial for maintaining the functionality and reliability of the main engine remote control systems.
How often should the starting air valves be overhauled according to the maintenance schedule?
-The starting air valves on a 50 to 70 centimeter cylinder bore of M engines should be overhauled after every 12,000 running hours.
What is the first step in the overhaul process of the air starting valve?
-The first step is to uninstall the valve from the cylinder head and bring it to the workshop.
How many Allen bolts need to be unscrewed to remove the top cover of the valve?
-Eight Allen bolts need to be unscrewed to remove the top cover of the valve.
What is the purpose of the locking device on the screws that secure the piston to the spindle?
-The locking device prevents the screws from loosening and ensures the piston remains securely attached to the spindle.
What should be used to clean the valve housing and other parts after dismantling?
-Clean diesel oil should be used to clean the valve housing and other parts to remove any deposits.
What is the purpose of grinding or lapping the valve housing seating?
-Grinding or lapping the valve housing seating is done to ensure a perfect seal between the valve spindle and the valve housing, depending on its condition.
How can you ensure perfect sealing between the valve spindle and the valve housing after lapping?
-A surface contact test should be conducted to ensure perfect sealing between the surfaces of the valve spindle and the valve housing.
What is the importance of the leak test and operation check after assembling the valve?
-The leak test and operation check are important to ensure the valve is functioning correctly and there are no leaks in the valve spindle's seal with the valve housing.
What is the expected opening range of the valve during the function test?
-The valve should open approximately 15 to 20 mm during the function test.
What is the next topic the video creator plans to cover in an upcoming video?
-The next topic will be troubleshooting the M engines Taco alignment error problem.
Outlines

Cette section est réservée aux utilisateurs payants. Améliorez votre compte pour accéder à cette section.
Améliorer maintenantMindmap

Cette section est réservée aux utilisateurs payants. Améliorez votre compte pour accéder à cette section.
Améliorer maintenantKeywords

Cette section est réservée aux utilisateurs payants. Améliorez votre compte pour accéder à cette section.
Améliorer maintenantHighlights

Cette section est réservée aux utilisateurs payants. Améliorez votre compte pour accéder à cette section.
Améliorer maintenantTranscripts

Cette section est réservée aux utilisateurs payants. Améliorez votre compte pour accéder à cette section.
Améliorer maintenantVoir Plus de Vidéos Connexes
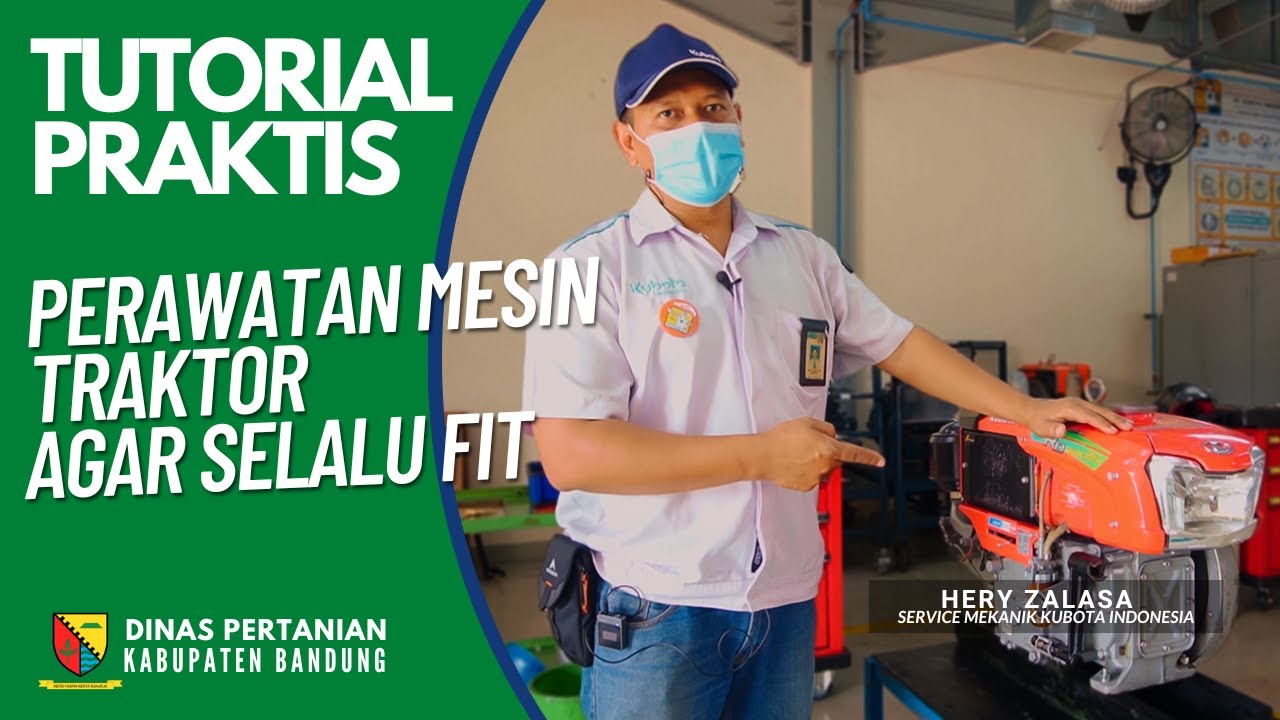
Tutorial Praktis Perawatan Mesin Traktor agar Selalu Fit

Mengelas Pelat Posisi di Bawah Tangan(1F, 1G) dengan Proses Las GMAW - Teknik Pengelasan

HVAC: How To Install a Bullet Piercing Valve On Any AC/Refrigeration System (Supco BPV21 BPV31)
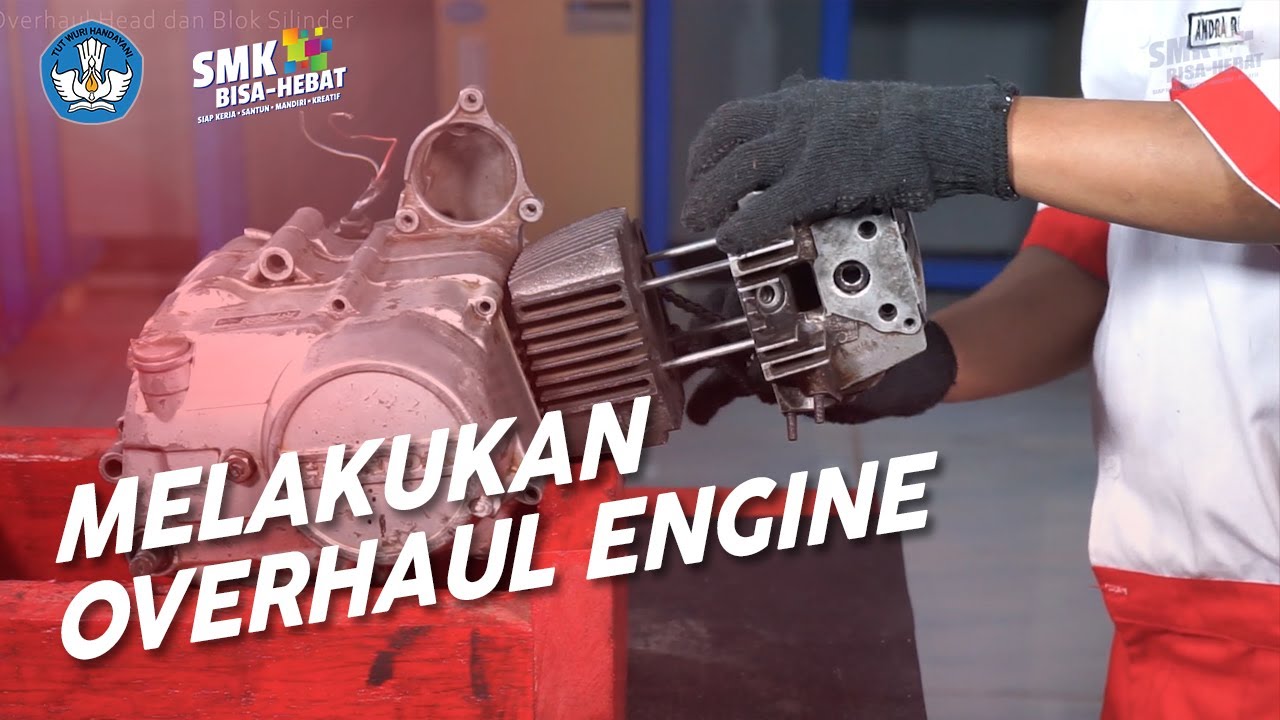
Melakukan Overhaul Engine dan Menilai Komponen-komponennya - Teknik dan Bisnis Sepeda Motor

KONGSBERG Simulator l Engine - How to start Diesel Generator #1 and supply power

Gate Valve Gland Packing, How to Tutorial by Kevin Ging
5.0 / 5 (0 votes)
