How to add Welcome Email on Queue
Summary
TLDRThis tutorial demonstrates how to set up a welcome email for clients who purchase a service or are invited to a project. It guides through the process of creating an email with a subject line, adding a heading, text, and a button. The email is customized with styling, such as black text on a white background, and can be previewed on various devices. The final step includes setting the button URL to the client portal and publishing the email for automatic delivery.
Takeaways
- 📧 The script is about setting up a welcome email for clients after they purchase a service or are invited to a project.
- 🔗 The process begins by navigating to the 'Customizations' and then to the 'Welcome Email' section.
- 📝 The first step is to create a welcome email with a subject line, in this case, 'Welcome to Q'.
- 🔄 The script suggests deleting any existing columns and adding a new one for the email content.
- 📌 A heading is added to the email, which can be customized to reflect the agency's name.
- 💬 A welcome message is included beneath the heading, which serves as a personalized greeting to the client.
- 🔲 A button is added to the email with text such as 'Client Portal', which can be styled to match the brand's aesthetic.
- 🎨 The email's design includes padding, background color, and centered text for a clean and professional look.
- 🔗 The button in the email should link to the client's portal or the agency's website domain.
- 🔍 Preview options are available to view the email on different devices like mobile, tablet, and desktop.
- 🚀 Once the email is set up, it can be published or previewed, and it will be automatically sent to clients upon invitation or purchase.
Q & A
What is the purpose of setting up a welcome email?
-The purpose of setting up a welcome email is to send it to clients whenever they purchase a service or are invited to a project, providing a warm greeting and important information.
Where can you find the option to create a welcome email?
-You can find the option to create a welcome email by going to the 'Customizations' section and then selecting 'Welcome Email'.
What should be the subject line of the welcome email?
-The subject line of the welcome email should be something welcoming and specific, like 'Welcome to Q', which can be customized to include your agency's name.
How do you add a column to the welcome email?
-You can add a column to the welcome email by deleting the existing one and then adding a new one with a heading, text, and a button.
What should the heading of the welcome email say?
-The heading of the welcome email should be a welcoming phrase, such as 'Welcome to Q', which can be personalized to include your agency's name.
What kind of message should be included in the welcome email?
-The welcome email should include a warm welcome message that introduces the client to your services or project and makes them feel welcomed.
How can you style the button in the welcome email?
-You can style the button in the welcome email by changing the text to something like 'Client Portal', and applying a black on white text style for better visibility.
What is the purpose of the button in the welcome email?
-The button in the welcome email typically directs the client to a client portal or a specific page on your website where they can access more information or services.
How do you ensure the button in the welcome email works correctly?
-You ensure the button works correctly by clicking on it and providing the URL of your website domain, such as 'main.com' or 'client.example.com'.
What are the different views you can preview the welcome email in?
-You can preview the welcome email in different views, such as desktop, tablet, and mobile, to ensure it looks good on all devices.
How can you customize the welcome email further?
-You can further customize the welcome email by adding images, adjusting the padding, changing the background color, and centering the text to make it visually appealing.
What happens after you publish the welcome email?
-After publishing the welcome email, it will be automatically sent to any client who gets invited to a project or purchases a service.
Outlines

Cette section est réservée aux utilisateurs payants. Améliorez votre compte pour accéder à cette section.
Améliorer maintenantMindmap

Cette section est réservée aux utilisateurs payants. Améliorez votre compte pour accéder à cette section.
Améliorer maintenantKeywords

Cette section est réservée aux utilisateurs payants. Améliorez votre compte pour accéder à cette section.
Améliorer maintenantHighlights

Cette section est réservée aux utilisateurs payants. Améliorez votre compte pour accéder à cette section.
Améliorer maintenantTranscripts

Cette section est réservée aux utilisateurs payants. Améliorez votre compte pour accéder à cette section.
Améliorer maintenantVoir Plus de Vidéos Connexes
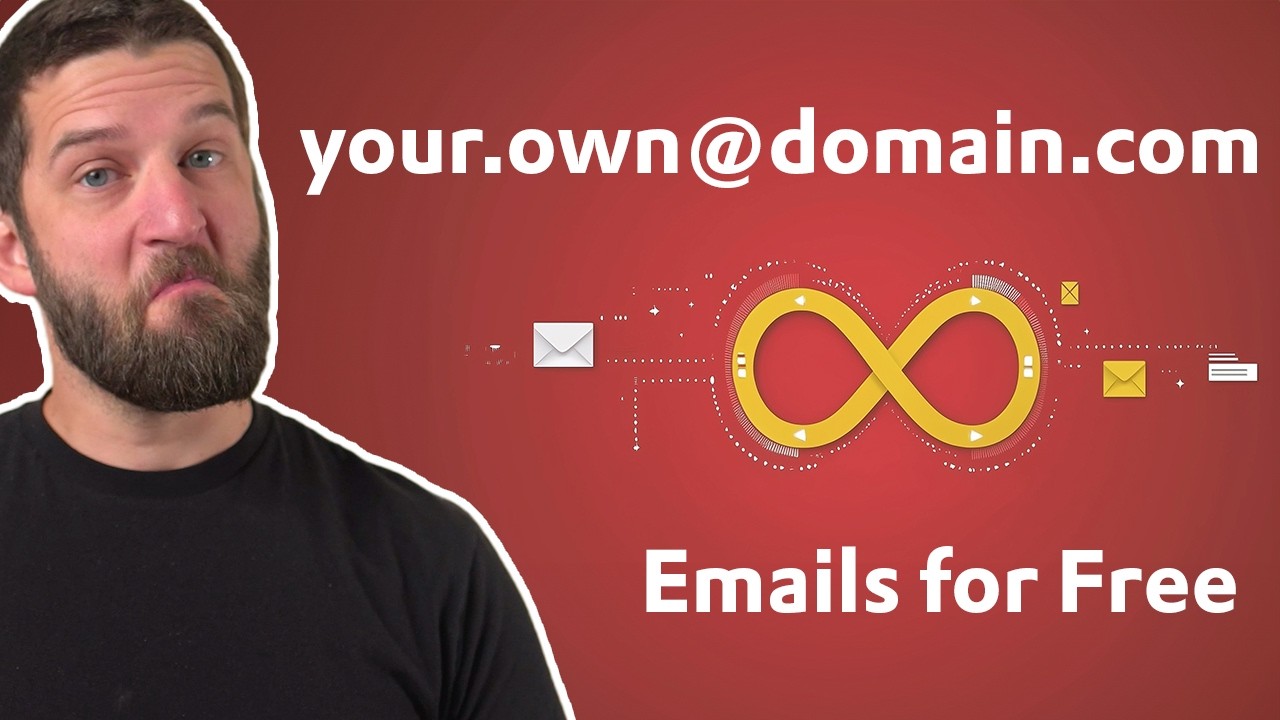
Free Unlimited Custom Domain Email Addresses with Gmail and Cloudflare.

How to track credits on Queue
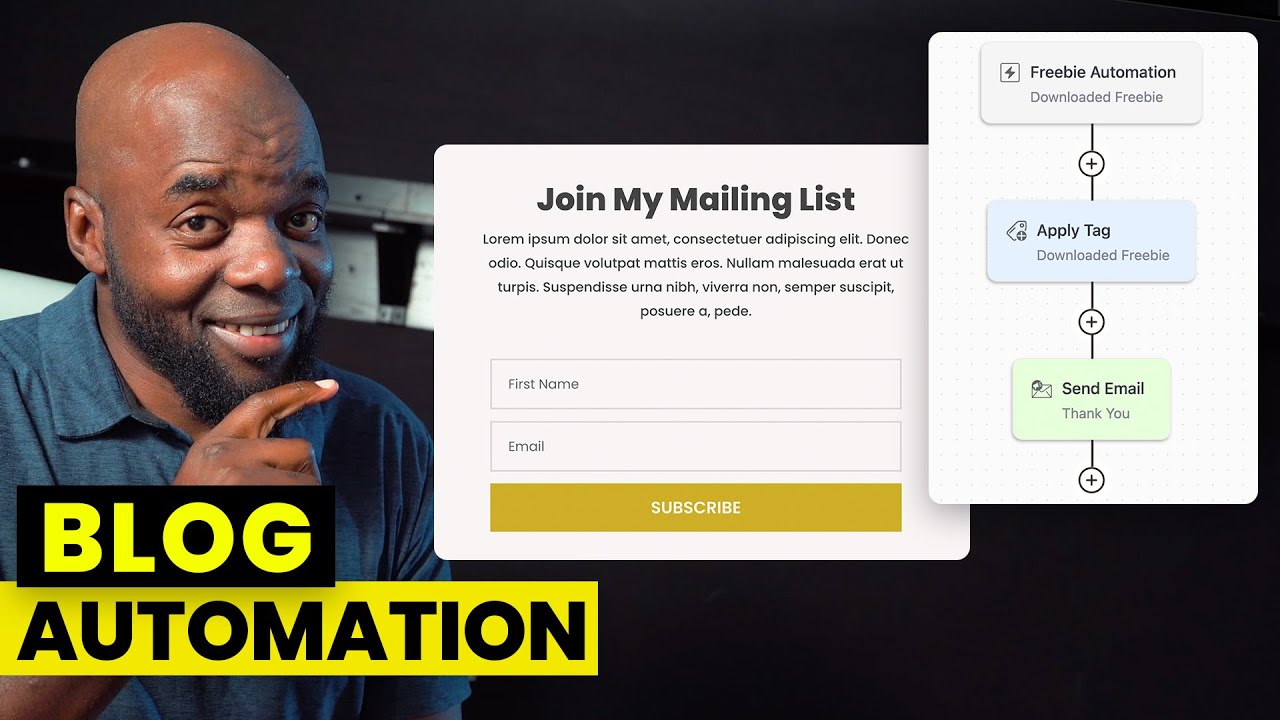
Email Marketing Automation with FluentCRM

How to use Leonardo AI free unlimited token | Leonardo ai free unlimited token | Leonardo Ai
Fungsi Htb 3100 Cara Pasang Htb 3100 Netlink

Konfigurasi Mudah DHCP SERVER di Cisco Packet Tracert dengan 1 Server 1 Switch 3 Client
5.0 / 5 (0 votes)
