Simulasi pemrograman arduino Uno menggunakan wokwi"Lampu otomatis menggunakan sensor gerak "
Summary
TLDRIn this video, the creator demonstrates a project using Arduino Uno and a passive infrared (PIR) motion sensor to build an interactive automatic light system for a wardrobe. The tutorial covers assembling the components, including connecting the PIR sensor, LED, and resistor, followed by coding the system to detect motion. The lamp turns on when movement is detected inside the wardrobe, such as when retrieving clothes, and remains off when there is no motion. The video provides clear, step-by-step guidance, making it accessible for beginners, while emphasizing practical applications and experimentation in creating smart home devices.
Takeaways
- 😀 The project demonstrates creating an automatic light system using a passive infrared (PIR) motion sensor with Arduino.
- 😀 The intended application is for use inside a wardrobe or closet to automatically detect motion.
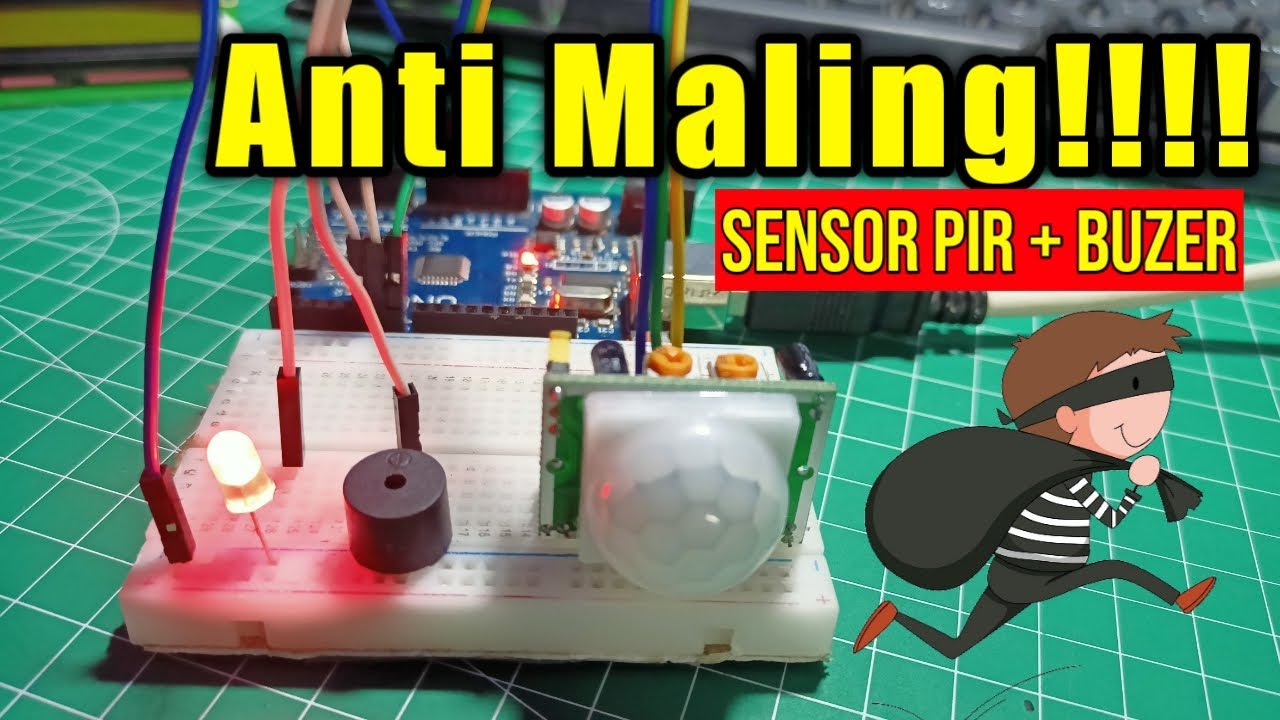
- 😀 The main components used are Arduino Uno, PIR sensor, LED, 330-ohm resistor, and jumper wires.
- 😀 The PIR sensor detects motion and has three pins: VCC (5V), OUT (data output), and GND (ground).
- 😀 The LED is connected through a 330-ohm resistor to the Arduino to indicate when motion is detected.
- 😀 In the Arduino code, a variable is assigned for the sensor output pin and another for the LED status (on/off).
- 😀 The LED lights up when motion is detected and turns off when no motion is detected.
- 😀 The system can distinguish between simply opening the wardrobe door (no motion detected) and actual movement inside (motion detected).
- 😀 The duration the light stays on can be adjusted in the code, allowing flexibility in usage.
- 😀 The presenter emphasizes careful wiring and coding to ensure the sensor correctly controls the LED.
- 😀 The project serves as an interactive example of basic Arduino programming and motion sensor integration.
- 😀 The video encourages learning through practical experimentation and apologizes for any unclear explanations.
Q & A
What is the main purpose of the Arduino project described in the video?
-The main purpose is to create an automatic lamp that turns on when motion is detected inside a wardrobe using a PIR sensor.
Which components are required for this project?
-The project requires an Arduino Uno, a PIR motion sensor, an LED, a 330Ω resistor, and connecting wires.
How does a PIR sensor work in this project?
-The PIR sensor detects motion by sensing changes in infrared radiation from moving objects. When motion is detected, it sends a signal to the Arduino.
Which pin on the Arduino is used for the PIR sensor output?
-The PIR sensor output is connected to digital pin 4 on the Arduino, though this can be adjusted in the code.
How is the LED connected to the Arduino and resistor?
-The LED's anode (long leg) is connected to one end of the 330Ω resistor, which is then connected to digital pin 5 on the Arduino. The cathode (short leg) is connected to GND.
What does the 'P status' variable in the code represent?
-The 'P status' variable represents the current state of the lamp, indicating whether it is ON or OFF.
How does the lamp behave when the wardrobe door is opened but no motion occurs inside?
-If the wardrobe door is opened without movement inside, the PIR sensor does not detect motion, and the lamp remains off.
How can the lamp’s on-time be adjusted?
-The lamp’s on-time can be adjusted in the Arduino code by changing the timing settings in the loop that controls how long the LED stays on after motion is detected.
What is the function of the 330Ω resistor in this project?
-The resistor limits the current flowing through the LED to prevent it from burning out.
Why is it important to correctly connect the PIR sensor's pins?
-Incorrect connections may prevent the sensor from functioning properly, causing the lamp to fail to respond to motion.
Can the PIR sensor pin used in the code be changed?
-Yes, although pin 4 is used in the example, the PIR sensor output can be connected to any other digital pin, as long as the code is updated accordingly.
What practical application does this project demonstrate?
-This project demonstrates automated interior lighting for wardrobes or small spaces, enhancing convenience and energy efficiency by turning the light on only when motion is detected.
Outlines

Cette section est réservée aux utilisateurs payants. Améliorez votre compte pour accéder à cette section.
Améliorer maintenantMindmap

Cette section est réservée aux utilisateurs payants. Améliorez votre compte pour accéder à cette section.
Améliorer maintenantKeywords

Cette section est réservée aux utilisateurs payants. Améliorez votre compte pour accéder à cette section.
Améliorer maintenantHighlights

Cette section est réservée aux utilisateurs payants. Améliorez votre compte pour accéder à cette section.
Améliorer maintenantTranscripts

Cette section est réservée aux utilisateurs payants. Améliorez votre compte pour accéder à cette section.
Améliorer maintenantVoir Plus de Vidéos Connexes

Arduino Sensor Gerak PIR Untuk Otomatis Lampu Ruang Menggunakan WOKWI Tutorial DIY @tptumetro

Automatic Lighting System with Arduino and PIR Sensor - Tinkercad Arduino Projects for Beginners
Alarm Anti Maling!!! Menggunakan Sensor PIR

DIY hand sanitizer automatic dispenser infrared & servo

How to use PIR Motion Sensor with Arduino | Motion sensor light

Cara Membuat Tempat Sampah Pintar Otomatis Menggunakan Arduino Uno
5.0 / 5 (0 votes)
