Wheelchair Chest
Summary
TLDRThis video demonstrates the process of performing wheelchair chest X-rays, covering both AP (anterior-posterior) and lateral views. Key steps include positioning the patient correctly in the wheelchair, centering the film, and adjusting the X-ray settings to minimize heart and lung magnification. The importance of shielding, correct film placement, and proper respiration instructions is emphasized. The video also addresses challenges such as managing wheelchair handles and ensuring no obstructions or foreign bodies are present, providing a comprehensive guide for technicians performing chest X-rays on non-ambulatory patients.
Takeaways
- 😀 The patient is non-ambulatory and will be in a wheelchair during the X-ray procedure.
- 😀 The standard views for a wheelchair chest X-ray are the AP (anteroposterior) and lateral views.
- 😀 The film size used for the X-ray is 14x17 inches, placed behind the patient crosswise.
- 😀 The film should be positioned approximately 1.5 inches above the top of the patient's shoulders.
- 😀 The SID (Source-to-Image Distance) for both views should be 72 inches to reduce magnification of the heart and lungs.
- 😀 The technical factors for the AP view are 96 kV and 2 mAs (average settings).
- 😀 The centering for the AP chest X-ray is 3 to 4 inches below the jugular notch, around T7.
- 😀 For the AP view, the patient should roll their shoulders forward, relax, and keep the chin up.
- 😀 The tube should be angled 5 degrees to ensure the X-ray is perpendicular to the sternum and to avoid a lordotic chest view.
- 😀 For the lateral chest X-ray, a sponge is used behind the patient’s back to prevent the wheelchair from obstructing the X-ray.
- 😀 It's crucial to remove any foreign objects such as jewelry, bras with underwires, glasses, or buttoned shirts that could interfere with the X-ray clarity.
Q & A
Why is the SID (Source to Image Distance) set to 72 inches for wheelchair chest X-rays?
-The SID is set to 72 inches to reduce magnification of the heart and lungs, ensuring a more accurate X-ray image with less distortion.
What is the typical technical setting for an AP wheelchair chest X-ray?
-The typical technical settings for an AP wheelchair chest X-ray are 96 kV at 2 mAs, which are average values for this type of image.
How should the patient’s positioning be adjusted for an AP chest X-ray?
-The patient should have their shoulders rolled forward and relaxed. The chin should be lifted, and the film should be positioned approximately 1 to 1.5 inches above the patient's shoulders.
What is the importance of collimation in X-ray positioning?
-Collimation ensures that the X-ray beam is focused on the area of interest, reducing unnecessary exposure and improving the clarity of the image.
Why is the patient instructed to take a second deep breath and hold it during the X-ray?
-Instructing the patient to take a second deep breath and hold it ensures that the lungs are fully expanded, providing the clearest possible image for viewing the chest and lungs.
Why is the tube angled 5° in the AP chest X-ray for wheelchair patients?
-The tube is angled 5° to ensure the X-ray is perpendicular to the sternum, preventing a lordotic appearance and ensuring the clavicles are below the apex of the lungs.
What are the challenges when performing a lateral chest X-ray for wheelchair patients?
-Challenges include dealing with the wheelchair’s structure, such as the handles and wheels, which may obstruct positioning. Additionally, the patient needs to lean forward, which may require adjustments with a sponge for support.
What is the significance of using a sponge behind the patient in the lateral chest X-ray?
-The sponge is used to help the patient lean forward, ensuring the wheelchair does not interfere with the positioning and providing a clearer lateral view of the chest.
How is centering determined for the lateral chest X-ray?
-Centering for the lateral chest X-ray is determined by using the jugular notch and moving about 3 to 4 inches downward to approximately the level of T7, or by using the vertebral prominence as a reference.
What precautions should be taken regarding clothing and accessories before performing chest X-rays?
-Patients should remove any clothing with metal components such as bras with underwires, necklaces, glasses, or shirts with buttons, as these can obscure important anatomy in the X-ray image.
Outlines

Cette section est réservée aux utilisateurs payants. Améliorez votre compte pour accéder à cette section.
Améliorer maintenantMindmap

Cette section est réservée aux utilisateurs payants. Améliorez votre compte pour accéder à cette section.
Améliorer maintenantKeywords

Cette section est réservée aux utilisateurs payants. Améliorez votre compte pour accéder à cette section.
Améliorer maintenantHighlights

Cette section est réservée aux utilisateurs payants. Améliorez votre compte pour accéder à cette section.
Améliorer maintenantTranscripts

Cette section est réservée aux utilisateurs payants. Améliorez votre compte pour accéder à cette section.
Améliorer maintenantVoir Plus de Vidéos Connexes

Assessment of CXR Positioning & Views - How to Read a Chest X-Ray (Part 4) - MEDZCOOL

Radiology of Thorax (Chest)

How to Interpret a Chest X-Ray (Lesson 1 - An Introduction)

Chest X-ray: Introduction and Approach
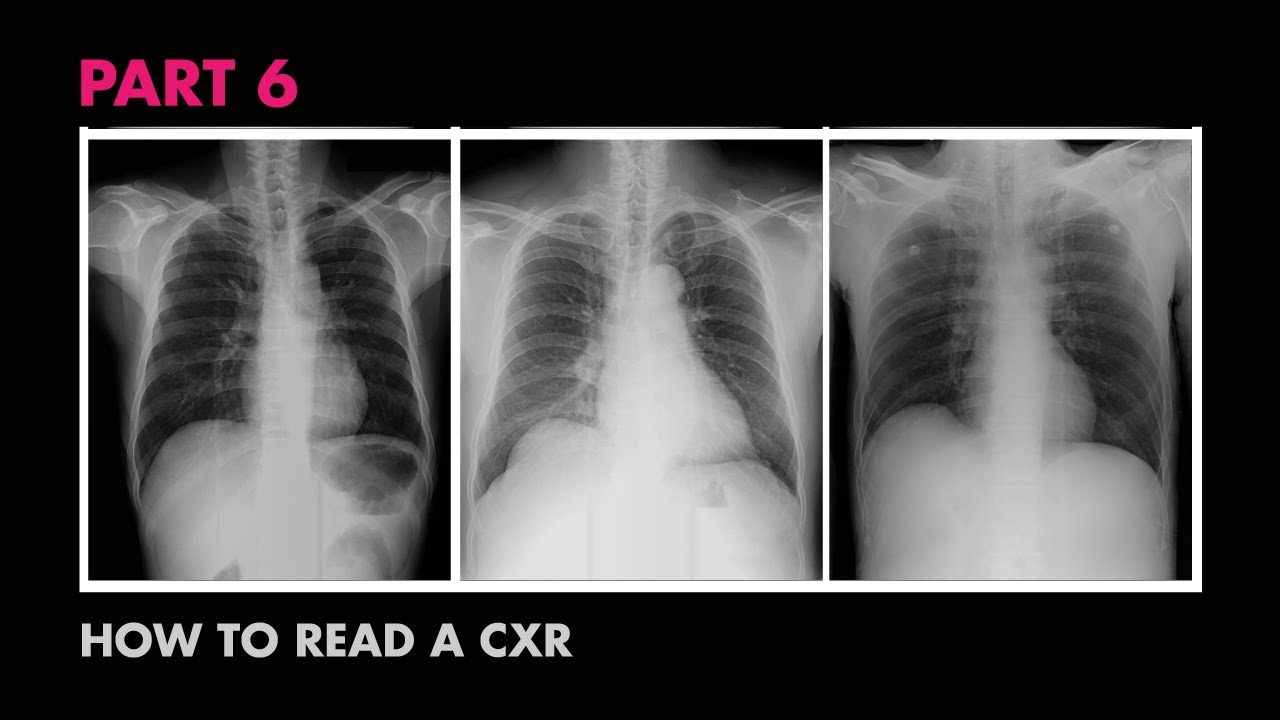
CXR Bones & Soft Tissue - How to Read a Chest X-Ray (Part 6) - MEDZCOOL
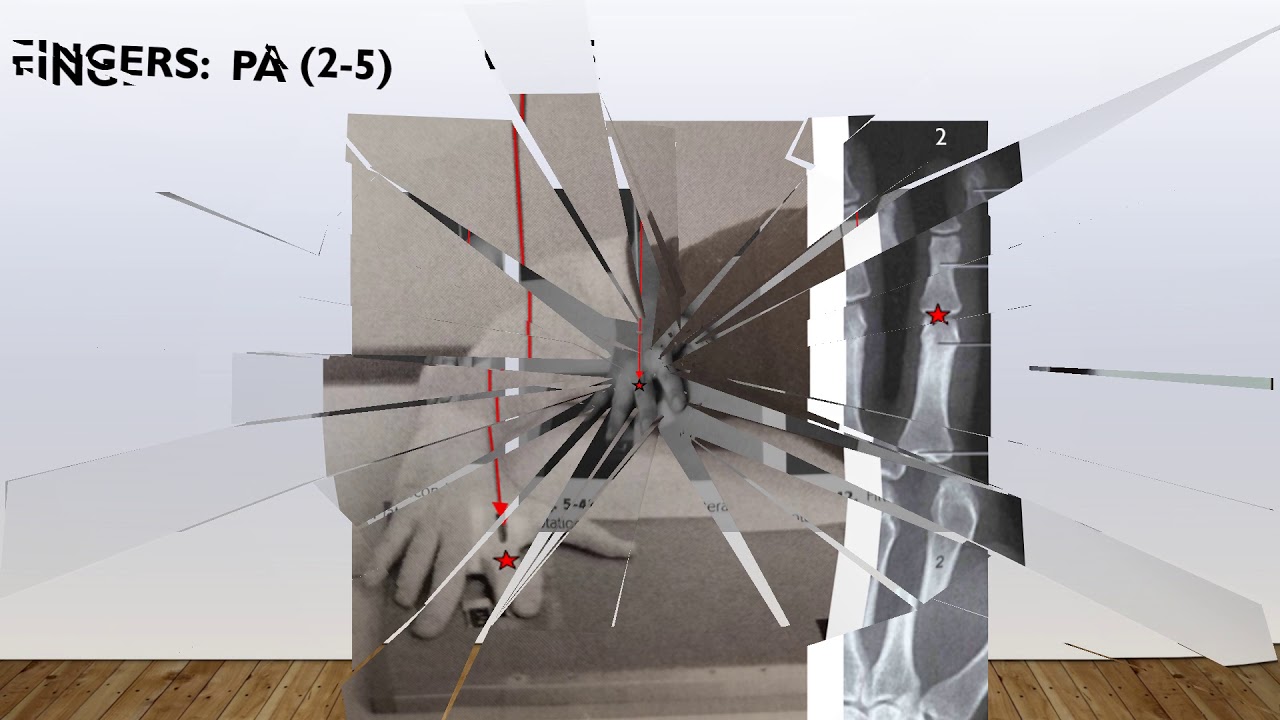
Radiographic Upper Extremity Positioning
5.0 / 5 (0 votes)
