Rangkaian lampu dengan push button 1
Summary
TLDRIn this tutorial, Hani Fitria and Diviar TK Putri guide viewers through assembling a push-button and LED circuit using an Arduino Uno. The process includes connecting key components such as jumper cables, LED lights, push buttons, and resistors. The setup is followed by coding the circuit, with clear instructions on configuring pins for input and output. The video concludes with a successful upload and verification of the working circuit, providing an insightful and beginner-friendly guide for anyone interested in creating basic electronic projects.
Takeaways
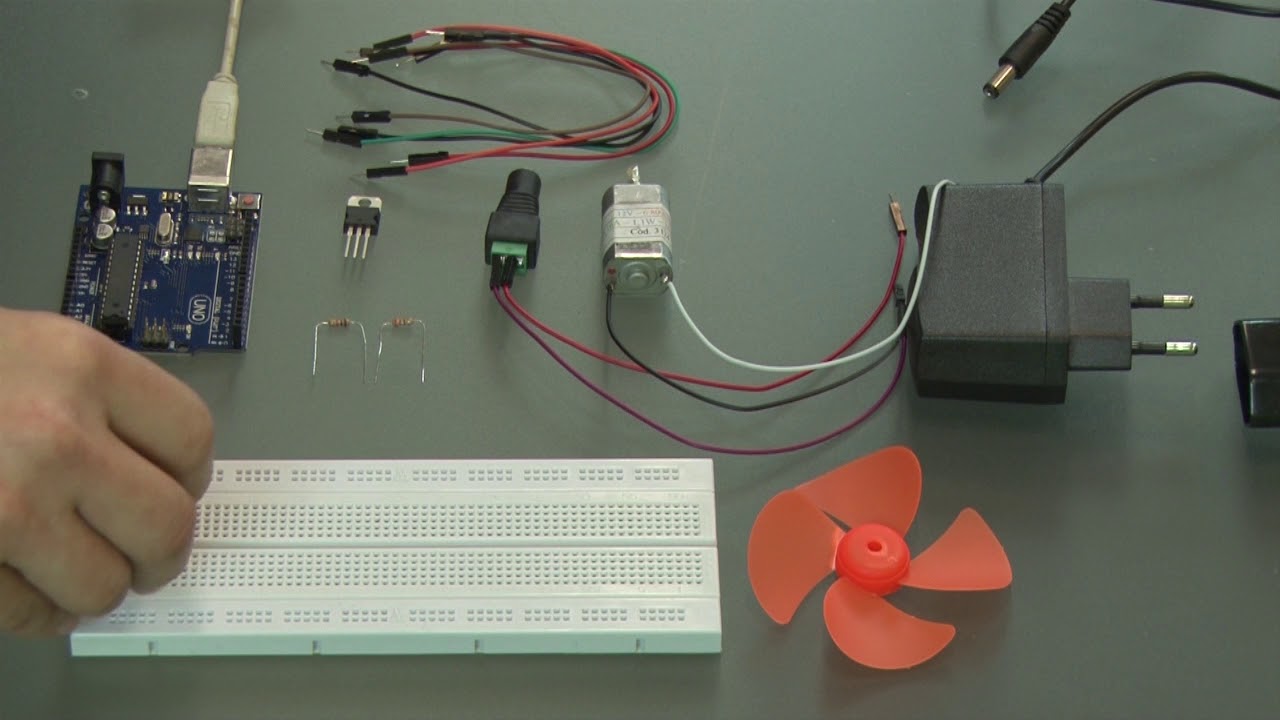
- 😀 The video introduces tools required to build push button and LED circuits, including a breadboard, jumper cables, LED lights, push buttons, resistors, Arduino Uno, and a USB cable.
- 😀 Hani Fitria presents the tools and explains their roles in the circuit setup.
- 😀 Diviar TK Putri demonstrates the assembly process, including where to place components such as the LED, push button, and resistor.
- 😀 Pin 15D is used to install the positive LED, while the push button is placed at pin number 10 between E and F.
- 😀 The resistor's negative side is connected to pin 15, and jumper cables are used to make the necessary connections.
- 😀 The ground (GND) rail is used to complete the circuit's negative side connections.
- 😀 Lutfalani discusses the code required to set up the pins on the Arduino, specifically setting pin 8 as an output and pin 2 as an input with an internal pull-up resistor.
- 😀 The Arduino code contains logic that lights up the LED when the button is pressed and turns it off when the button is released.
- 😀 The setup code includes defining pin modes for input and output using `pinMode()` function calls.
- 😀 The video concludes with the upload process and testing the circuit, confirming that the LED works as expected when the button is pressed.
Q & A
What tools are introduced in the video script?
-The tools introduced include a backboard, jumper cables, LED lights, push buttons, resistors, the Arduino Uno, and a USB cable.
What is the first step in the assembly process mentioned in the script?
-The first step is installing the positive lamp at pin number 15D on the Arduino board.
Where is the push button installed in the assembly?
-The push button is installed at pin number 10, positioned between pins E and F.
What is the role of the resistor in the circuit setup?
-The resistor is placed at the negative side of the circuit, around pin 15, to regulate the current flow.
How is the pin configuration described in the script?
-Pin 8 is connected to the first cable, and the configuration continues with pin 2 to 8C, then from C10 to negative, and finally from GND to negative.
What does the term 'Asalamualaikum warahmatullahi wabarakatuh' signify?
-It is a common Arabic greeting that means 'Peace be upon you, and Allah's mercy and blessings'.
What is the purpose of marking pin 8 as output in the code?
-Pin 8 is marked as an output pin in the setup to control the LED or another output device.
What action is taken after marking pin 8 as output in the code?
-After marking pin 8 as output, the code sets pin 2 as an input pin and activates the pull-up resistor.
What does the code snippet 'digitalWrite(pin, LOW)' do?
-The 'digitalWrite(pin, LOW)' command in the script sets the output of the specified pin to LOW, which typically turns off a connected device like an LED.
What happens after verifying the circuit setup in the script?
-After the circuit setup is verified, the program is uploaded to the Arduino board, and the setup is ready to be tested.
Outlines

Cette section est réservée aux utilisateurs payants. Améliorez votre compte pour accéder à cette section.
Améliorer maintenantMindmap

Cette section est réservée aux utilisateurs payants. Améliorez votre compte pour accéder à cette section.
Améliorer maintenantKeywords

Cette section est réservée aux utilisateurs payants. Améliorez votre compte pour accéder à cette section.
Améliorer maintenantHighlights

Cette section est réservée aux utilisateurs payants. Améliorez votre compte pour accéder à cette section.
Améliorer maintenantTranscripts

Cette section est réservée aux utilisateurs payants. Améliorez votre compte pour accéder à cette section.
Améliorer maintenantVoir Plus de Vidéos Connexes
Arduino - Aula 22 - Experimento 9 - Motor elétrico
BELAJAR ARDUINO #101 - Simulator Arduino Yang Cocok Bagi Kita Semua!!

Arduino Lesson 2 - digitalRead & digitalWrite
2023 Arduino Tutorial for Beginners 07 - Digital Output 02 - Build a LED Circuit
Program Arduino Lampu Kedip Secara Online Gunakan WOKWI Tutorial DIY @tptumetro

BELAJAR 49 PEMROGRAMAN ARDUINO - Online Simulator Arduino
5.0 / 5 (0 votes)
