DIY Arduino Powered Lie Detector
Summary
TLDRこのビデオでは、Arduinoを使い作ったArduinoパワードの嘘検出器について紹介しています。皮膚の電気伝導率、つまりガルバニック皮膚反応を測定することで嘘をつくかどうかを検出する仕組みです。研究によると嘘をつくと皮膚の抵抗が変わるため、事前に正直に答えられる質問と嘘をつく質問の皮膚抵抗を測定し、比較して嘘を検出します。最も正確なシステムではないが、友達との面白いトリックとして役立つこともあります。プロジェクトにはArduino Nano、緑・オレンジ・赤のLED、220オーム抵抗が必要で、それらを適切に接続し、シリアル通信を通じてデータを可視化します。ケースと指用パッドも作って、使いやすさを向上させています。
Takeaways
- 😀 このビデオでは、Arduinoを使って作った皮膚電気反応(ガルバニック皮膚反応)を測定する装置の作り方を紹介しています。
- 🔍 皮膚の電気伝導率を測定し、嘘をついたり感情が変わると皮膚の抵抗が変わるという研究に基づいています。
- 🎨 装置は、緑色のLED、オレンジ色のLED、赤色のLED、220Ωの抵抗子を使用して作られています。
- 👨💻 Arduino Nanoを使用し、シリアル通信が必要です。他のマイクロコントローラーでは動作しない可能性があるため、詳細はウェブサイトを確認する必要があります。
- 🔌 LEDと抵抗子を特定の順序で配線し、それらをArduinoに接続します。
- 💻 Arduino IDEにコードを書き込み、正しいボードとポートを選択してアップロードします。
- 📊 シリアルプロッターを使ってデータをグラフ形式で確認できます。
- 👆 装置を使用する際は、人差し指と中指を使ってアナログピン0と5Vピンに接触させます。
- 🚦 LEDは特定の抵抗値のしきい値に応じて点灯し、嘘をついているかどうかを視覚的に判断します。
- 🛠 ケースと指のストラップシステムを使って装置を作り、指に装着しやすく設計されています。
- 📹 制作した装置をテストし、指に装着して質問をすることで嘘をつかせるかどうかを検証します。
Q & A
このビデオでは何を作りましたか?
-このビデオでは、Arduinoを動力源にした嘘を検知する装置を作りました。
嘘を検出する方法は何ですか?
-嘘を検出する方法は、皮膚のガルバニック皮膚反応(皮膚の導電度)を測定することです。嘘をついたり感情が変わると皮膚の抵抗が変わると研究によると言えます。
Arduino Nanoは何に必要ですか?
-Arduino Nanoはシリアル通信を持つマイクロコントローラーに必要で、それによってGemma、LilyPad、Adafruit Trinketなどの一部のボードは動作しません。
プロジェクトに必要な基本的な部品は何ですか?
-プロジェクトに必要な基本的な部品は、緑、オレンジ、赤のLED、220オームの抵抗、そしてそれらを配線するための端子です。
配線の順番はどうなっていますか?
-配線の順番は220オーム抵抗をグラウンドに、次にアナログピン0に抵抗を接続し、5Vピンにつなげ、全てのLEDのグラウンドピンを一緒に、そしてそれぞれのLEDの正極ピンをピン2、ピン3、ピン4に接続します。
コードはどのようにアップロードするのですか?
-コードはArduino IDEにアップロードします。ビデオの説明欄にあるリンクからコードを見つけ、IDEのツールメニューから正しいボードとポートを選択してアップロードします。
シリアルプロッターとは何ですか?
-シリアルプロッターは、Arduino IDEの最新バージョンに搭載されている機能で、データをグラフ形式で可視化して表示します。
テストを行うにはどうしたらいいですか?
-テストを行うには、対象者の示指をアナログピン0の露出されたワイヤーに、中指を5Vピンの露出されたワイヤーに押し当て、シリアルプロッターを開きます。
LEDの色と抵抗の関係を教えてください。
-緑のLEDは抵抗が20を超過したときに点灯し、オレンジは45を超えたときに点灯し、赤は60を超えたときに点灯します。
プロジェクトに箱を作りますが、その箱の機能は何ですか?
-箱は指のストラップシステムを備えており、簡単に被せるように設計されています。また、箱の裏面から指のストラップを取り出し、マグネットで簡単に閉じることができます。
指パッドはどのように作りますか?
-指パッドを作るには、ウェルコロとアルミホイルが必要です。ウェルコロの背後にアルミホイルを貼り、それを指に巻いて接着剤で固定し、アナログピン0からのワイヤーをアルミホイルに接着します。
プロジェクトを完成させる最後のステップは何ですか?
-プロジェクトを完成させる最後のステップは、指パッドhousingの蓋をテープで固定することです。これで指パッドを必要とならない時に収納できます。
Outlines

Cette section est réservée aux utilisateurs payants. Améliorez votre compte pour accéder à cette section.
Améliorer maintenantMindmap

Cette section est réservée aux utilisateurs payants. Améliorez votre compte pour accéder à cette section.
Améliorer maintenantKeywords

Cette section est réservée aux utilisateurs payants. Améliorez votre compte pour accéder à cette section.
Améliorer maintenantHighlights

Cette section est réservée aux utilisateurs payants. Améliorez votre compte pour accéder à cette section.
Améliorer maintenantTranscripts

Cette section est réservée aux utilisateurs payants. Améliorez votre compte pour accéder à cette section.
Améliorer maintenantVoir Plus de Vidéos Connexes
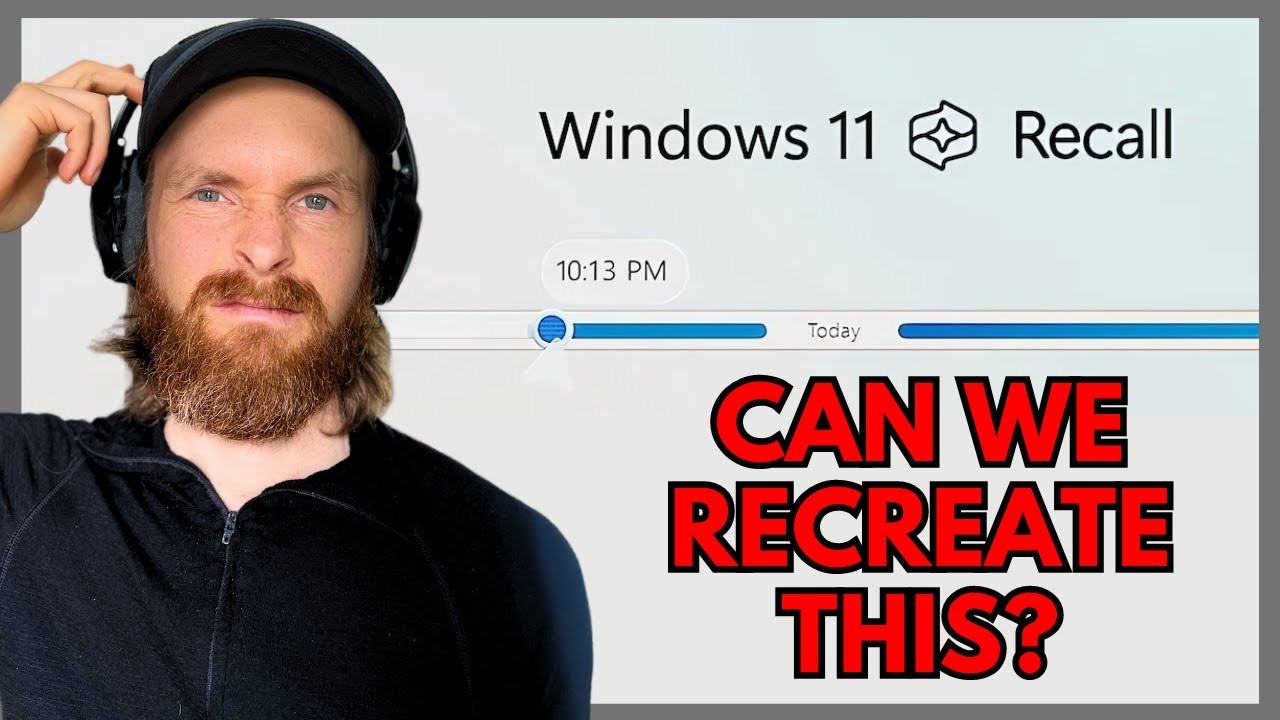
Create Your Own Microsoft Recall AI Feature with RAG?

Google Places API & Geocode API integration in Ionic 2023

UJAM TURBO-XT: I love these sounds!
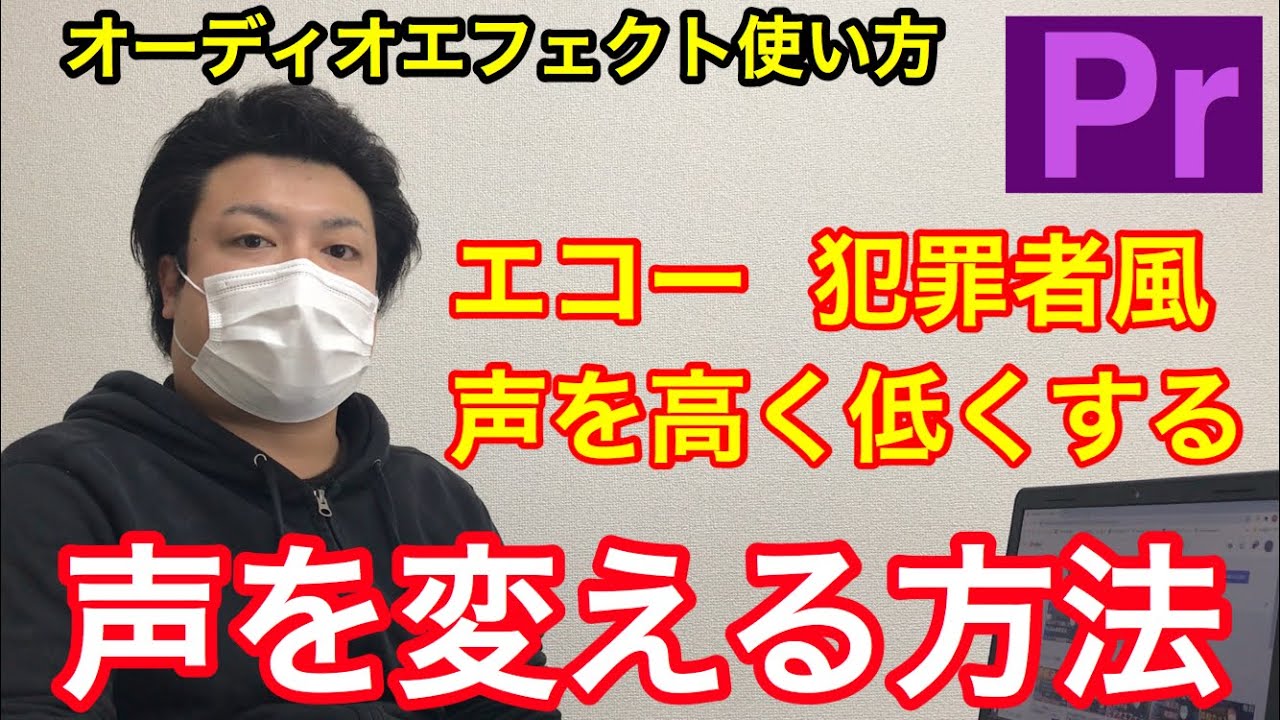
プレミアプロ声を変える、エコー、声を高くする、低く、声反響、声を消す、声だけ大きくするオーディオエフェクトの使い方。アドビAdobe premiere pro基本的な使い方。

Best [PVE] Legendary Weapons for New/ Returning Players: 2024 Guide (Destiny 2)

【実演】ブログ上位表示の方法
5.0 / 5 (0 votes)
