Setting Wifi smart switch Merk Sonoff 4CH Rev2 || Saklar Jarak Jauh
Summary
TLDRThis tutorial demonstrates how to set up and use a WiFi Smart Switch to control electrical devices remotely, like turning a light on and off via an app. The presenter explains how to connect the switch to power, link it to WiFi using the eWeLink app, and control multiple devices across different channels. Ideal for beginners, the guide covers both single and multi-channel devices, showcasing how easy it is to manage home automation from anywhere. The video encourages viewers to subscribe for more helpful content and share the video with friends.
Takeaways
- 😀 The script introduces the WiFi Smart Switch component, designed to control electrical devices remotely, even from abroad.
- 😀 The presenter uses a 4-channel version of the WiFi Smart Switch and demonstrates how it can control up to four devices.
- 😀 The setup process for the WiFi Smart Switch involves connecting power cables to the designated terminals and ensuring the power indicator lights up.
- 😀 The device requires a connection to WiFi, which can be achieved through the eWeLink app available for download from the Play Store.
- 😀 To pair the device with WiFi, users need to follow simple steps on the eWeLink app, including logging in and selecting the appropriate WiFi network.
- 😀 After successful pairing, the device will blink, indicating it is connected to the WiFi network.
- 😀 Once the device is connected, users can control electrical devices, like a light, remotely using the eWeLink app.
- 😀 The script demonstrates how to switch the light on and off using the app, showing the successful control of a connected device.
- 😀 The WiFi Smart Switch can be expanded to control multiple devices, such as lights, by using additional channels.
- 😀 The video concludes by encouraging viewers to subscribe, like, and share the content, and suggests that viewers can ask questions in the comment section for further guidance.
Q & A
What is the main purpose of the WiFi Smart Switch component mentioned in the video?
-The main purpose of the WiFi Smart Switch is to control electrical devices remotely, even from abroad, allowing users to switch on and off devices like lights or appliances from a distance.
How is the 4-channel WiFi Smart Switch different from the single-channel one?
-The 4-channel WiFi Smart Switch allows you to control multiple devices (up to four) independently, whereas the single-channel version is designed for controlling only one device.
What is the first step in setting up the WiFi Smart Switch?
-The first step is to connect the WiFi Smart Switch to a power source by attaching the wires to the correct terminals for neutral (negative) and positive (live) connections.
How do you connect the WiFi Smart Switch to your Wi-Fi network?
-To connect the WiFi Smart Switch to your Wi-Fi, download the 'Ewelink' app from the Play Store, sign in, and follow the instructions to add the device. Once the device is powered on and in pairing mode, it will show up in the app to connect to your Wi-Fi network.
What should you do if the WiFi Smart Switch's indicator light blinks after setup?
-If the indicator light blinks, it means the device is successfully connected to the Wi-Fi network. The blinking will stop once the connection is complete.
What is the function of the 'Add Device' button in the Ewelink app?
-The 'Add Device' button in the Ewelink app allows you to search for and connect new devices, such as the WiFi Smart Switch, to your Wi-Fi network by following the setup process.
How can you test if the WiFi Smart Switch is working correctly?
-After setting up the device, you can test it by using the Ewelink app to turn the connected device (like a light) on and off. If the device responds, it means the setup was successful.
What safety precautions should you take when installing the WiFi Smart Switch?
-When installing the WiFi Smart Switch, make sure the power is off to avoid electrical shocks. Also, carefully connect the wires to the correct terminals to ensure proper functionality and safety.
Can you control multiple devices with a single-channel WiFi Smart Switch?
-No, the single-channel WiFi Smart Switch can only control one device at a time. For multiple devices, you need a multi-channel switch, such as the 4-channel version.
What do you do if you want to control more than one device using the 4-channel WiFi Smart Switch?
-If you want to control more than one device, simply connect each device to a separate channel on the 4-channel switch. You can independently control each channel using the Ewelink app.
Outlines

Cette section est réservée aux utilisateurs payants. Améliorez votre compte pour accéder à cette section.
Améliorer maintenantMindmap

Cette section est réservée aux utilisateurs payants. Améliorez votre compte pour accéder à cette section.
Améliorer maintenantKeywords

Cette section est réservée aux utilisateurs payants. Améliorez votre compte pour accéder à cette section.
Améliorer maintenantHighlights

Cette section est réservée aux utilisateurs payants. Améliorez votre compte pour accéder à cette section.
Améliorer maintenantTranscripts

Cette section est réservée aux utilisateurs payants. Améliorez votre compte pour accéder à cette section.
Améliorer maintenantVoir Plus de Vidéos Connexes
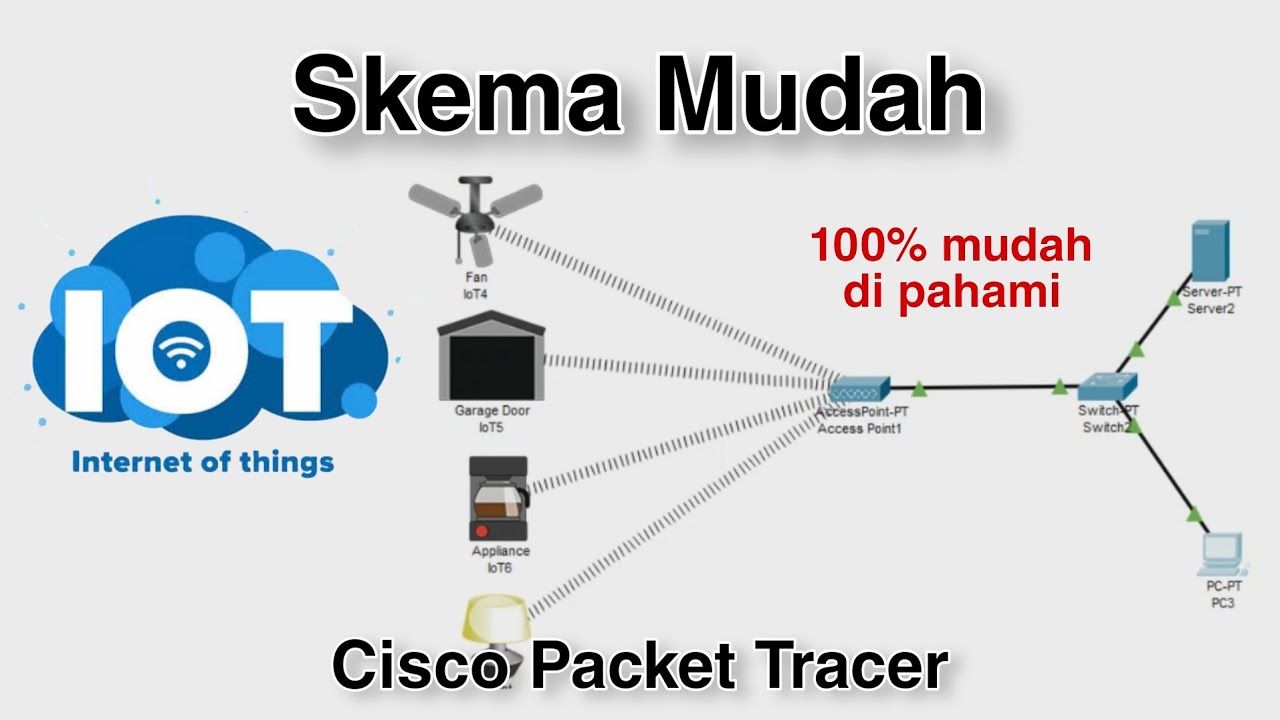
Konfigurasi IoT Perangkat Smart Home - Internet of Things | Cisco Packet Tracer

Project IoT (Internet of Things) | Menyalakan Lampu Lewat Telegram

Membuat Alat Kontrol Peralatan Listrik Jarak Jauh - ARDUINO PROJECT INDONESIA
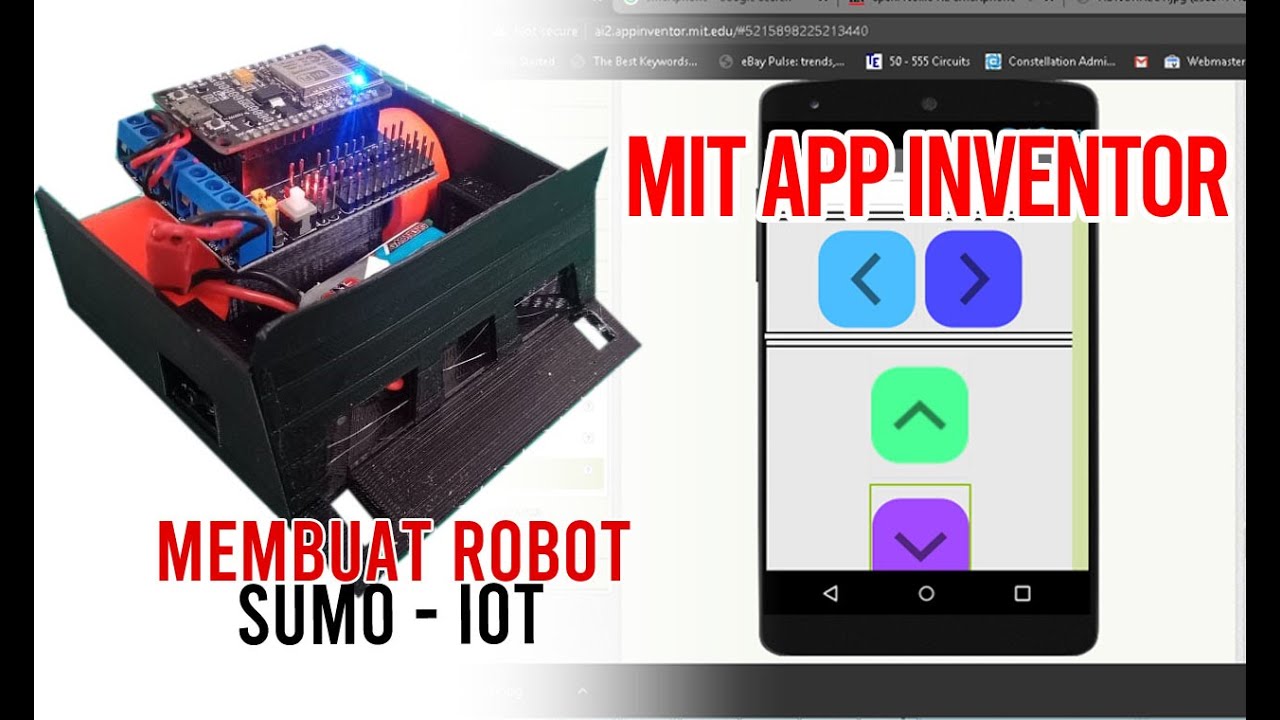
Membuat Robot SUMO IOT ESP8266 dan Aplikasi Android
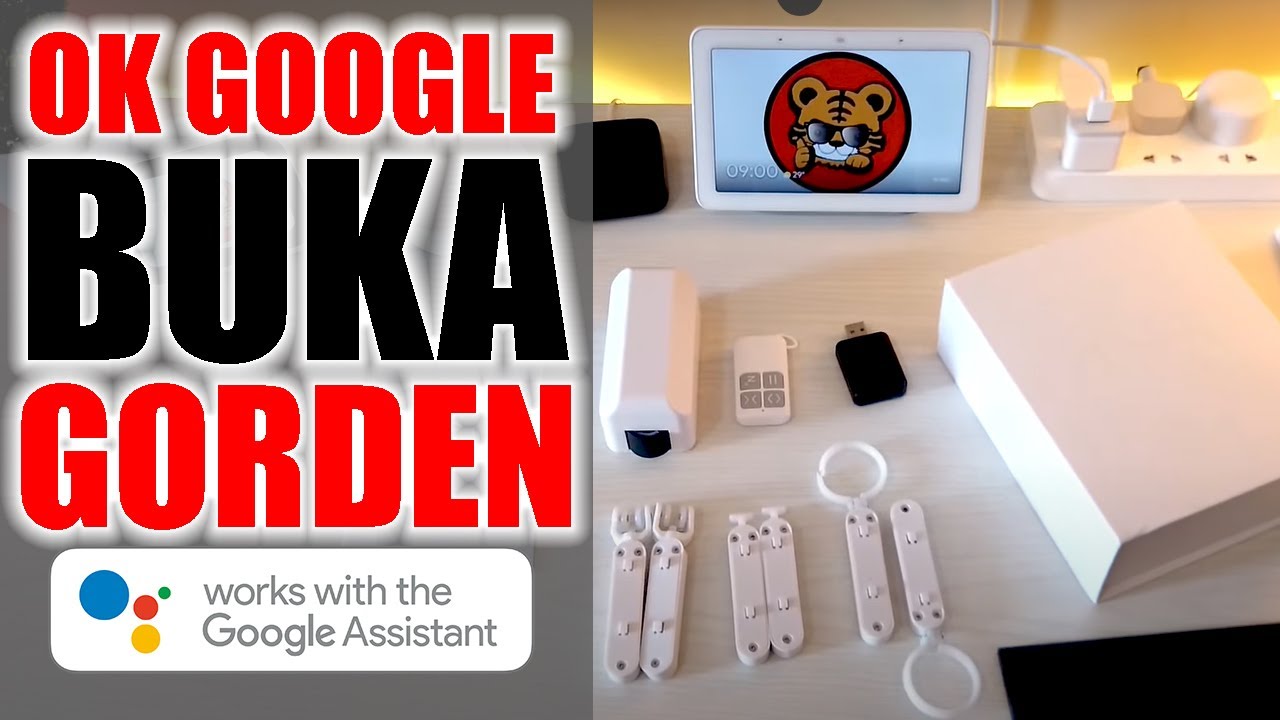
Tanpa Ganti Rail Gorden Otomatis Google Assistant Murah - Zemismart Smart Curtain

Cara Remote Komputer dari HP dengan Chrome Remote Desktop
5.0 / 5 (0 votes)
