Belajar Pemrograman Arduino Menampilkan Data Suhu dan Kelembapan di LCD I2C dengan Simulator WOKWI
Summary
TLDRIn this video tutorial, the presenter demonstrates how to use the DHT22 sensor with an Arduino Uno to measure temperature and humidity, displaying the data on an LCD. The tutorial covers the hardware setup, wiring, and step-by-step programming, including code for reading sensor values and displaying them on the screen. The system can be used for applications such as room climate monitoring or automation. The presenter also highlights the potential for students interested in electrical engineering and invites them to explore relevant programs at Universitas Amal Dahlan.
Takeaways
- 😀 The video demonstrates how to interface a DHT22 temperature and humidity sensor with an Arduino Uno and display the readings on an LCD using the Workwe simulator.
- 😀 The process starts with wiring the DHT22 sensor and LCD to the Arduino Uno and ensuring the correct connections for power (VCC, GND) and communication (SDA, SCL).
- 😀 The programming involves importing necessary libraries like LiquidCrystal for the LCD and DHT for the DHT22 sensor.
- 😀 A simple Arduino code setup is created to read temperature and humidity values from the DHT22 sensor and display them on the LCD screen.
- 😀 The LCD screen is set up to display the temperature and humidity in a readable format, including the temperature in Celsius and humidity in percentage.
- 😀 The code also includes serial communication to optionally display data on the Serial Monitor for debugging purposes.
- 😀 The program loops continuously to update the LCD with real-time readings from the sensor every second (1-second delay).
- 😀 The video provides an example of practical applications, such as using this setup to monitor room temperature and humidity.
- 😀 The system can be expanded with conditional logic (if-else statements) to trigger actions like turning on a fan when the temperature exceeds a certain threshold.
- 😀 The presenter introduces the Electrical Engineering program at Universitas Amal Dahlan, mentioning various robotics and electrical teams that students can join.
- 😀 The video encourages prospective students, especially those from high school, to consider joining the Electrical Engineering program to explore opportunities in robotics and technology.
Q & A
What is the main purpose of this Arduino project?
-The main purpose of this Arduino project is to display temperature and humidity readings from a DHT22 sensor on an LCD screen using an Arduino board, and it is demonstrated using the Wokwi simulator.
Which Arduino board is used in the project?
-The Arduino Uno board is used in this project.
How are the components connected in this project?
-The DHT22 sensor is connected with VCC to 5V, GND to GND, SDA to Pin 2 of the Arduino, and SCL to the SCL pin of the Arduino. The LCD uses I2C and is connected with SDA to SDA and SCL to SCL on the Arduino.
What libraries are required for this project?
-The required libraries for this project are the `LiquidCrystal_I2C` library for controlling the LCD and the `DHT` library for working with the DHT22 sensor.
What is the purpose of the `LiquidCrystal_I2C` library?
-The `LiquidCrystal_I2C` library is used to control the LCD screen using the I2C communication protocol, allowing the Arduino to display text on the screen.
How do you initialize the DHT22 sensor in the code?
-The DHT22 sensor is initialized in the code by defining the pin where it is connected (Pin 2 in this case) and the sensor type (DHT22), then calling the `dht.begin()` function in the `setup()` to start the sensor.
What does the `lcd.setCursor()` function do in the code?
-The `lcd.setCursor()` function positions the cursor on the LCD screen to specify where the text should be displayed. It takes two arguments: the column and row number.
How does the code display the temperature and humidity values on the LCD?
-The code reads the temperature and humidity from the DHT22 sensor using `dht.readTemperature()` and `dht.readHumidity()`, then displays these values on the LCD screen using `lcd.print()` after setting the cursor position.
What does the `delay(1000)` function do in the code?
-The `delay(1000)` function pauses the execution of the program for 1000 milliseconds (1 second) before updating the readings and displaying them again on the LCD.
What practical applications can this project be used for?
-This project can be used to monitor room temperature and humidity levels, and it can also be applied in environments such as incubators, greenhouses, or any setup where controlling temperature and humidity is important.
Outlines

Cette section est réservée aux utilisateurs payants. Améliorez votre compte pour accéder à cette section.
Améliorer maintenantMindmap

Cette section est réservée aux utilisateurs payants. Améliorez votre compte pour accéder à cette section.
Améliorer maintenantKeywords

Cette section est réservée aux utilisateurs payants. Améliorez votre compte pour accéder à cette section.
Améliorer maintenantHighlights

Cette section est réservée aux utilisateurs payants. Améliorez votre compte pour accéder à cette section.
Améliorer maintenantTranscripts

Cette section est réservée aux utilisateurs payants. Améliorez votre compte pour accéder à cette section.
Améliorer maintenantVoir Plus de Vidéos Connexes
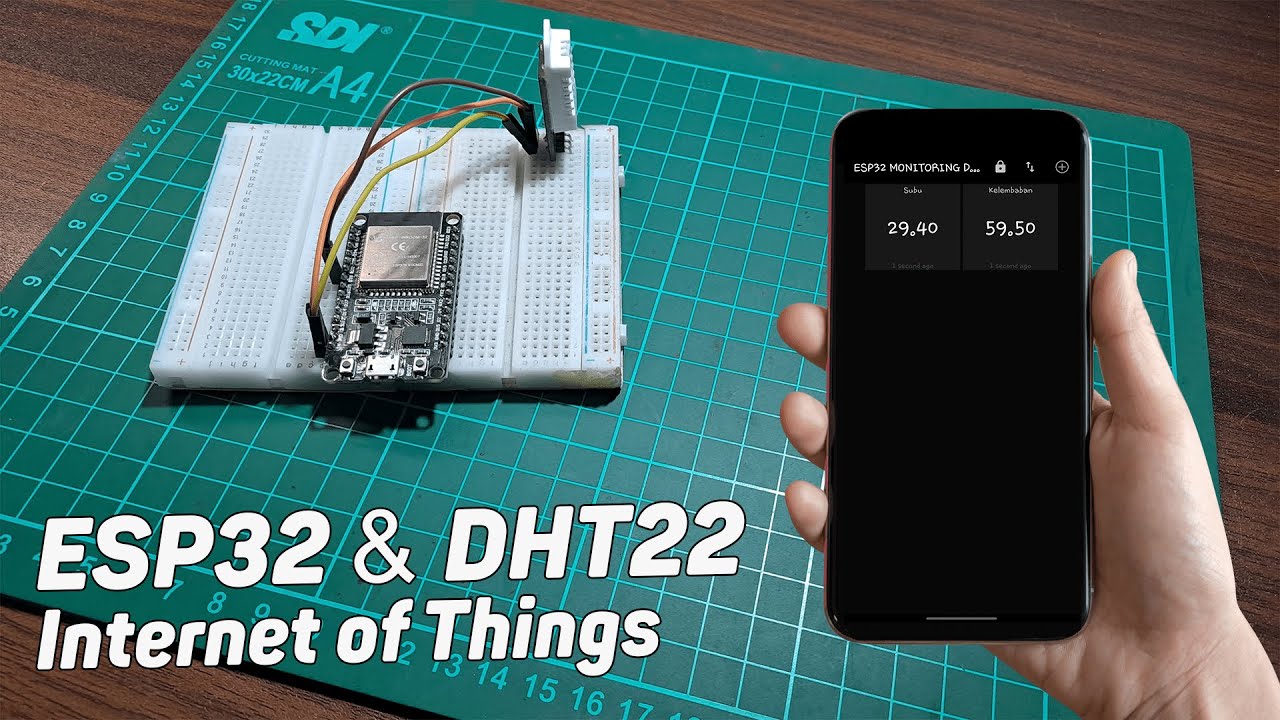
Monitoring Suhu Dan Kelembaban Menggunakan ESP32 + DHT22 Dengan Protokol MQTT
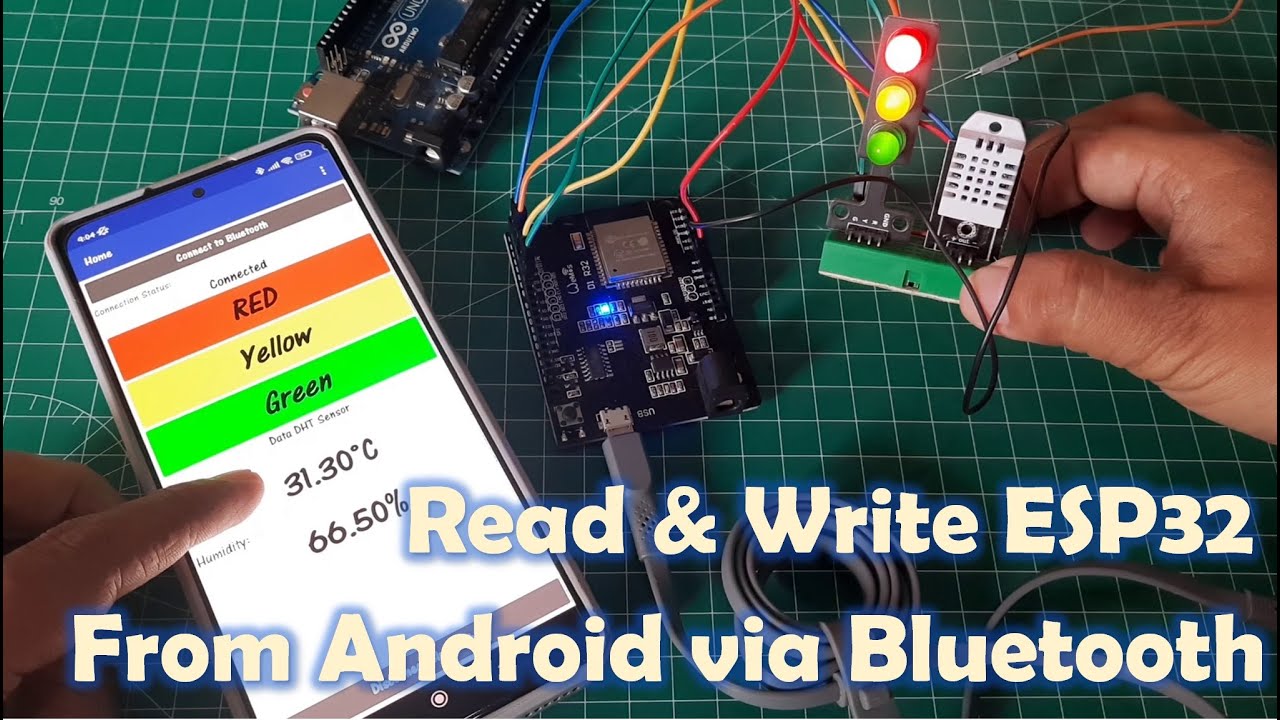
Read & Write ESP32 From Android using Kodular Via Bluetooth Serial
penjelasan keterhubungan antara ESP32 dengan Blnyk web

INTEGRATION OF SENSOR AND ACTUATORS WITH ARDUINO-I
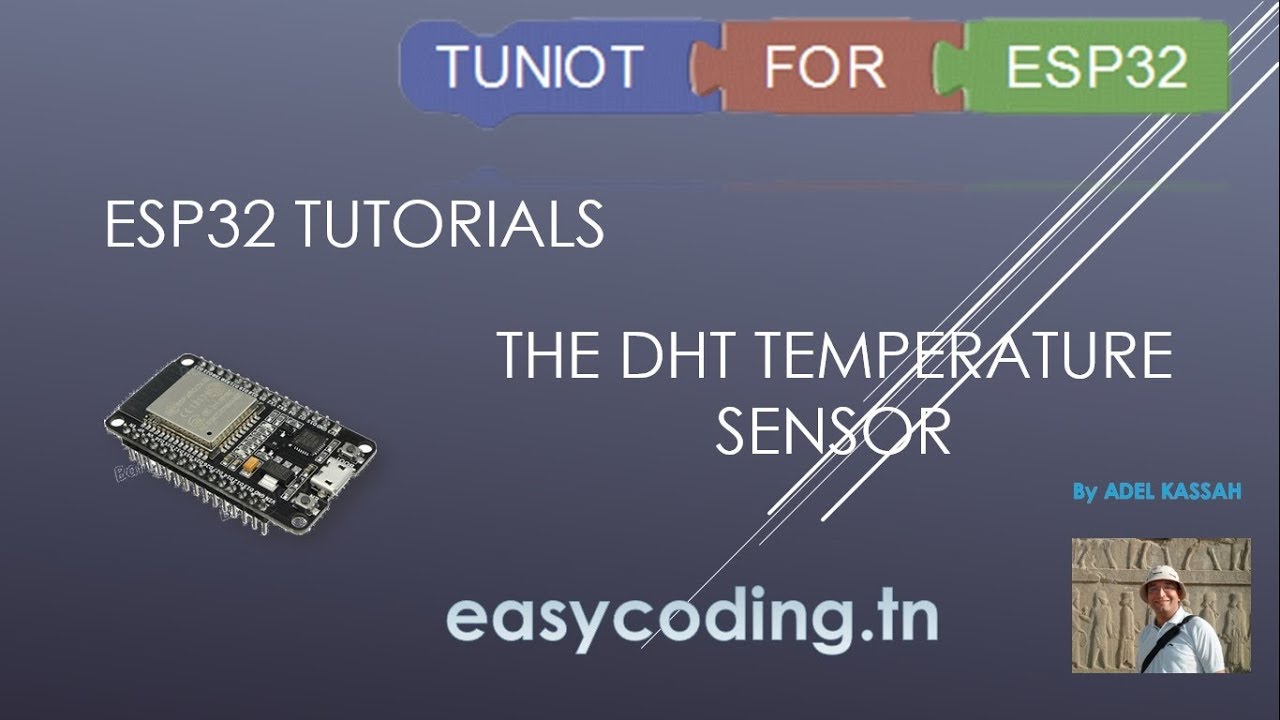
ESP32 tutorial A-04: The DHT temperature and humidity sensor

Simulasi Arduino Menggunakan TinkerCAD - Interface monitoring suhu & Kontrol suhu berbasis LCD I2C
5.0 / 5 (0 votes)
