Tempat Pensil Dari Botol Bekas || Kerajinan Botol Bekas || Kerajinan Limbah Anorganik
Summary
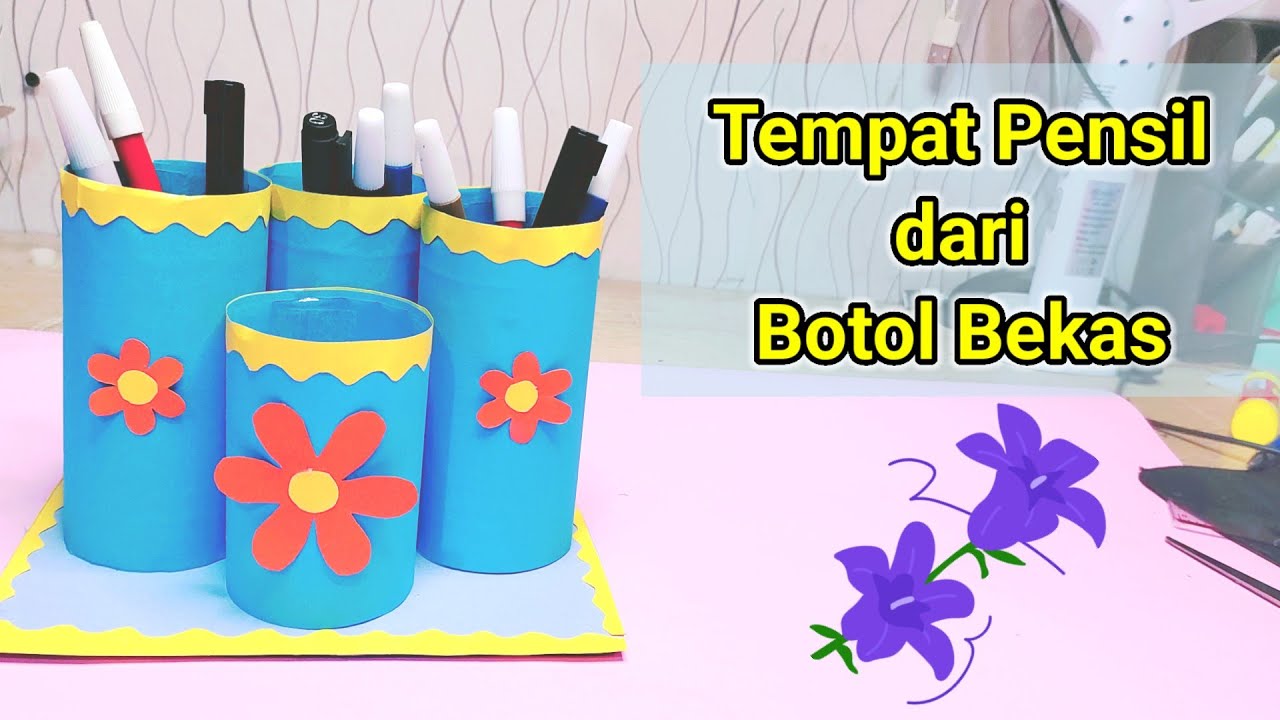
TLDRThis DIY tutorial shows how to transform used plastic bottles into a pencil holder. The process involves cutting the bottles, decorating them with colored paper, and attaching them with double-sided tape. The video demonstrates how to create decorative elements like grass using green paper and flowers from various colors of paper. It also showcases how to attach the final touches using glue and cardboard for a sturdy base. This easy-to-follow guide encourages recycling while creating a functional and decorative craft for your desk.
Takeaways
- 😀 Recycle plastic bottles by transforming them into pencil holders.
- 😀 Gather materials such as used plastic bottles, cardboard, colored HVS paper, scissors, cutter, glue, and double tape.
- 😀 Cut the plastic bottles with a cutter, ensuring the cut is clean and manageable.
- 😀 Use double tape on the top and bottom of the bottles for easy attachment of colored paper.
- 😀 Stick colored paper (such as yellow HVS paper) around the bottle using double tape, ensuring smooth adhesion.
- 😀 Apply glue (such as hot glue or regular paper glue) to the base of the bottle and cardboard to attach them securely.
- 😀 Cardboard serves as the base for the pencil holder; it can be any color, offering a customizable look.
- 😀 Create grass decoration using green paper by cutting it into a pointed shape, then folding the base for easier attachment.
- 😀 Add flower decorations with red, yellow, or pink paper by cutting and folding them into a flower shape.
- 😀 Attach the grass and flowers to the pencil holder to enhance its appearance, using glue for secure attachment.
- 😀 The final product is a decorative and functional pencil holder made from repurposed plastic bottles and cardboard.
Q & A
What is the purpose of the tutorial?
-The tutorial demonstrates how to create a pencil holder using recycled plastic bottles and other simple materials.
What materials are required for the project?
-The materials needed are used plastic bottles, cardboard, colored paper (HVS paper or origami paper), scissors, cutter, glue, double-sided tape, and decorative items like green paper for grass and colored paper for flowers.
Can the project be made using just one bottle?
-Yes, the project can be made using one bottle. The creator in the video uses four bottles, but you can adjust the number of bottles based on your preference.
Why is double-sided tape preferred for sticking the paper to the bottle?
-Double-sided tape is preferred because it makes the process easier and more efficient compared to using regular glue. However, regular glue can also be used if preferred.
What kind of glue is used for assembling the cardboard and bottle?
-For attaching the cardboard to the bottle, hot glue is used in the tutorial. Alternatively, other strong adhesives like FX glue or UHU glue can also be used.
How is the cardboard used in this project?
-The cardboard is used as the base for the pencil holder. After gluing the paper-covered bottle to the cardboard, the excess cardboard is trimmed to fit neatly around the base.
What is the significance of creating the grass and flower decorations?
-The grass and flower decorations are used to add a creative and aesthetic touch to the pencil holder, making it more visually appealing and unique.
What kind of paper can be used for the project?
-The tutorial uses HVS paper for wrapping the bottle, but other types of paper like origami paper, asturo paper, or colored cardboard can also be used for customization.
What alternatives can be used to make the grass decoration?
-While the tutorial uses green paper to make grass, you could also use other materials such as fabric or even dried leaves for a natural look.
Can the pencil holder be customized in terms of color?
-Yes, the pencil holder can easily be customized in terms of color. The tutorial provides an example with yellow, red, and green paper, but you can experiment with any colors you like.
Outlines

Cette section est réservée aux utilisateurs payants. Améliorez votre compte pour accéder à cette section.
Améliorer maintenantMindmap

Cette section est réservée aux utilisateurs payants. Améliorez votre compte pour accéder à cette section.
Améliorer maintenantKeywords

Cette section est réservée aux utilisateurs payants. Améliorez votre compte pour accéder à cette section.
Améliorer maintenantHighlights

Cette section est réservée aux utilisateurs payants. Améliorez votre compte pour accéder à cette section.
Améliorer maintenantTranscripts

Cette section est réservée aux utilisateurs payants. Améliorez votre compte pour accéder à cette section.
Améliorer maintenantVoir Plus de Vidéos Connexes

cara membuat pot bunga dari galon bekas
Tempat Pensil Dari Botol Bekas / Contoh Kegiatan P5 Kurikulum Mereka
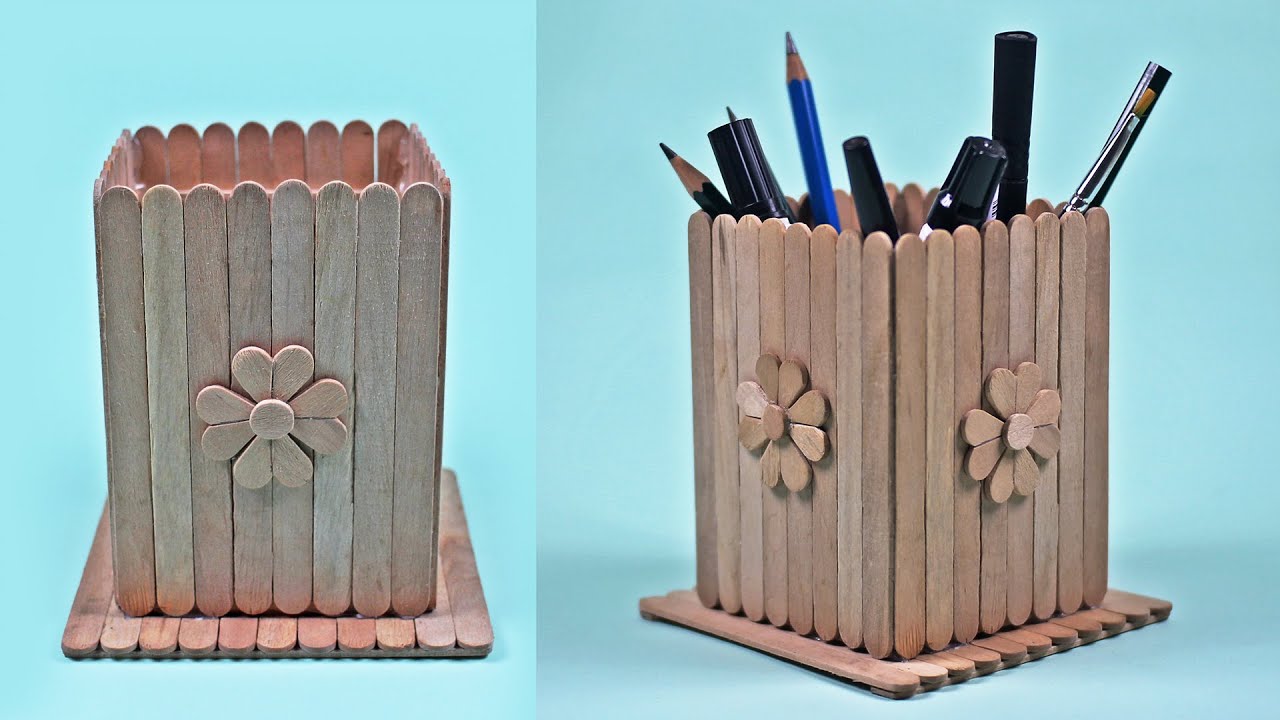
The idea of making a very easy pencil container from ice cream sticks
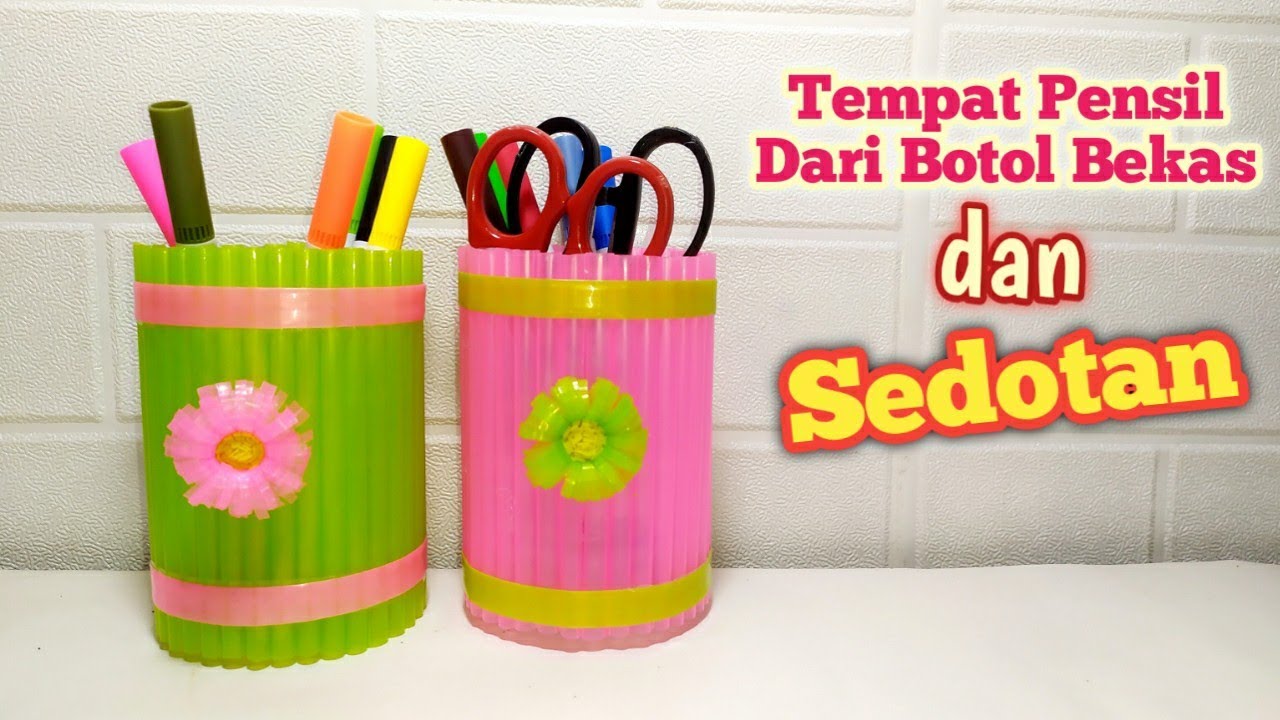
Cara Mudah Membuat Kerajinan Tempat Pensil dari Sedotan dan Botol Bekas | Straw Craft Ideas

Tutorial Pembuatan Ecobrick
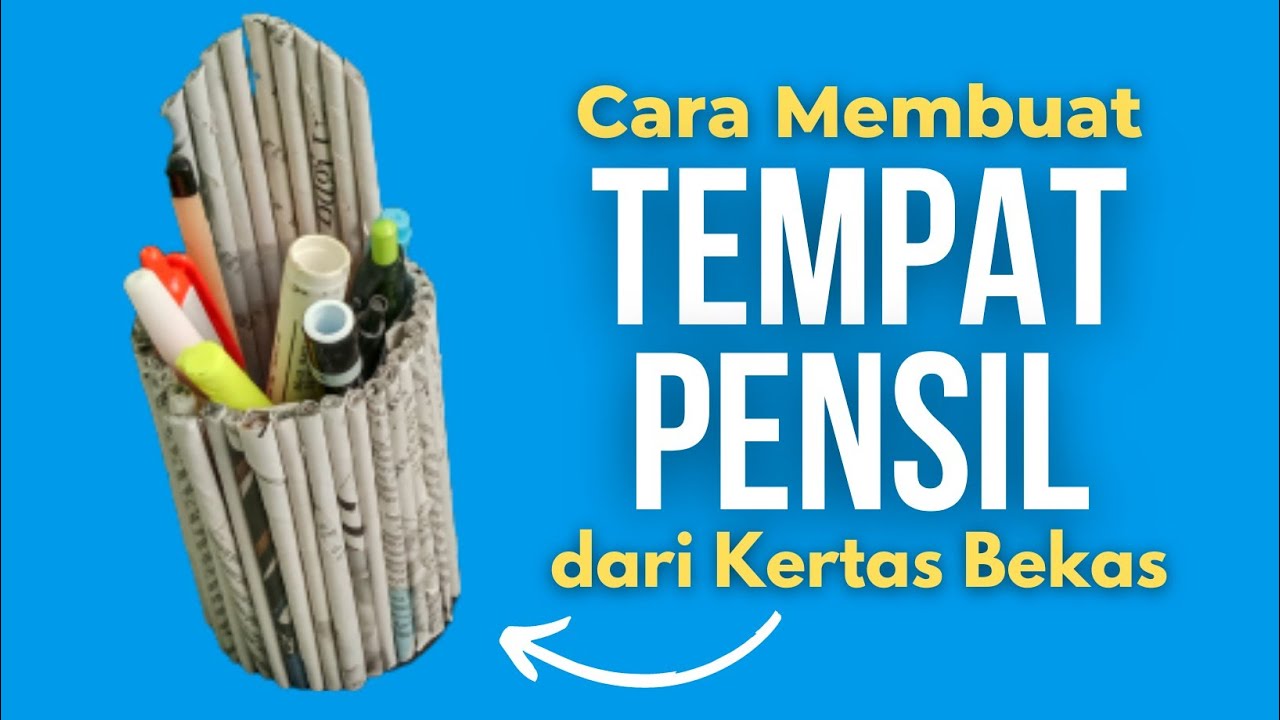
CARA MEMBUAT TEMPAT PENSIL DARI BOTOL DAN KORAN/MAJALAH BEKAS
5.0 / 5 (0 votes)
