Tempat Pensil Dari Botol Bekas / Contoh Kegiatan P5 Kurikulum Mereka
Summary
TLDRThis video tutorial demonstrates how to create a simple and creative pencil holder using a recycled plastic bottle. The step-by-step process includes cutting the bottle, decorating it with colored paper, and adding decorative elements like zigzag shapes and flowers. The video also guides viewers in creating a sturdy base for the holder using cardboard. Ideal for beginners, the tutorial emphasizes eco-friendly crafting by reusing a plastic bottle and provides easy instructions to personalize the design with different colors and decorations. It’s a fun and sustainable DIY project for organizing your desk!
Takeaways
- 😀 A recycled bottle can be used to create a pencil holder.
- 😀 Materials needed: a used bottle, colored cardboard, scissors, cutter, ruler, and double-sided tape or glue.
- 😀 The bottle is cut to the desired height using a cutter, with the top edge made smooth for a neat finish.
- 😀 Multiple bottles are used, with one kept shorter than the others for variety.
- 😀 Colored paper or origami paper is measured and cut to fit around the bottle, then glued with double-sided tape.
- 😀 Excess paper is trimmed after sticking it to the bottle for a neat appearance.
- 😀 Decorative zigzag shapes are created from yellow paper and glued to the bottle for added style.
- 😀 The base is made using cardboard, measured, cut, and covered in colored paper (light purple in this case).
- 😀 Double-sided tape or stronger glue is used to attach the base to the bottle securely.
- 😀 Additional decorative flowers are created using red and yellow origami paper, which are glued onto the pencil holder.
- 😀 The final product is a neat and personalized pencil holder, perfect for reusing materials and adding a creative touch.
Q & A
What materials are needed to create the pencil holder from a used bottle?
-The materials required are: a used plastic bottle (like a water bottle), colored cardboard or paper, scissors, a cutter, a ruler, double-sided tape, and optionally glue (such as paper glue or FX glue).
How is the used bottle prepared before starting the pencil holder project?
-First, the bottle is cut using a cutter to the desired height. The top part of the bottle is then trimmed to make it neater.
What is the role of the origami or colored paper in this project?
-The origami or colored paper is used to wrap around the bottle, providing decoration. The paper is cut to fit the bottle's length and then adhered using double-sided tape or glue.
Can the double-sided tape be replaced with regular glue in this project?
-Yes, the double-sided tape can be substituted with regular glue, such as paper glue or FX glue, depending on the user's preference.
What steps are taken to make the bottle more decorative after wrapping it with paper?
-After wrapping the bottle with paper, the next step is to add additional decorations. For instance, a zigzag pattern is cut from colored paper (such as yellow) and glued to the bottle to create a decorative effect.
How is the base for the pencil holder created?
-The base is made from cardboard, which is measured and cut to fit the bottom of the bottle. It is then covered with colored paper (such as light purple), and double-sided tape or glue is used to attach it to the base.
What additional steps are suggested for ensuring the pencil holder's base is secure?
-If the double-sided tape does not provide enough strength, hot glue or a stronger adhesive (such as glue fog) can be used to ensure the base stays securely attached.
What creative decoration was added to the pencil holder in the video?
-In addition to wrapping the bottle and base with paper, decorative flowers were created using red and yellow origami paper. The flowers were cut and glued onto the pencil holder, adding a personal and colorful touch.
Why is the smallest section of the bottle placed at the front of the pencil holder?
-The smallest section of the bottle is placed at the front of the pencil holder to create a visually appealing, tiered structure, allowing it to hold pens or pencils in an organized manner.
Can the color choices for the paper and decorations be changed?
-Yes, the colors used in the project are not fixed. The video shows specific colors like yellow, light purple, and red, but viewers are encouraged to choose colors that suit their preferences.
Outlines

This section is available to paid users only. Please upgrade to access this part.
Upgrade NowMindmap

This section is available to paid users only. Please upgrade to access this part.
Upgrade NowKeywords

This section is available to paid users only. Please upgrade to access this part.
Upgrade NowHighlights

This section is available to paid users only. Please upgrade to access this part.
Upgrade NowTranscripts

This section is available to paid users only. Please upgrade to access this part.
Upgrade NowBrowse More Related Video
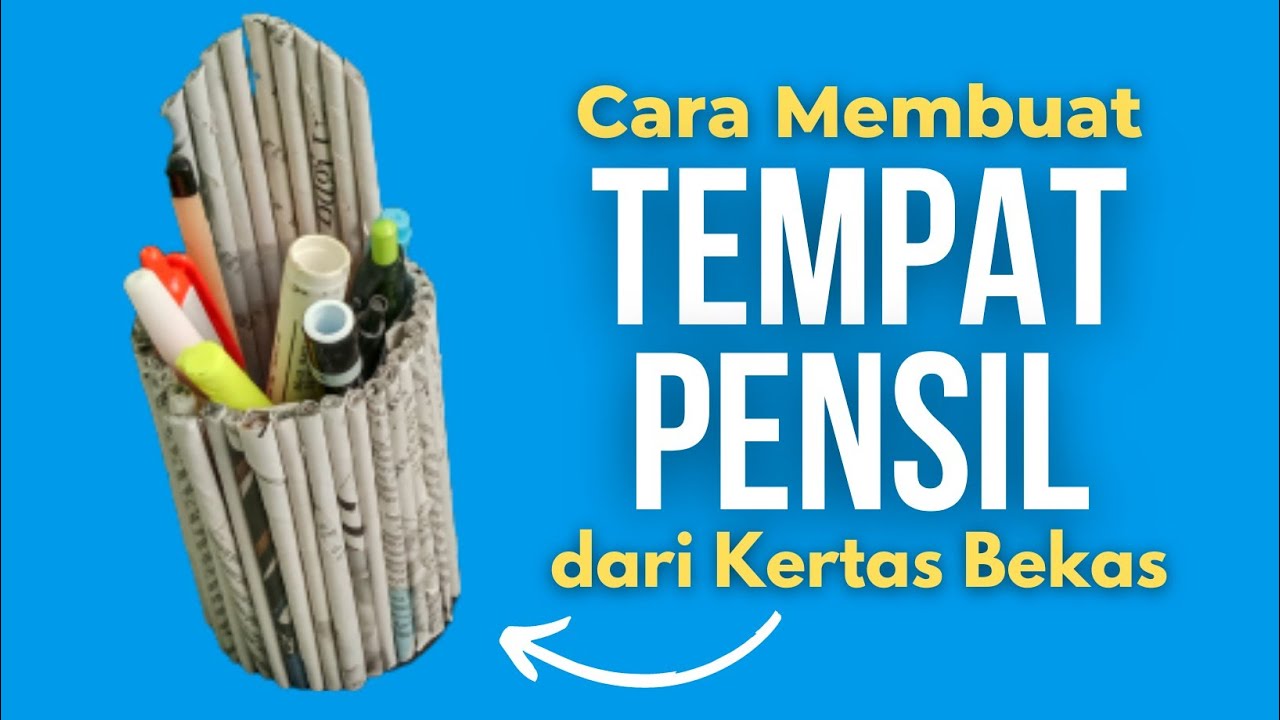
CARA MEMBUAT TEMPAT PENSIL DARI BOTOL DAN KORAN/MAJALAH BEKAS
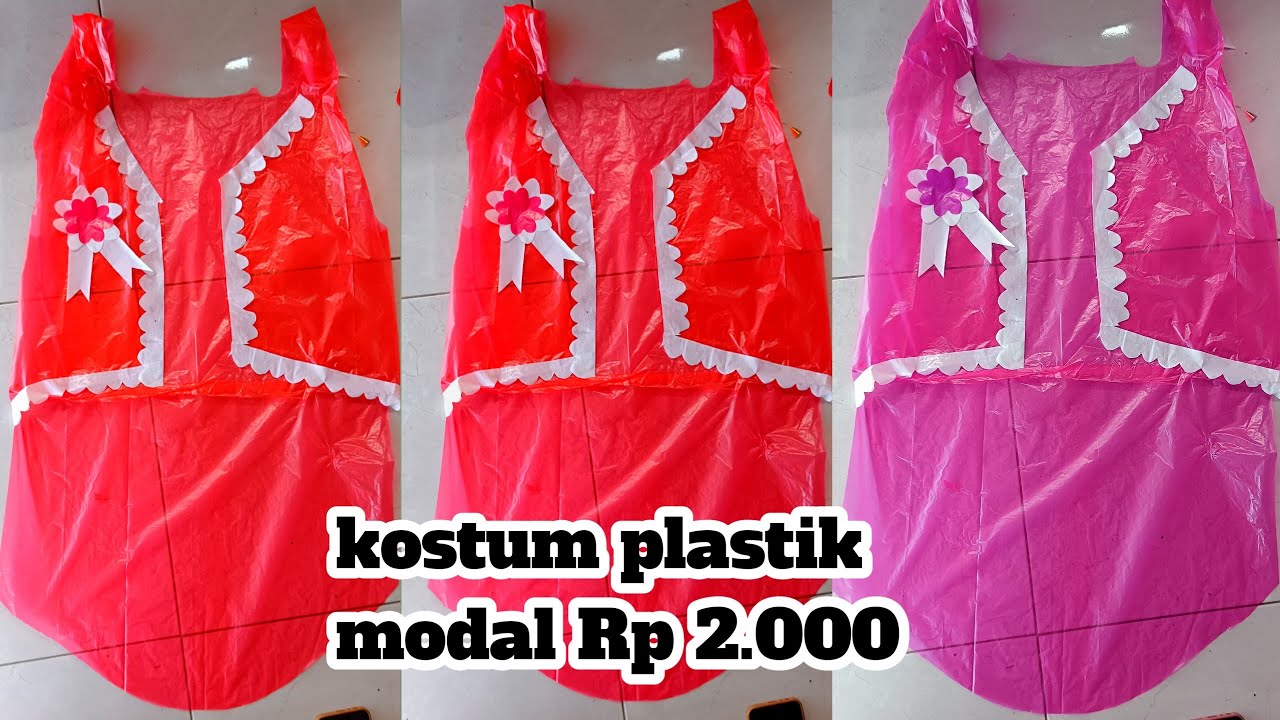
Cara membuat baju kostum karnaval dari plastik modal Rp 2.000
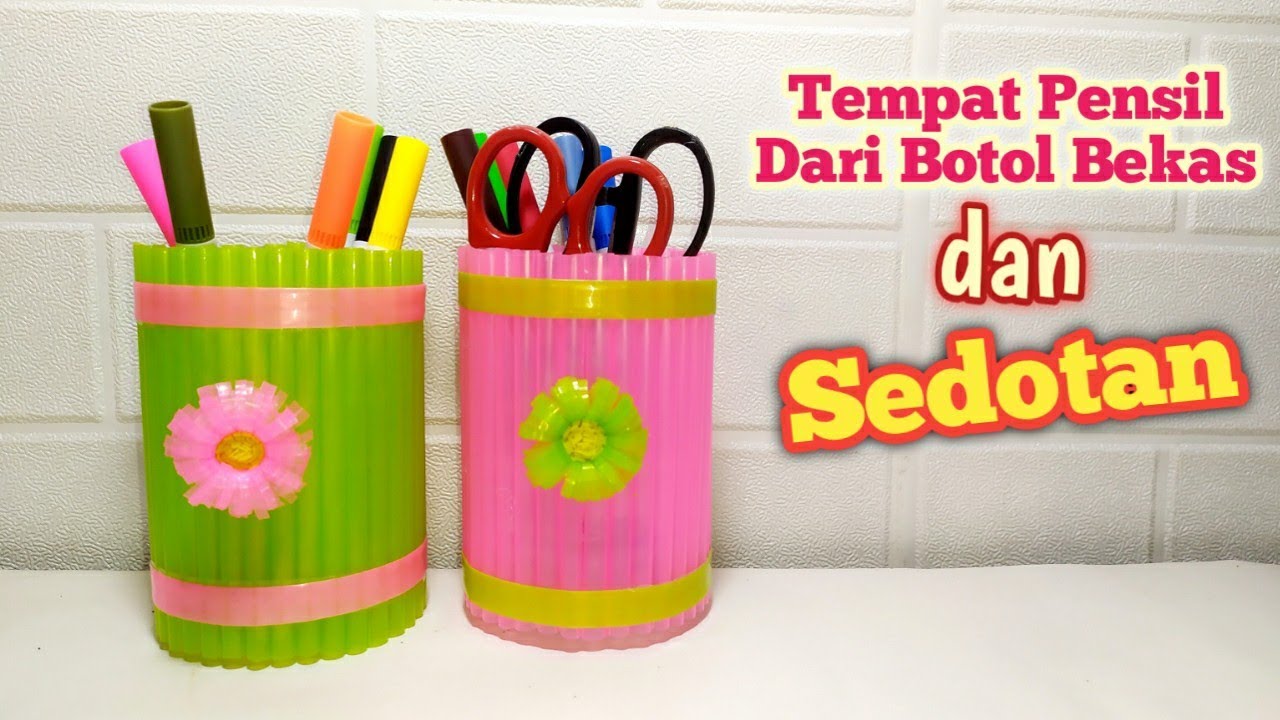
Cara Mudah Membuat Kerajinan Tempat Pensil dari Sedotan dan Botol Bekas | Straw Craft Ideas
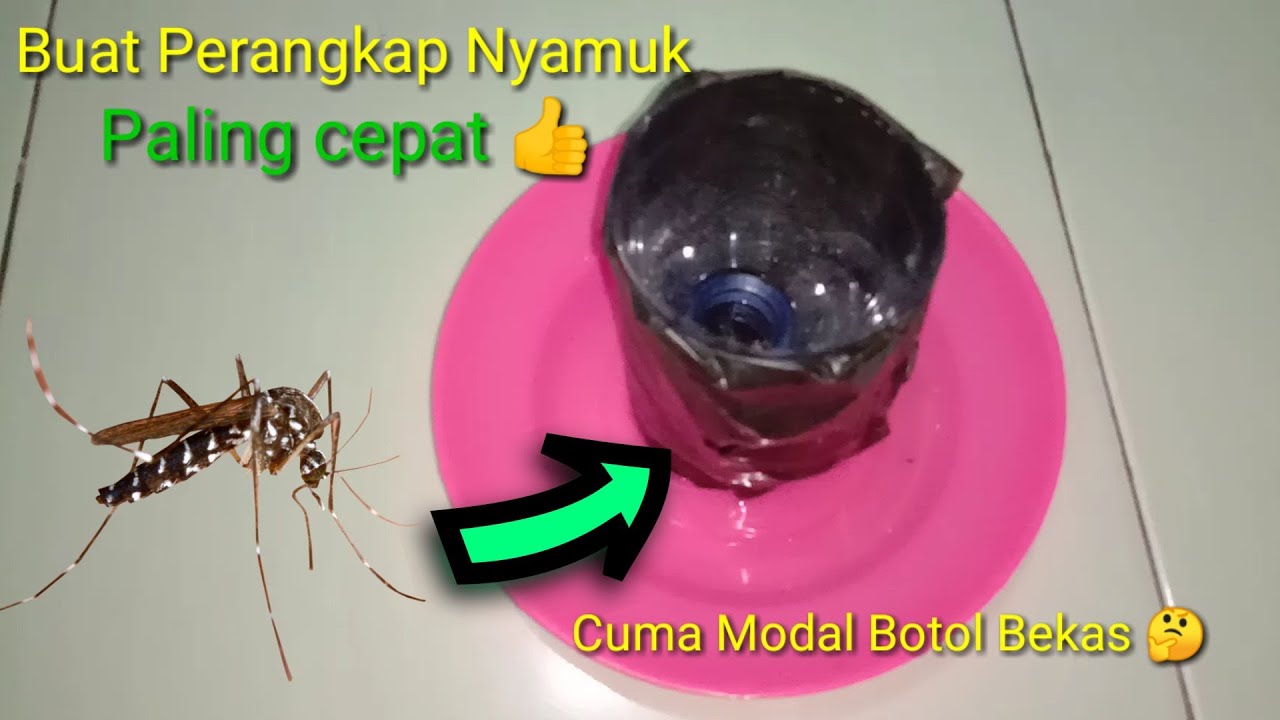
Cara Membuat Perangkap Nyamuk Dari Botol Plastik Bekas

Tempat Pensil Dari Botol Bekas || Kerajinan Botol Bekas || Kerajinan Limbah Anorganik
VACUM CLEANER | PROJEK P5 REKAYASA TEKNOLOGI | KELOMPOK 2 XI-B
5.0 / 5 (0 votes)