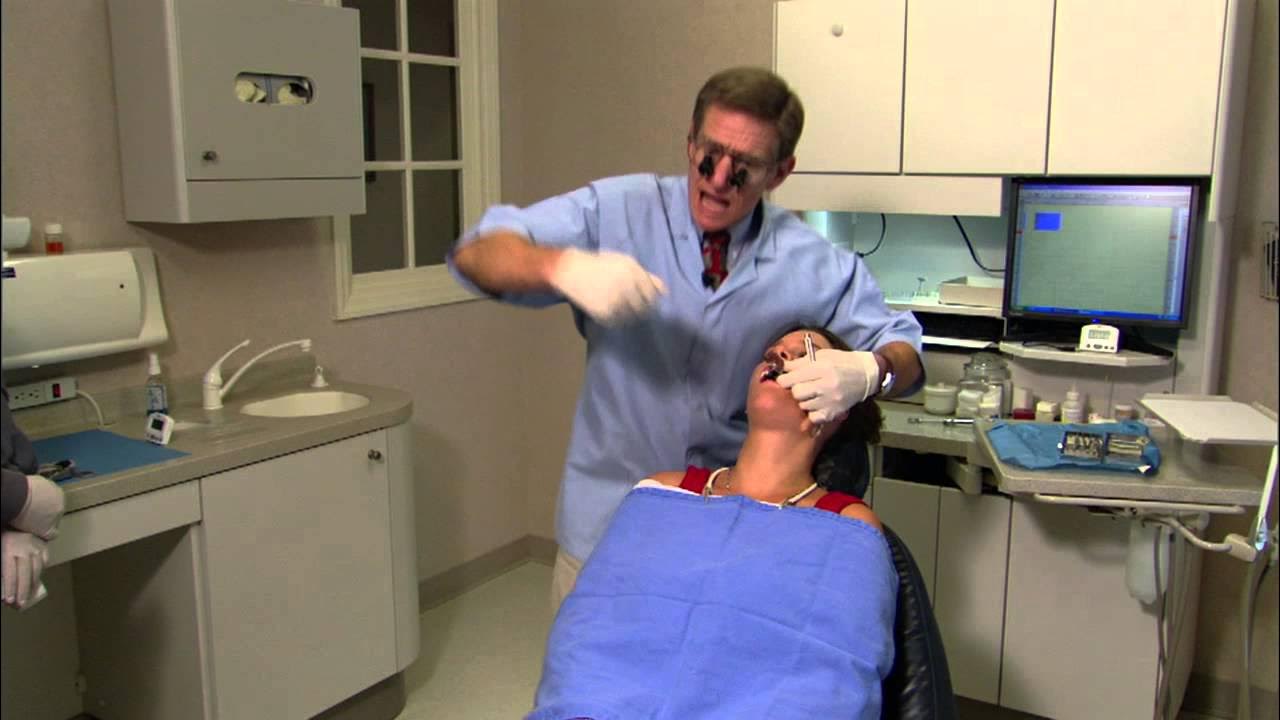
2. Scanner Intraorale TRIOS :la presa di impronte studio consigli e potenzialità
Summary
TLDRThis video tutorial walks through the process of using advanced scanning software to create dental impressions for a patient. It covers the step-by-step procedure of setting up a new patient, adjusting scanner settings, and performing both static and dynamic occlusion recordings. The video demonstrates how to accurately scan both upper and lower dental arches, ensuring high-quality results. Additionally, it highlights the importance of adjusting scans for accuracy and showcases how the software can simulate orthodontic treatments, giving patients a preview of potential results. This tutorial is ideal for dental professionals seeking to understand the basics of digital impression-taking and orthodontic simulation.
Takeaways
- 😀 Always ensure that the scanner tip is free of scratches or imperfections before starting the scan to maintain scan quality.
- 😀 When creating a new patient in the software, input the patient’s name, surname, and birth date, using a fictitious name if there are duplicates.
- 😀 You can choose to keep the scans in-house or send them to a lab based on the intended use of the scans.
- 😀 For study impressions, select the appropriate settings in the software and ensure proper data entry for lab prescriptions if applicable.
- 😀 Begin scanning from the back of the lower arch, moving from vestibular to lingual surfaces to capture the posterior teeth effectively.
- 😀 After scanning, check for gaps in the scan (highlighted in green) and trim any unnecessary tissue to ensure a clean and accurate result.
- 😀 When scanning the upper arch, rotate the scanner and guide the patient to slightly close their mouth for better capture of posterior areas.
- 😀 If parts of the scan do not align, consider deleting and redoing those areas to avoid reconstruction issues.
- 😀 Registering the patient’s occlusion is crucial for accurate bite alignment, so ensure the patient remains still during this step.
- 😀 For dynamic occlusion, guide the patient through key jaw movements (forward, backward, left, right) to record them for better bite alignment.
- 😀 The Treatment Simulation function allows you to show the patient possible orthodontic treatments, based on the initial scan and occlusion data.
Q & A
What is the first step in using the scanning software for a new patient?
-The first step is to create a new patient profile, which involves entering the patient's name and date of birth. If there are multiple patients with the same name, a unique identifier should be used.
How do you handle the scans after they are taken?
-After the scans are taken, you need to decide where to send them. You can keep them in-house or send them to a laboratory, depending on the use case for the scans.
What type of scan is performed during the initial stage of scanning?
-During the initial stage, the scan performed is a study model impression, not involving prosthetic stumps or implant-based scans.
Why is it important to check the scanner tip before starting the scan?
-It is crucial to check the scanner tip for any scratches or imperfections, as these can negatively affect the quality of the scan.
What is the recommended scanning technique for the lower arch?
-Start from the posterior region and move in a vestibulolingual direction, ensuring the scanner captures both the vestibular and lingual surfaces of the posterior teeth. Continue this motion until reaching the anterior region.
How do you handle missing scan data areas?
-If there are areas missed by the scanner (highlighted in green), you can manually decide if they are important. If they are necessary, re-scan the missed areas.
What function is used to clean up the scan data?
-The 'trim' function is used to clean up the scan data by removing excess areas that are not needed, such as tissue regions that are outside the scan's focus.
How is occlusion recorded during the scanning process?
-Occlusion is recorded by asking the patient to close their mouth while remaining still. It's important to ensure no movement occurs, as even slight movements can affect the accuracy of the scan.
What is the purpose of the treatment simulation feature?
-The treatment simulation feature allows for the visualization of potential orthodontic treatments. This is useful for showing the patient the expected results of treatment, such as tooth alignment adjustments.
How does the software assist in checking the accuracy of occlusal contacts?
-The software allows users to verify occlusal contacts by highlighting the areas of contact in different colors. This can help in confirming that the recorded occlusion matches the actual contact points in the mouth.
Outlines

Cette section est réservée aux utilisateurs payants. Améliorez votre compte pour accéder à cette section.
Améliorer maintenantMindmap

Cette section est réservée aux utilisateurs payants. Améliorez votre compte pour accéder à cette section.
Améliorer maintenantKeywords

Cette section est réservée aux utilisateurs payants. Améliorez votre compte pour accéder à cette section.
Améliorer maintenantHighlights

Cette section est réservée aux utilisateurs payants. Améliorez votre compte pour accéder à cette section.
Améliorer maintenantTranscripts

Cette section est réservée aux utilisateurs payants. Améliorez votre compte pour accéder à cette section.
Améliorer maintenant5.0 / 5 (0 votes)


