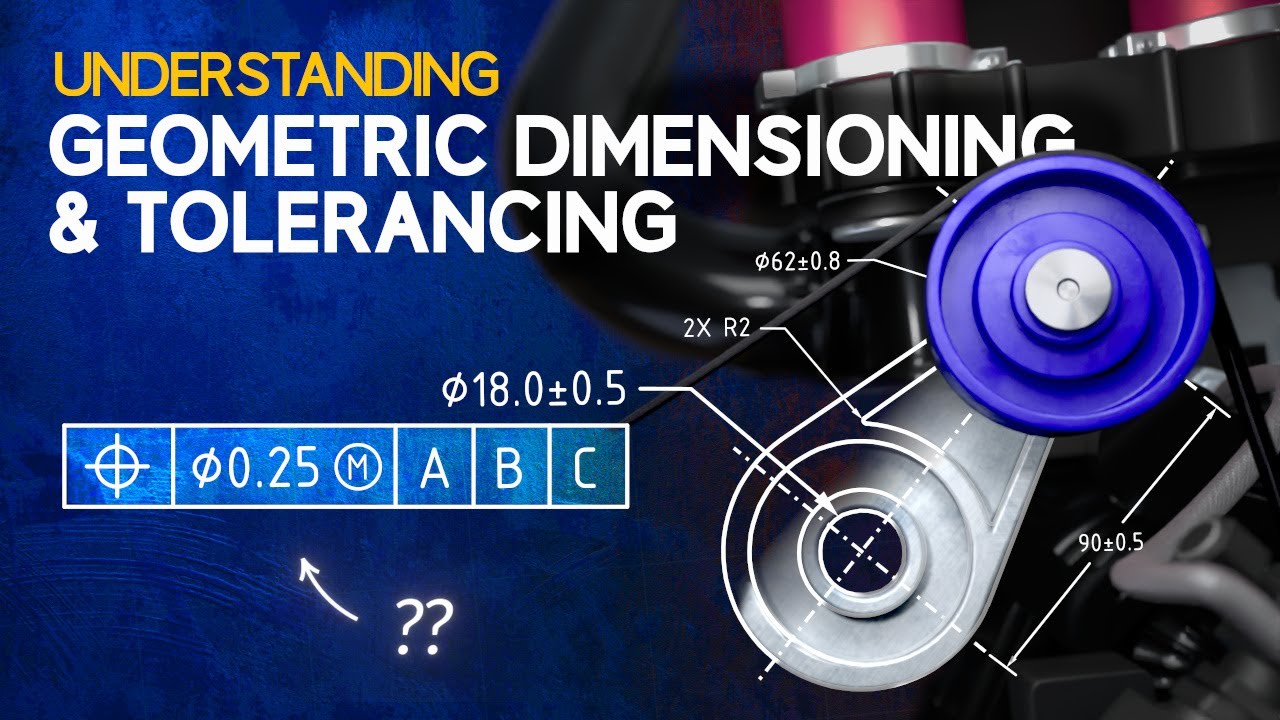
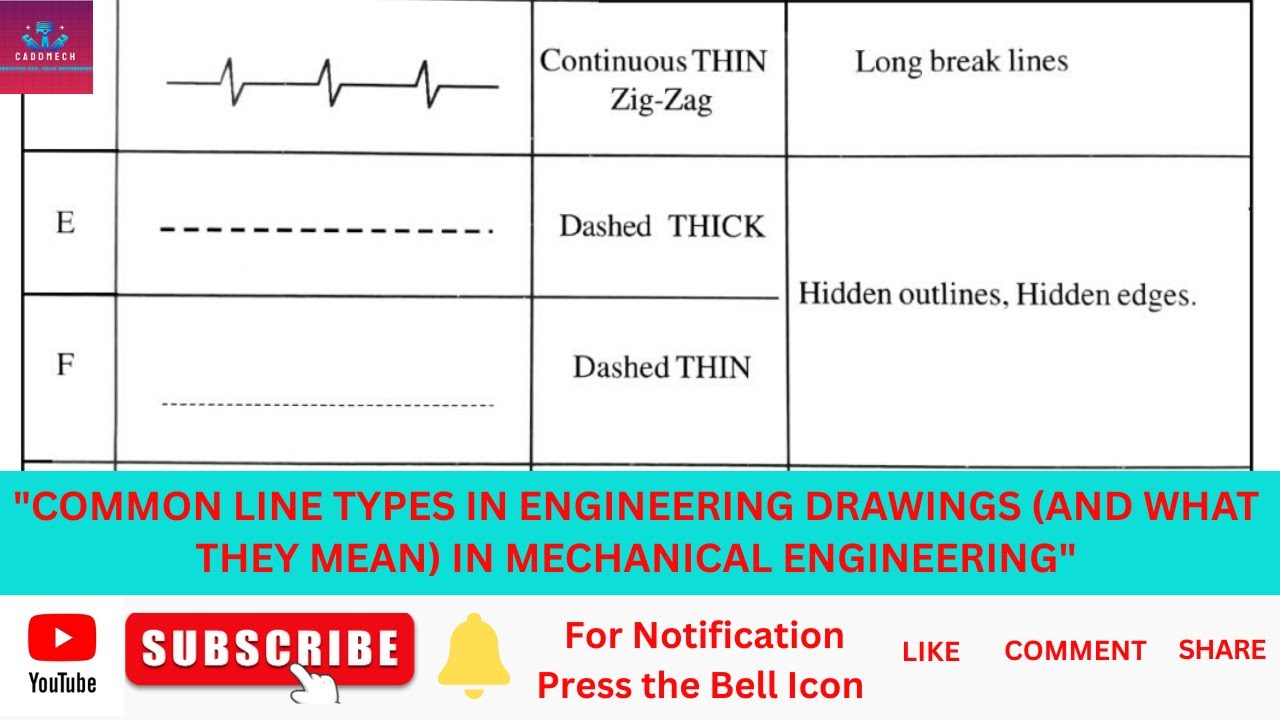
GD&T Lesson 1: Symbols, Terminology and Tolerance.
Summary
TLDRThis video introduces Geometric Dimensioning and Tolerancing (GD&T), explaining its crucial role in engineering and manufacturing. It highlights how GD&T helps communicate acceptable tolerances in parts, accounting for imperfections in machining. The video covers key concepts like nominal, basic, and reference dimensions, as well as tolerance stack-ups and dimensioning methods. It emphasizes the balance between accuracy, time, and cost, offering insights into efficient drafting practices like baseline and chain dimensioning. The video also explains common drafting symbols, helping viewers understand how to properly communicate design specifications in technical drawings.
Takeaways
- 😀 GD&T (Geometric Dimensioning and Tolerancing) is crucial for communicating allowable deviations in part dimensions during manufacturing.
- 😀 GD&T helps ensure that engineering tolerances are effectively communicated to both manufacturing and quality control teams.
- 😀 Nominal dimensions represent the desired size of a feature but allow for slight imperfections due to the machining process.
- 😀 Basic dimensions are theoretically perfect dimensions used to define the location or size of a feature, typically associated with a Feature Control Frame.
- 😀 Reference dimensions provide additional information but are not subject to inspection and do not directly affect the part's acceptability.
- 😀 Chain dimensioning involves stacking dimensions, which results in cumulative tolerance errors, affecting overall part accuracy.
- 😀 Baseline dimensioning references dimensions from a fixed baseline, minimizing cumulative tolerance stacking and improving part accuracy.
- 😀 Ordinate dimensioning measures all features relative to a single zero point, providing a cleaner, more organized drawing, especially in sheet metal design.
- 😀 Tighter tolerances require more accurate tooling and longer machining times, increasing production cost and time.
- 😀 GD&T is about balancing precision, cost, and time—engineers must make trade-offs based on part requirements and manufacturing constraints.
- 😀 Drafting symbols such as countersinks, counterbores, diameter, radius, and depth are essential for specifying part features in technical drawings.
Q & A
What is GD&T and why is it important?
-GD&T (Geometric Dimensioning and Tolerancing) is a system used to define and communicate engineering tolerances for the manufacturing of parts. It is important because it helps address imperfections that occur in the machining process, ensuring parts are manufactured within acceptable tolerances, thus maintaining functionality while controlling costs and production time.
How do nominal dimensions differ from basic dimensions?
-Nominal dimensions represent the actual measured dimension of a feature, including an associated tolerance range. Basic dimensions, on the other hand, represent theoretically perfect dimensions that are used to define a feature's location or size, but the actual measurement is controlled by other tolerances or a feature control frame.
What role do tolerances play in GD&T?
-Tolerances specify the acceptable limits of variation in a part's dimensions. In GD&T, tolerances are critical because they help define when a part is acceptable for use. They account for the imperfections that arise during machining, providing the acceptable range of deviations from the nominal dimension.
Why doesn't GD&T always demand the highest level of accuracy?
-Demanding the highest level of accuracy in machining is costly and time-consuming. GD&T seeks a balance between precision and cost-efficiency, acknowledging that higher accuracy requires more expensive tools and longer production times, which may not be necessary for every feature of a part.
What is the difference between chain dimensioning and baseline dimensioning?
-Chain dimensioning involves stacking multiple dimensions one after the other, which can result in accumulated tolerances. In contrast, baseline dimensioning uses a single reference point (baseline) for all dimensions, preventing the accumulation of errors and making it easier to control the final part size.
What is direct dimensioning, and how does it optimize accuracy and cost?
-Direct dimensioning combines both baseline and chain dimensioning methods. It uses baseline dimensioning for critical dimensions to optimize accuracy and chain dimensioning for less critical dimensions to reduce production time and costs. This approach balances both precision and efficiency.
What is ordinate dimensioning, and why is it often preferred for sheet metal parts?
-Ordinate dimensioning is a system where all dimensions are referenced from a single origin line (zero line). It is preferred for sheet metal parts because it reduces clutter on the drawing and provides a clear, efficient way to define dimensions, especially when orientation is crucial for manufacturing.
What are reference dimensions and how are they used in engineering drawings?
-Reference dimensions are provided for informational purposes only. They are not intended to be inspected for conformance, and a part would not be rejected solely for not meeting a reference dimension unless the discrepancy is significant. They are often used for non-critical dimensions that provide additional context.
What is the significance of the feature control frame in GD&T?
-The feature control frame in GD&T specifies the tolerances that govern the location, orientation, and form of a feature. It helps define the ideal placement and shape of a feature while allowing for certain deviations, ensuring the part meets functional requirements.
How do GD&T symbols such as countersink, counterbore, diameter, radius, and depth help in part manufacturing?
-GD&T symbols like countersink and counterbore define specific features of a part, such as the shape of holes or recesses. Symbols for diameter, radius, and depth help ensure that the dimensions of these features are correctly communicated and adhered to during manufacturing, ensuring part functionality.
Outlines

Cette section est réservée aux utilisateurs payants. Améliorez votre compte pour accéder à cette section.
Améliorer maintenantMindmap

Cette section est réservée aux utilisateurs payants. Améliorez votre compte pour accéder à cette section.
Améliorer maintenantKeywords

Cette section est réservée aux utilisateurs payants. Améliorez votre compte pour accéder à cette section.
Améliorer maintenantHighlights

Cette section est réservée aux utilisateurs payants. Améliorez votre compte pour accéder à cette section.
Améliorer maintenantTranscripts

Cette section est réservée aux utilisateurs payants. Améliorez votre compte pour accéder à cette section.
Améliorer maintenantVoir Plus de Vidéos Connexes
5.0 / 5 (0 votes)


