Photo 01 Set Up Background
Summary
TLDRThe video explains how to set up a background system for photography or video shoots. It details the necessary components, including supports, clamps, paper, and a pole for holding the paper. The process involves positioning the supports at the correct width, rolling out the paper, and securing it with clamps. It also covers tips like ensuring the rubber part of the clamp grips the metal and adjusting the paper's height for full-length shots. The setup process requires multiple people to ensure the paper stays in place and the background is level.
Takeaways
- 😀 You need two side supports to set up the background properly.
- 📏 Use clamps to prevent the paper from unrolling once positioned.
- 🎨 The background paper comes in different colors, and you can choose the right width based on your needs.
- 📐 Adjust the distance between the supports based on the width of the paper.
- 🛠️ Ensure that the pole holding the paper is inserted and extended properly.
- 🔧 Use clips with rubber and metal parts, ensuring the rubber touches the metal for better grip.
- 📄 Unroll the background paper carefully, especially if you're not using the full length to avoid wasting paper.
- 🦶 Have someone step on the paper to prevent it from rolling out excessively during the setup.
- 🔄 Adjust the height of the background by loosening and tightening the pins carefully.
- 🔍 One person should check that the paper is flat and make necessary adjustments before locking everything in place.
Q & A
What materials are needed to set up the background?
-You need two supports for both sides of the background, two clamps, a roll of paper, and a bar to hold up the paper.
What is the function of the clamps in the background setup?
-The clamps are used to ensure that the paper doesn't unroll while setting up or during use.
How do you determine the correct distance between the supports?
-The distance between the supports should be about the same width as the background paper, plus a little extra space for the clamps.
What should you be cautious of when positioning the paper?
-Ensure that the paper rolls down in the right direction and adjust the pole through the roll accordingly.
What are the two different systems mentioned for securing the background?
-One system has a pin that rests on top, while the other system includes a lock for added security.
What is important about how the clamp should be positioned?
-The rubber part of the clamp should touch the metal part to ensure a secure grip, otherwise it will slip if metal touches metal.
How do you avoid wasting paper when setting it up for different types of shots?
-If you're not doing a full-length shot, don't pull out too much paper, as it can wear out from use. You can let the paper touch the ground if you're shooting full-length.
Why should someone stand on the paper during the setup process?
-Having someone stand on the paper with their feet helps prevent it from rolling out too much, especially when working with long rolls of paper.
What should you be aware of when turning the front pin?
-You can only turn the front pin three times in either direction; otherwise, the pieces may fall off and get lost.
How do you ensure the background is flat and even?
-One person should check from a distance and direct the person adjusting the background to raise or lower the supports until the background is perfectly flat.
Outlines

Cette section est réservée aux utilisateurs payants. Améliorez votre compte pour accéder à cette section.
Améliorer maintenantMindmap

Cette section est réservée aux utilisateurs payants. Améliorez votre compte pour accéder à cette section.
Améliorer maintenantKeywords

Cette section est réservée aux utilisateurs payants. Améliorez votre compte pour accéder à cette section.
Améliorer maintenantHighlights

Cette section est réservée aux utilisateurs payants. Améliorez votre compte pour accéder à cette section.
Améliorer maintenantTranscripts

Cette section est réservée aux utilisateurs payants. Améliorez votre compte pour accéder à cette section.
Améliorer maintenantVoir Plus de Vidéos Connexes

Sony ZV E10 Menu Settings for PORTRAIT Photography (how to setup)
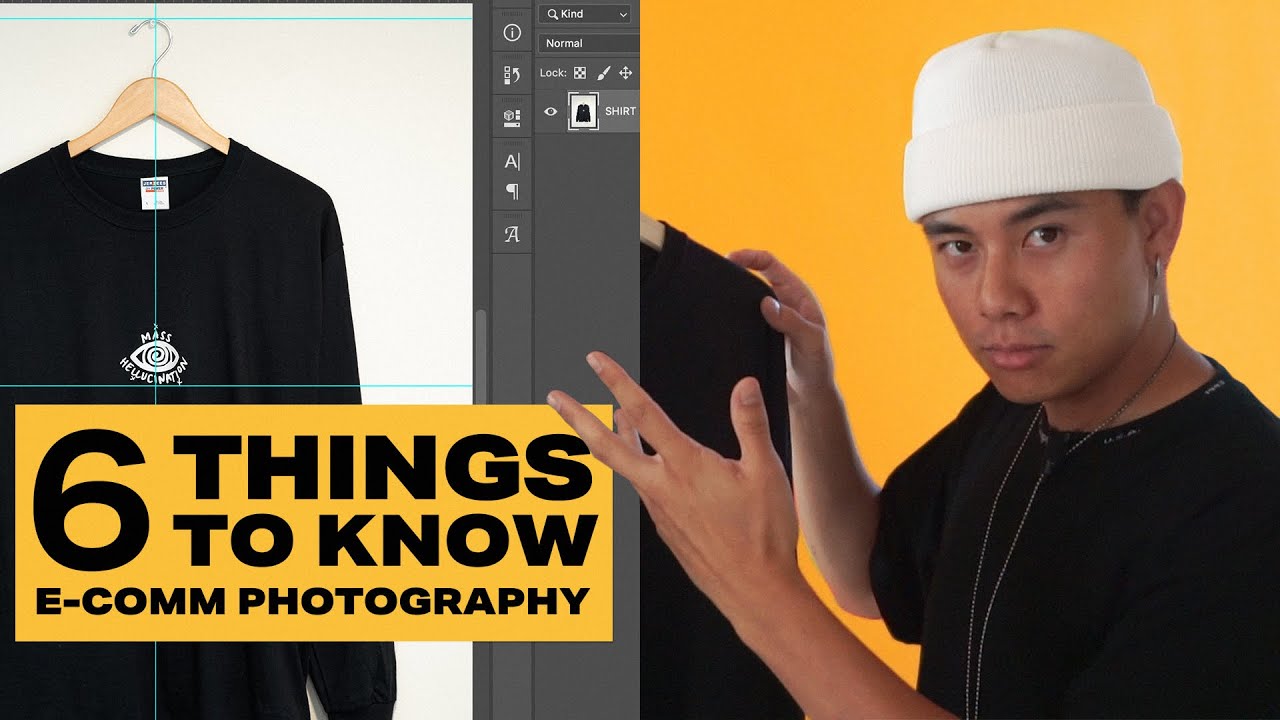
6 Things to Know Before Shooting E-Commerce Photography + Tips and Tricks to Get Started on a Budget

Want to take better travel photos? Try this.
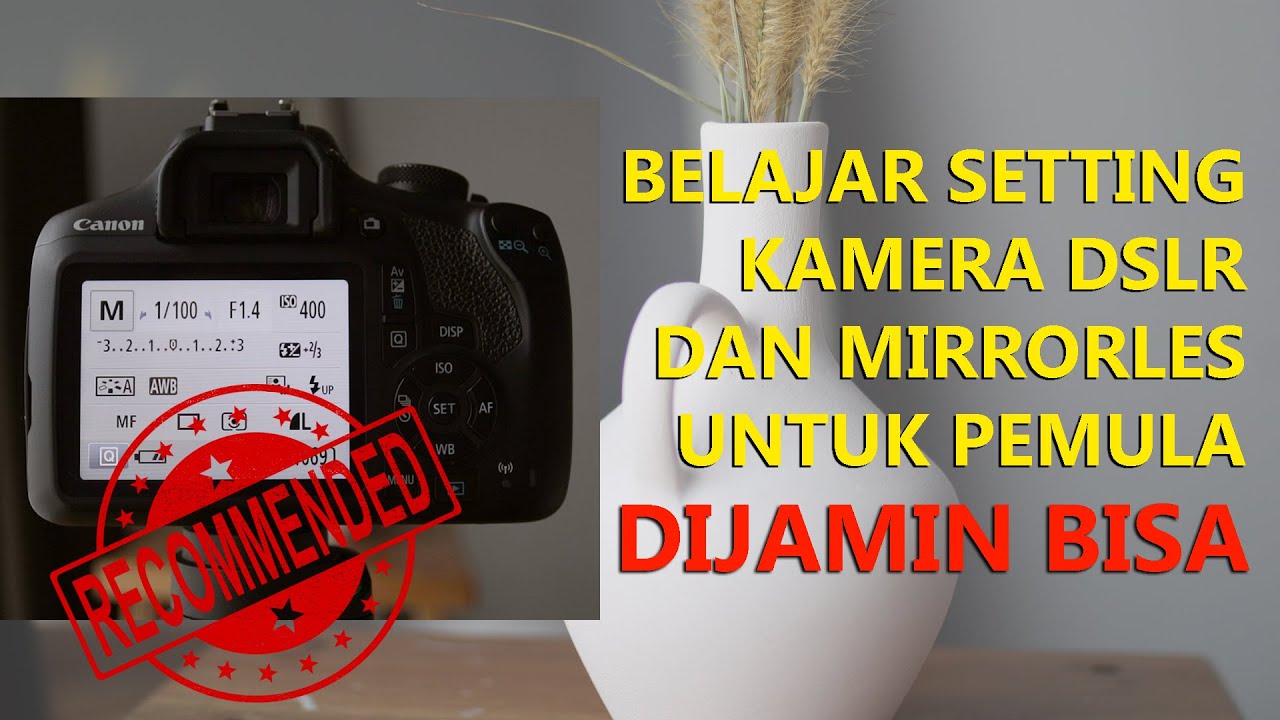
BELAJAR SETTINGAN MANUAL KAMERA DSLR & MIRRORLES

Cara Menggunakan Clapperboard - Tutorial Film Pendek

Exposure Bracketing for beginners - Photography tips and tutorials
5.0 / 5 (0 votes)
