Memperbaiki Sistem Kelistrikan - Teknik dan Bisnis Sepeda Motor
Summary
TLDRThe video script is an educational tutorial focused on motorcycle electrical system repair, specifically addressing headlight issues. It features Iwan Utama, a teacher from SMK Muhammadiyah 1 in Sukoharjo, Indonesia, who explains the components of a motorcycle's electrical system, including ignition, charging, and starting systems. The script outlines a step-by-step diagnostic process using a multimeter to check battery voltage, fuses, switch contacts, and relays. It also covers the inspection of the headlight bulb itself. The tutorial aims to equip viewers with the knowledge to diagnose and repair electrical issues in motorcycles, emphasizing the importance of using the right tools and following a systematic approach.
Takeaways
- 🛠️ The script is a tutorial on how to diagnose and repair electrical issues on a motorcycle, focusing on the lighting system.
- 🔦 The importance of checking the motorcycle's front and rear lights is emphasized to ensure public trust and safety.
- 👨🏫 The tutorial is led by Iwan Utama, a teacher from SMK Muhammadiyah 1 in Sukoharjo, who specializes in motorcycle technical and business education.
- 🔌 The script explains various components of a motorcycle's electrical system, including the ignition system, charging system, and starting system.
- 🔋 The battery is identified as the primary source of electricity for the motorcycle's electrical system.
- 🔧 A multimeter is used to accurately diagnose electrical issues by checking voltage, continuity, and other electrical properties.
- 🛑 The process of checking fuses, switches, and relays is detailed to identify any malfunctions in the motorcycle's lighting system.
- 💡 The tutorial demonstrates how to test the turn signal switch and the condition of the light bulbs to ensure they are functioning properly.
- 🔧 The script provides a step-by-step guide on how to perform the checks and what to do if a component is found to be faulty.
- 🏁 The conclusion of the script reinforces the importance of understanding and being able to repair electrical systems, particularly the lighting system, for the safety of motorcycle riders.
Q & A
What is the main issue with the motorcycle's lights discussed in the script?
-The main issue discussed is the malfunction of the motorcycle's turn signal lights, specifically the front turn signals.
What is the first step recommended for diagnosing electrical issues in a motorcycle?
-The first step recommended is to check the battery voltage using a multimeter to ensure it is above 12 volts, indicating good battery health.
What tool is used to measure the battery voltage in the script?
-A multimeter is used to measure the battery voltage.
How is the condition of the battery assessed in the script?
-The battery condition is assessed by checking if the voltage is above 12 volts, which indicates a good battery.
What is the purpose of checking the fuses in the motorcycle's electrical system?
-Checking the fuses is to ensure they are not blown, which could be causing a disruption in the electrical flow and leading to malfunctions.
What does the script suggest to do if the multimeter needle moves when testing a fuse?
-If the multimeter needle moves when testing a fuse, it indicates that the fuse is functioning properly.
What component is responsible for the turn signal lights in the motorcycle's electrical system?
-The turn signal lights are controlled by the switch on the handlebar, which is connected to the turn signal relay.
What is the procedure to check the condition of the turn signal switch as described in the script?
-The procedure involves connecting the multimeter to the switch's wires and observing if the needle moves when the switch is turned on, indicating the switch is working.
How is the condition of the turn signal lights checked in the script?
-The condition of the turn signal lights is checked by testing the continuity of the light bulbs using the multimeter's continuity function.
What is the final step suggested after diagnosing the electrical issues in the motorcycle?
-The final step is to perform the necessary repairs or replacements of the faulty components identified during the diagnostic process.
What is the importance of using a multimeter in diagnosing electrical issues as mentioned in the script?
-Using a multimeter is crucial for accurate and accountable diagnosis of electrical issues in the motorcycle's system.
Outlines

Cette section est réservée aux utilisateurs payants. Améliorez votre compte pour accéder à cette section.
Améliorer maintenantMindmap

Cette section est réservée aux utilisateurs payants. Améliorez votre compte pour accéder à cette section.
Améliorer maintenantKeywords

Cette section est réservée aux utilisateurs payants. Améliorez votre compte pour accéder à cette section.
Améliorer maintenantHighlights

Cette section est réservée aux utilisateurs payants. Améliorez votre compte pour accéder à cette section.
Améliorer maintenantTranscripts

Cette section est réservée aux utilisateurs payants. Améliorez votre compte pour accéder à cette section.
Améliorer maintenantVoir Plus de Vidéos Connexes

Funcionamento do motor 150 Honda Sucata, muito muito bom, assista até o final.

DVOM Basics (Digital Volt Ohm Meter)
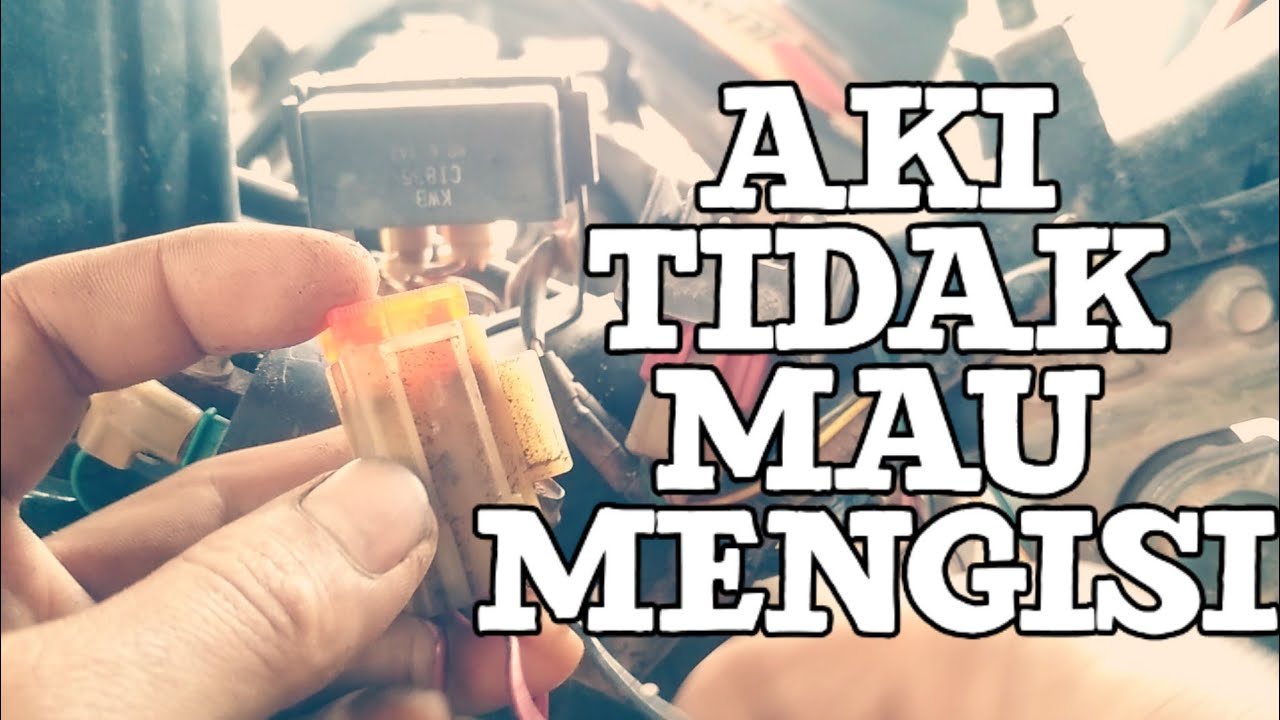
Aki motor tidak mau mengisi
Basic Electrical Engineering | Module 1 | Superposition Theorem (Lecture 06)
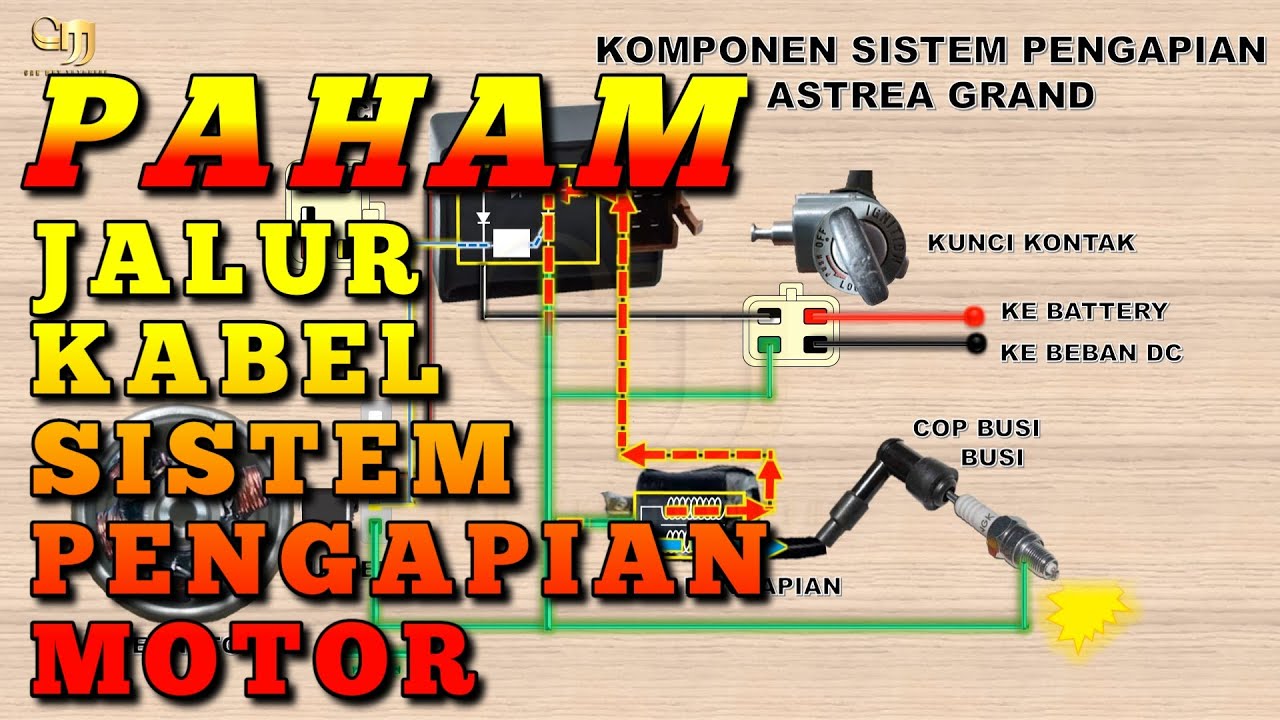
Skema jalur kabel sistem pengapian Astrea grand || Kelistrikan Sepeda Motor 9

Tutorial 6- Python List And Its Inbuilt Function In Hindi
5.0 / 5 (0 votes)
