Pengukuran Mikrometer Sekrup IPA Kelas 7 SMPMTs - EDURAYA MENGAJAR IPA 7
Summary
TLDRThis instructional video demonstrates how to use a micrometer screw gauge for precise measurement of an object's thickness. With ten times the accuracy of a ruler, the micrometer offers 0.01 mm precision. The video outlines the parts of the micrometer, including the frame, fixed and movable anvils, the thimble, main scale, vernier scale, and the ratchet stop. It guides viewers through the calibration process, measurement technique, and reading the main and vernier scales to calculate the thickness accurately. The host measures a cylinder's thickness as an example, providing a step-by-step tutorial that is both informative and easy to understand.
Takeaways
- 📏 The video discusses the use of a micrometer screw gauge, a precision measuring tool for determining the thickness of an object.
- 🔍 The micrometer screw gauge is more accurate than a ruler, with a precision level ten times higher.
- 🔢 It offers a precision of up to 0.01 mm, which is significantly finer than the accuracy of a ruler.
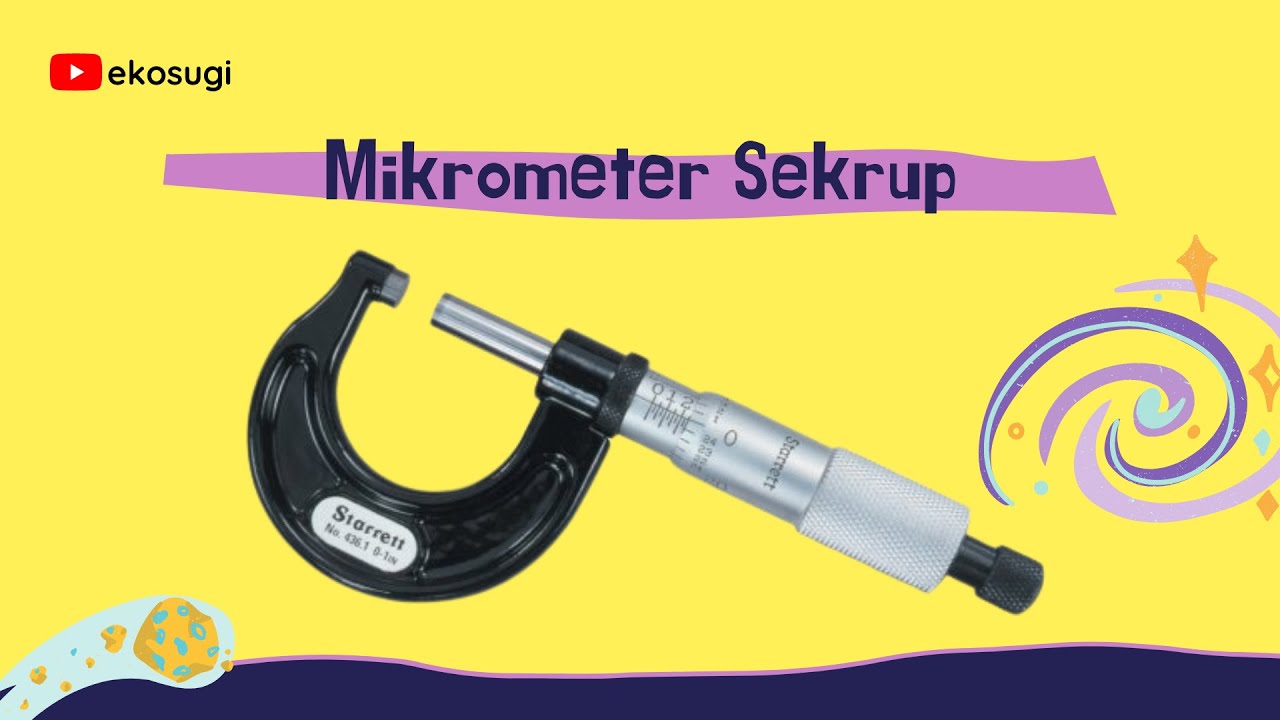
- 📐 The components of the micrometer screw gauge include a frame, fixed anvil, movable anvil, thimble, main scale, vernier scale, and a knurled screw.
- 🔧 Before using the micrometer, it's important to open the thimble and calibrate it to ensure accurate measurements.
- ⚙️ The calibration process involves rotating the screw until the movable anvil meets the fixed anvil and the main scale shows zero.
- 🔄 To measure an object's thickness, the object is placed between the anvils and the screw is turned until it just grips the object.
- 🎛️ The knurled screw is turned until it clicks, indicating that the measurement is locked in place.
- 📋 The measurement is read by noting the main scale reading and the vernier scale reading, which is then multiplied by the vernier's precision (0.01 mm).
- 📊 The final measurement is calculated by adding the main scale reading to the vernier scale reading, providing the object's thickness in millimeters.
Q & A
What is the main tool discussed in the script for measuring thickness?
-The main tool discussed in the script for measuring thickness is a micrometer screw.
How is a micrometer screw more precise than a ruler?
-A micrometer screw is more precise than a ruler because it has an accuracy of up to 0.01 mm, which is ten times more precise than a ruler.
What are the main parts of a micrometer screw mentioned in the script?
-The main parts of a micrometer screw mentioned are the frame, fixed anvil, movable anvil, thimble, main scale, vernier scale, and the knurled sleeve at the end.
Why is it important to calibrate a micrometer screw before use?
-Calibration is important to ensure accurate measurements by ensuring the movable anvil is set to zero when it meets the fixed anvil.
How do you prepare the micrometer screw for measuring an object?
-You prepare the micrometer screw by opening the thimble, calibrating it to zero, and then adjusting the movable anvil to move backward before inserting the object to be measured.
What is the procedure to measure the thickness of an object using a micrometer screw?
-The procedure involves inserting the object between the anvils, turning the thimble until the object is perfectly gripped, and then turning the knurled sleeve until it clicks, indicating the measurement is locked in.
What is the accuracy level of the micrometer screw used in the demonstration?
-The accuracy level of the micrometer screw used in the demonstration is 0.01 mm.
How do you read the measurement on the main scale of the micrometer screw?
-You read the measurement on the main scale by noting the whole number value directly below the line that aligns with the movable anvil.
What is the purpose of the vernier scale on the micrometer screw?
-The vernier scale is used to read the fractional part of the measurement, providing a more precise reading in conjunction with the main scale.
How do you calculate the final measurement using both the main and vernier scales?
-The final measurement is calculated by adding the whole number from the main scale to the fractional value read from the vernier scale, multiplied by the micrometer's accuracy level (0.01 mm).
What is the final measurement of the object in the script's example?
-The final measurement of the object in the script's example is 3.62 mm.
Outlines

Cette section est réservée aux utilisateurs payants. Améliorez votre compte pour accéder à cette section.
Améliorer maintenantMindmap

Cette section est réservée aux utilisateurs payants. Améliorez votre compte pour accéder à cette section.
Améliorer maintenantKeywords

Cette section est réservée aux utilisateurs payants. Améliorez votre compte pour accéder à cette section.
Améliorer maintenantHighlights

Cette section est réservée aux utilisateurs payants. Améliorez votre compte pour accéder à cette section.
Améliorer maintenantTranscripts

Cette section est réservée aux utilisateurs payants. Améliorez votre compte pour accéder à cette section.
Améliorer maintenantVoir Plus de Vidéos Connexes

Bagian Mikrometer Sekrup dan Fungsinya

CYLINDER BORE GAUGE ' CARA MENGGUNAKAN, MEMBACA, DAN MENGUKUR DIAMETER SILINDER

Screw Gauge Experiment Introduction Edunovus Online Smart Practicals

Cara Menggunakan Mikrometer Sekrup

Mengukur Keausan Blok silinder sepeda Motor

Pengukuran | Jangka Sorong | IPA Kelas 7 SMP/MTs | EDURAYA MENGAJAR
5.0 / 5 (0 votes)
