Mastering Custom Cookie Authentication : A Guide to .NET 8 Blazor with Interactive Wasm Render Mode.
Summary
TLDRこのビデオでは、.NET 8 Blazor Webアプリケーションでのカスタムクッキー認証の実装について詳しく解説しています。講師のフレデリックは、WebAssemblyレンダーモードでのクッキー認証の作成方法をステップバイステップで説明し、サーバー側とクライアント側の両方で必要な設定とコードの変更を紹介します。具体的には、パッケージのインストール、データベースサービスの設定、新しいプロジェクトの作成、ログインと登録フォームの実装などが含まれます。このビデオは、.NET技術、特にBlazor WebAssemblyに関心のある開発者にとって非常に有益な内容となっています。
Takeaways
- 👨💻 Demonstrates how to implement custom cookie authentication in Blazor WebAssembly app
- 🔑 Uses Identity framework to handle user authentication and authorization
- 📝 Creates custom ApplicationUser class to extend IdentityUser
- 📥 PersistentServerAuthenticationStateProvider prepares auth state on server
- 📤 PersistentAuthenticationStateProvider maintains auth state on client
- 🌐 Minimal API endpoint used for logout to access HttpContext
- 📃 Customizes login and register pages
- 🍪 Shows how auth state and cookies change on login/logout
- ⚙️ Registers services and components needed for custom authentication
- 🔐 Implements authorization check on Razor components using @attribute
Q & A
Blazor WebAssemblyのレンダーモードでカスタムCookie認証を実装する際の主なステップは何ですか?
-主なステップには、クライアントとサーバー側のパッケージのインストール、データベース接続文字列の作成、データベースサービスの追加、Identity DBコンテキストの設定、PersistentServerAuthenticationStateProviderとPersistentAuthenticationStateProviderクラスの作成、ログインと登録ページの作成が含まれます。
BlazorアプリケーションでカスタムCookie認証を実装する目的は何ですか?
-カスタムCookie認証を実装する目的は、デフォルトの認証メカニズムをカスタマイズして、アプリケーションに合わせた認証フローを提供することです。これにより、特定のユーザー認証要件に合わせて認証プロセスを細かく制御できます。
「PersistentServerAuthenticationStateProvider」と「PersistentAuthenticationStateProvider」クラスの役割は何ですか?
-「PersistentServerAuthenticationStateProvider」クラスは、サーバーサイドレンダリング時にユーザー認証を処理します。一方、「PersistentAuthenticationStateProvider」クラスは、クライアントサイドで認証状態を維持し、利用します。
Blazor WebAssemblyプロジェクトでIdentityを設定する際に必要なパッケージは何ですか?
-EF Core、SQL Server、EF Tools、Microsoft.AspNetCore.Components.WebAssembly.Authenticationなどのパッケージが必要です。
カスタム認証でユーザー情報をDBに保存するためにIdentity DBコンテキストに追加する必要があるクラスは何ですか?
-アプリケーションのユーザー情報を保存するために「AppUser」クラスをIdentity DBコンテキストに追加する必要があります。これにより、デフォルトのIdentityユーザークラスを拡張できます。
Blazorアプリケーションでカスタム認証のために必要なデータベースの設定はどのように行いますか?
-appsettings.jsonファイルに接続文字列を定義し、Program.csファイルでこの接続文字列を使用してEF Coreデータベースコンテキストをサービスに登録します。
ログインと登録ページをBlazorアプリケーションに追加する際の注意点は何ですか?
-ログインと登録ページには、適切なルート属性を設定し、ユーザー入力を受け取るためのフォームを含める必要があります。また、認証処理を実行するためのロジックも実装する必要があります。
Blazor WebAssemblyアプリケーションでログアウト機能を実装するためにはどうすればよいですか?
-
Outlines

Esta sección está disponible solo para usuarios con suscripción. Por favor, mejora tu plan para acceder a esta parte.
Mejorar ahoraMindmap

Esta sección está disponible solo para usuarios con suscripción. Por favor, mejora tu plan para acceder a esta parte.
Mejorar ahoraKeywords

Esta sección está disponible solo para usuarios con suscripción. Por favor, mejora tu plan para acceder a esta parte.
Mejorar ahoraHighlights

Esta sección está disponible solo para usuarios con suscripción. Por favor, mejora tu plan para acceder a esta parte.
Mejorar ahoraTranscripts

Esta sección está disponible solo para usuarios con suscripción. Por favor, mejora tu plan para acceder a esta parte.
Mejorar ahoraVer Más Videos Relacionados
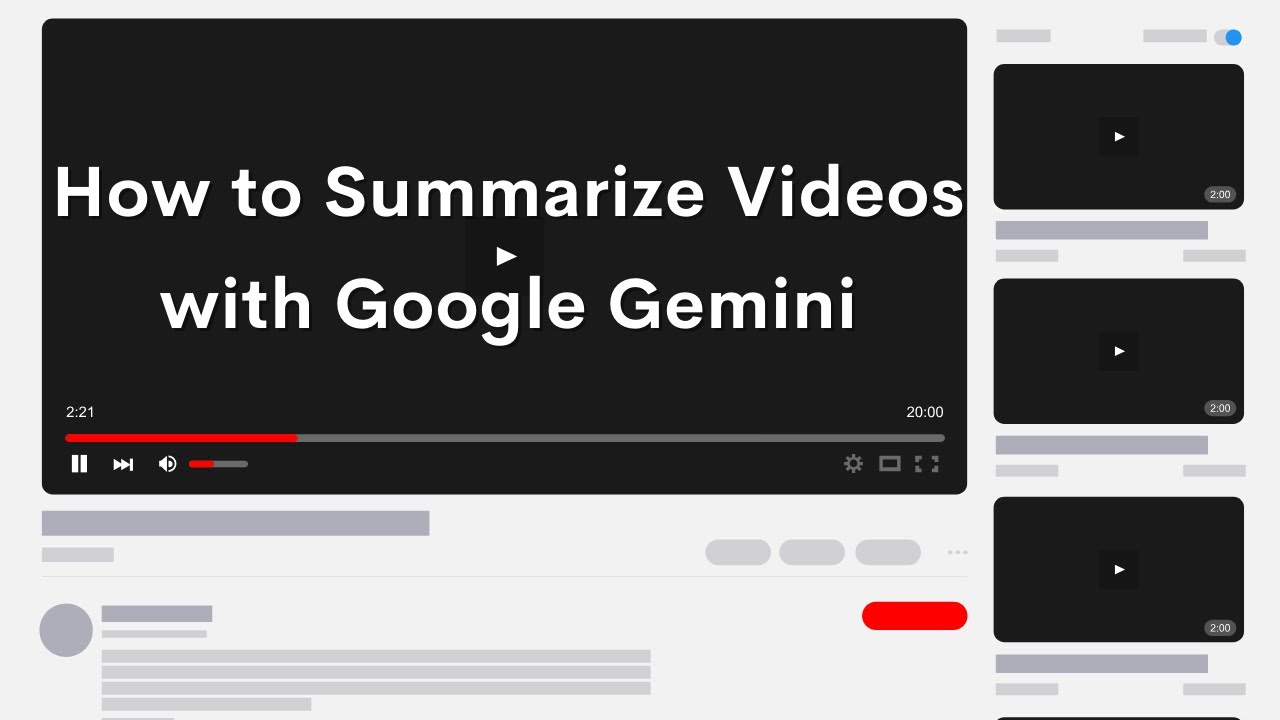
How to Use Google Gemini to Summarize a Video

🔥Latest Free text to video ai generator 👉Haiper.ai tutorial 🔥
Will YouTube Ever Run Out Of Video IDs?

How to Use Klap AI to Create Amazing Videos!

Why I Prefer Cut Vs. Uncut Men!

Nvidia's Free RAG Chatbot supports documents and youtube videos (Zero Coding - Chat With RTX)

Best [PVE] Legendary Weapons for New/ Returning Players: 2024 Guide (Destiny 2)
5.0 / 5 (0 votes)
