Ungraded Sony ZV-E10 Cinematic Footage & Settings
Summary
TLDRこのビデオでは、Sony ZV-E10カメラを使用して、Sony 20mmと35mm F1.8プライムレンズで撮影された映像の裏側を紹介しています。多くのショットは三脚を使用し、マニュアルフォーカスで撮影されましたが、一部は手持ちで撮影されています。カメラ設定では、ピクチャープロファイルをオフにし、クリエイティブスタイル設定で微調整を加えました。具体的には、コントラスト、彩度、シャープネスを下げ、自然な見た目を重視しました。カラーグレーディングは行わず、Final Cut Proでわずかにコントラストを加えています。露出は主にシャッタースピードや絞りで調整し、ISOは常に100に設定されています。適切な露出を得るために、ゼブラパターンやマルチメータリングを用い、白バランスは撮影条件に応じて5500Kから6500Kに設定しました。Sony ZV-E10は、ピクチャープロファイルを使用せずとも、露出、白バランス、構図をマスターすることで優れた結果を生み出すことができます。
Takeaways
- 🎥 ビデオは主にソニーの20mmおよび35mm F1.8プライムレンズを使用してマニュアルで撮影され、一部はハンドヘルドで撮影された。
- ⚙️ カメラの設定では、ピクチャープロファイルをオフにし、クリエイティブスタイル設定でコントラストを-3、彩度を-1、シャープネスを-5に調整した。
- 🎨 露出は主にシャッター速度やF値を使って調整し、ISOは全ての撮影で100に設定した。
- 😄 ポートレートモードを選択し、コントラストを-3、彩度を-1、シャープネスを-5に設定したことで、デジタルな見た目を抑えることができた。
- 📸 風景写真ではF7.1〜F9の絞り値で遅いシャッター速度、被写体を分離させる場合はF1.8〜F4で早いシャッター速度を使用した。
- ✅ 適正露出を得るために、ゼブラパターン(95%)とマルチメータリングを利用し、-1以下にはならないように設定した。
- ⚪ 直射日光下では、マルチメータリングを0.0〜0.3の範囲に設定しながら、カメラの画面でも確認した。
- 🌞 白色バランスは5500〜6500ケルビンに設定したが、主に朝日や夕日の撮影だったため、6200ケルビン前後が多かった。
- 💚 ソニーzv10がマゼンタ寄りになる傾向があるため、カラースライダーを緑の方向に調整した。
- 🙌 適切な露出、白バラン他カメラの設定、そして構図を考えることが重要。これらの基本を身につけることで、どのカメラでも見栄えのする写真が撮れるようになる。
Q & A
スクリプトの主な内容は何でしたか?
-スクリプトは、Sonyのzve10カメラを使って撮影する際の設定と手順について説明しています。特に露出、ホワイトバランス、絞り値、シャッター速度、ISOなどの設定について詳しく述べられています。
カメラの設定はどのように調整していましたか?
-ピクチャープロファイルはオフにし、クリエイティブスタイルの設定を調整しました。コントラストを-3、彩度を-1、シャープネスを-5に設定して、デジタルルックを抑えています。
カラーグレーディングはどのように行われましたか?
-カラーグレーディングは一切行われていません。出力された映像は完全に生のままで、Final Cut Proでわずかにコントラストを上げただけです。
露出はどのように設定されていましたか?
-主に絞り値とシャッター速度で露出を調整していました。ISOは100に固定して、風景写真の場合は開放F値7.1-9で遅いシャッター速度を使い、被写体を際立たせたい場合はF1.8-4で高速シャッター速度を使っていました。
適切な露出を得るためにどのような手段を使っていましたか?
-ゼブラパターンとマルチ測光を使って露出を決めていました。ゼブラは95%に設定して、ハイライト部分を維持するようにし、マルチ測光は-1未満にはならないように調整していました。
ホワイトバランスはどのように設定されていましたか?
-基本的には5500K-6500Kに設定していましたが、朝日や夕日の場合は6200K前後に調整しています。またカメラのマゼンタ傾向を補正するため、緑側にカラースライダーをシフトさせていました。
ピクチャープロファイルをオフにした理由は何でしたか?
-Sonyのzve10カメラは、ピクチャープロファイルを使わずとも、適切な露出、ホワイトバランス、構図があれば、優れた結果が得られると考えていたためです。
今後どのようにピクチャープロファイルを使う予定でしょうか?
-主にS-Log2を使って、より広いダイナミックレンジを得るつもりですが、短時間の撮影では時々ピクチャープロファイルを完全にオフにすることもあるかもしれません。
スクリプトで強調されていたカメラ設定の基本は何でしたか?
-露出、ホワイトバランス、構図の基本を完璧に身につけることが強調されていました。これらの基本が正しければ、どのようなカメラでも優れた映像が撮れるということです。
視聴者に何か質問を求めていましたか?
-はい、視聴者にSony zve10カメラに関する質問やコメントがあれば、動画の下のコメント欄に書き込むよう求めていました。
Outlines

Esta sección está disponible solo para usuarios con suscripción. Por favor, mejora tu plan para acceder a esta parte.
Mejorar ahoraMindmap

Esta sección está disponible solo para usuarios con suscripción. Por favor, mejora tu plan para acceder a esta parte.
Mejorar ahoraKeywords

Esta sección está disponible solo para usuarios con suscripción. Por favor, mejora tu plan para acceder a esta parte.
Mejorar ahoraHighlights

Esta sección está disponible solo para usuarios con suscripción. Por favor, mejora tu plan para acceder a esta parte.
Mejorar ahoraTranscripts

Esta sección está disponible solo para usuarios con suscripción. Por favor, mejora tu plan para acceder a esta parte.
Mejorar ahoraVer Más Videos Relacionados
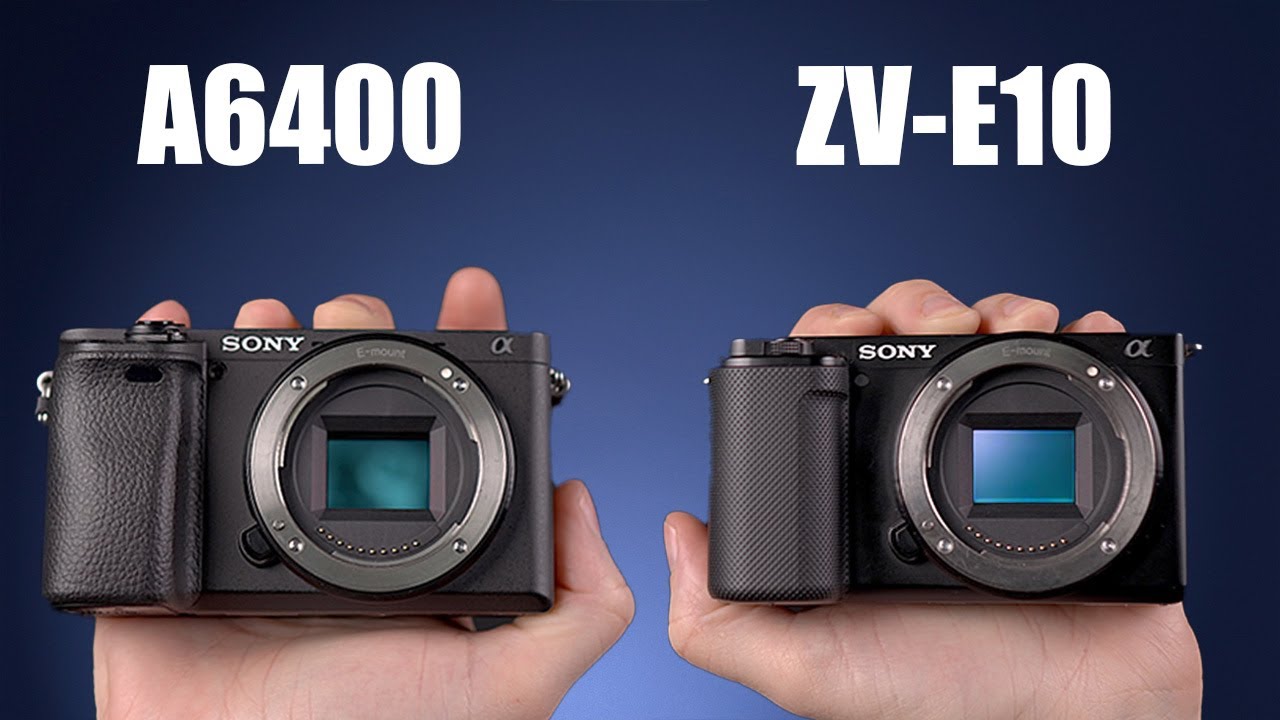
Sony a6400 vs Sony ZV-E10 Real World Comparison

Slog3 with an 8bit camera? My Sony ZV E10 Settings & Workflow
Sony ZV-E10 II Review: Exceptional Value... But There’s a Catch!

LUMIX S9 vs SONY ZV-E1 Comparison | Which Should You Get?

iPhone 15 Pro vs Sony a6700 - Which Camera is Right For You?

Sony a6400 Tutorial For Beginners | Best Settings For Photo & Video
5.0 / 5 (0 votes)
