AutoBill - An AI Powered Instant Checkout System | Edge Impulse | Raspberry Pi | Coders Cafe
Summary
TLDRAuto Bear is an automated checkout system designed for small retail stores, utilizing computer vision and deep learning for contact-free, instant item recognition. The system is constructed with plywood, load cells for weight measurement, an amplifier module, a camera for AI object detection, and LED lighting for visibility. The software includes load cell calibration and machine learning model training with high accuracy, all controlled by a Raspberry Pi. The project's detailed instructions and code are available for replication.
Takeaways
- 🚀 Auto Bear is an AI-powered instant checkout system designed for smaller retail stores.
- 🔍 It uses computer vision and deep learning to visually identify items placed on the countertop.
- ⚡ The system offers a fast, contact-free self-checkout process, reducing wait times in queues.
- 🛠️ The project requires electronic components and 15 mm thick plywood for construction.
- 🔧 A load cell is used to measure the weight of objects, mounted at the center of the base.
- 📷 A camera module and LED strips are installed to identify objects and ensure visibility in low light.
- 🖌️ The plywood cabinet is assembled, sanded, primed, and painted for an elegant finish.
- 🔌 The load cell is connected to an amplifier module and a Raspberry Pi for accurate measurements.
- 💡 The AI model for object detection is trained using 40 images and has a 98.9% accuracy rate.
- 📦 The final build includes a Python code for the device and a Node.js developed checkout page.
Q & A
What is the purpose of the 'Auto Bear' system presented in the video?
-The 'Auto Bear' system is an AI-powered instant checkout system designed for smaller retail stores, using computer vision and deep learning to visually identify items placed on the countertop for a fast, contact-free self-checkout experience.
What materials are required to build the physical structure of the Auto Bear system?
-The project requires 15 mm thick plywood of specific dimensions, wood screws, a load cell, an amplifier module, a camera module, LED strips, a white acrylic sheet for the countertop, and a small rectangular box for the Raspberry Pi.
Why is sanding necessary before painting the cabinet?
-Sanding is necessary to create an even surface, which is essential for painting. It helps in adhering the paint properly and provides a smooth finish.
How is the load cell integrated into the Auto Bear system?
-The load cell is attached to the center of the base, with positions marked and holes drilled for connections. It is secured in place using nuts and bolts, and an amplifier module is soldered for coupling the load cell to the Raspberry Pi.
What role does the camera module play in the Auto Bear system?
-The camera module, along with artificial intelligence, is used for the visual identification of objects placed on the countertop. It is connected to the Raspberry Pi and positioned beneath the top side of the cabinet.
Why are LED strips used in the Auto Bear system?
-LED strips are used to provide better visibility even in low light conditions, illuminating the items placed on the countertop for accurate identification by the camera module.
How is the load cell calibrated in the Auto Bear system?
-The load cell is calibrated using standard weights or non-weights to ensure accurate measurements of the weight of objects placed on the countertop.
What platform is used for the object detection AI in the Auto Bear system?
-At gimbals is used as the development platform for machine learning on added devices, facilitating the training and deployment of the object detection AI.
How is the dataset for object detection prepared in the Auto Bear system?
-A dataset containing images of the objects to be detected is loaded and labeled, with the process of labeling being automated to some extent by At gimbals to decrease the time required.
What is the reported accuracy of the generated machine learning model for object detection?
-The generated machine learning model has an accuracy of 98.9%, which is considered quite good for object detection tasks.
How is the software for the Auto Bear system developed and where can the code be found?
-The software is written in Python, with the checkout page developed using Node.js. The code can be found in a GitHub repository, the link to which is provided in the video description.
Outlines

Esta sección está disponible solo para usuarios con suscripción. Por favor, mejora tu plan para acceder a esta parte.
Mejorar ahoraMindmap

Esta sección está disponible solo para usuarios con suscripción. Por favor, mejora tu plan para acceder a esta parte.
Mejorar ahoraKeywords

Esta sección está disponible solo para usuarios con suscripción. Por favor, mejora tu plan para acceder a esta parte.
Mejorar ahoraHighlights

Esta sección está disponible solo para usuarios con suscripción. Por favor, mejora tu plan para acceder a esta parte.
Mejorar ahoraTranscripts

Esta sección está disponible solo para usuarios con suscripción. Por favor, mejora tu plan para acceder a esta parte.
Mejorar ahoraVer Más Videos Relacionados

Shopping in the future retail store.

Retail Daddy Software Price? Why it is so Expensive?

Retail 2020 | 5 Technologies that will change the way you shop
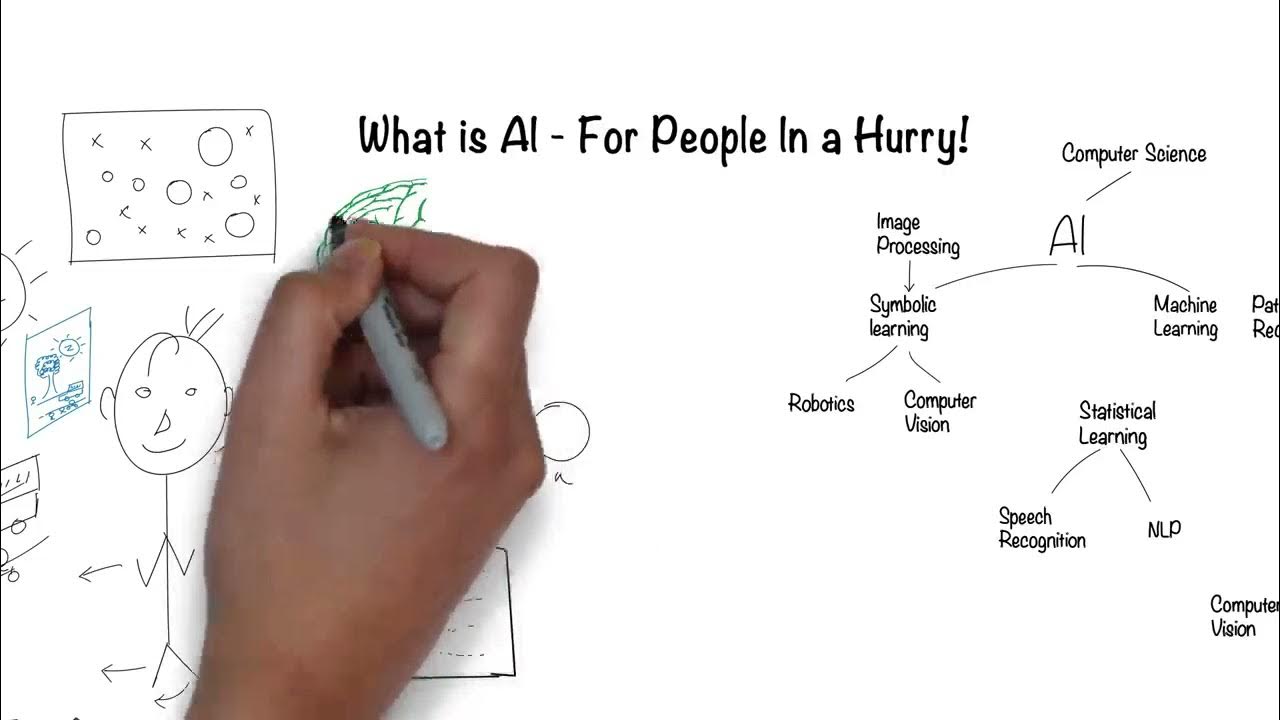
Artificial Intelligence (AI) for People in a Hurry
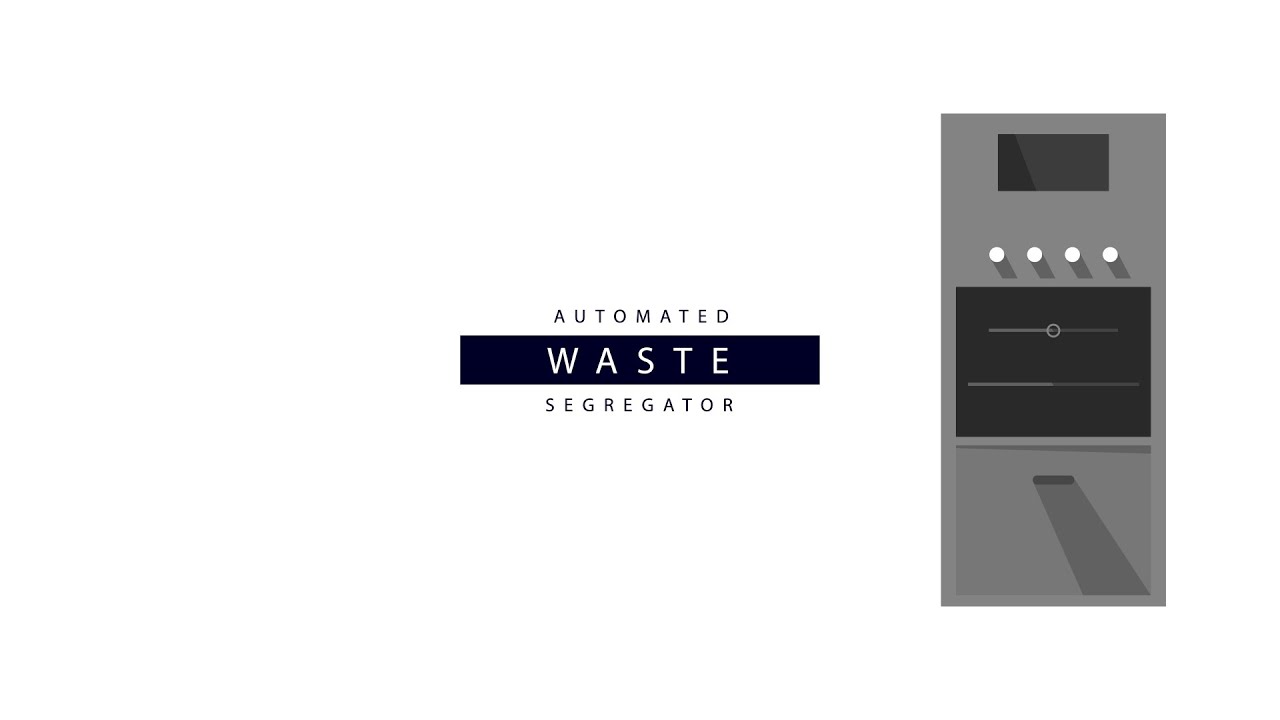
Automated Waste Segregator using Material and Optical Sensors

Inside Nike's New Futuristic Store | Fast Company
5.0 / 5 (0 votes)
