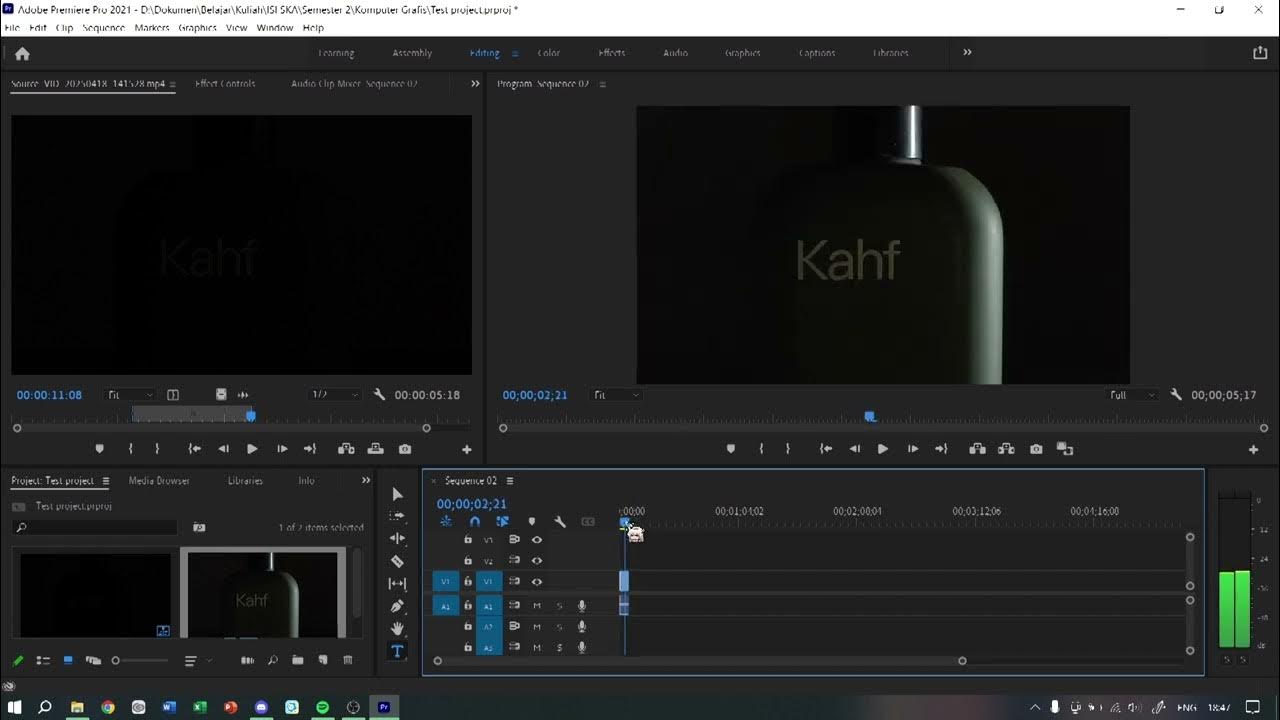
Make ANY Camera Look 10x More HD with EDITING! | Adobe Premiere HDR Enhancement Tutorial
Summary
TLDRIn this tutorial, the creator demonstrates how to enhance the HD quality of a video shot using simple editing techniques in Premiere Pro (also applicable in After Effects). The video covers how to use a tint effect and blending modes to deepen shadows, as well as applying Unsharp Mask through adjustment layers to increase sharpness without overdoing it. The creator also shares tips on color grading and removing digital grain, especially in darker shots, to achieve a polished, high-definition result. This tutorial provides clear steps for improving video quality and making any footage look more professional.
Takeaways
- 😀 Make any camera shot appear more HD through editing techniques, without requiring high-end equipment.
- 😀 Use Premiere or After Effects for editing, as the steps in both programs are essentially the same.
- 😀 Start by duplicating your clip and applying a **Tint** effect to adjust the tone and give it a high-definition feel.
- 😀 Modify the duplicated clip's opacity and blending mode to **Soft Light** for better shadow control and sharpness.
- 😀 Create an **Adjustment Layer** to apply further effects for sharpening the clip, ensuring a cleaner, more refined image.
- 😀 Apply the **Unsharp Mask** effect to the adjustment layer to sharpen the shot, adjusting the **Amount**, **Radius**, and **Threshold** for best results.
- 😀 Be cautious not to overdo the sharpening, as it can make the footage look unnatural. Subtlety is key to maintaining a polished, HD look.
- 😀 Duplicate the **Unsharp Mask** effect and adjust its settings to focus on outer edges and finer details for added sharpness.
- 😀 Add a second adjustment layer and another **Unsharp Mask** with a **Lighten** blending mode to emphasize highlights and improve overall sharpness.
- 😀 Fine-tune the opacity of the second adjustment layer to control the intensity of the sharpening on the highlights for a more refined final look.
- 😀 Consider adding color grading at the end to enhance the shot’s overall appearance, making the footage even more visually appealing.
Q & A
What is the primary goal of the tutorial?
-The primary goal is to show viewers how to make any camera footage look more HD through editing techniques in Premiere Pro and After Effects.
Why is the 'Tint' effect applied to the clip?
-The 'Tint' effect is applied to convert the clip to black and white, allowing the user to adjust shadows and highlights for a high-definition look.
What does changing the blending mode to 'Soft Light' do?
-Changing the blending mode to 'Soft Light' enhances the shadows and gives the clip a more defined, high-definition feel without overexposing the highlights.
What is the purpose of duplicating the clip using the 'Alt' key?
-Duplicating the clip allows for applying different effects to the duplicated layer, enabling a more controlled enhancement of the image quality.
What does adjusting the opacity of the duplicated clip achieve?
-Adjusting the opacity allows the user to control the strength of the 'Soft Light' effect, giving a subtle yet noticeable improvement to the image without overdoing it.
What effect is applied to the adjustment layer to improve sharpness?
-The 'Unsharp Mask' effect is applied to the adjustment layer to enhance the sharpness of the image, making it look clearer and more defined.
What settings should be adjusted in the 'Unsharp Mask' to get the desired sharpness?
-The 'Amount', 'Radius', and 'Threshold' settings are adjusted to control the intensity and radius of the sharpening effect. The typical setting for 'Amount' is around 250.
How do you prevent over-sharpening the image?
-To prevent over-sharpening, it’s important to balance the 'Amount' and 'Radius' settings. Too much sharpening can make the image look unnatural, so keep the values moderate.
Why is a second 'Unsharp Mask' applied to the adjustment layer?
-A second 'Unsharp Mask' is applied to sharpen the outer edges of the shot more subtly. This helps enhance the overall sharpness without overdoing the effect.
What is the significance of using the 'Lighten' blending mode in the final adjustment layer?
-The 'Lighten' blending mode targets the highlights of the image, brightening them and adding a final touch of sharpness to the overall shot.
Outlines

Esta sección está disponible solo para usuarios con suscripción. Por favor, mejora tu plan para acceder a esta parte.
Mejorar ahoraMindmap

Esta sección está disponible solo para usuarios con suscripción. Por favor, mejora tu plan para acceder a esta parte.
Mejorar ahoraKeywords

Esta sección está disponible solo para usuarios con suscripción. Por favor, mejora tu plan para acceder a esta parte.
Mejorar ahoraHighlights

Esta sección está disponible solo para usuarios con suscripción. Por favor, mejora tu plan para acceder a esta parte.
Mejorar ahoraTranscripts

Esta sección está disponible solo para usuarios con suscripción. Por favor, mejora tu plan para acceder a esta parte.
Mejorar ahoraVer Más Videos Relacionados

Make Your Videos LOOK CINEMATIC in Premiere Pro (6 Easy Steps)

Tutorial Dasar Premiere | KOMGRAF25

【完全保存版】動画編集ソフト Final Cut Proの全てを基礎の使い方から時短の裏技まで徹底解説します。

Premiere Pro for Beginners🔥| Quick 25-Minute Tutorial!

Como DOMINAR o Estilo de Edição que mais VIRALIZA pelo CELULAR! (Tutorial CapCut)

Realistic CRT TV Screen Replacement in After Effects
5.0 / 5 (0 votes)
