Temperature Based Fan Speed Controller Using Arduino UNO || ARDUINO PROJECTS
Summary
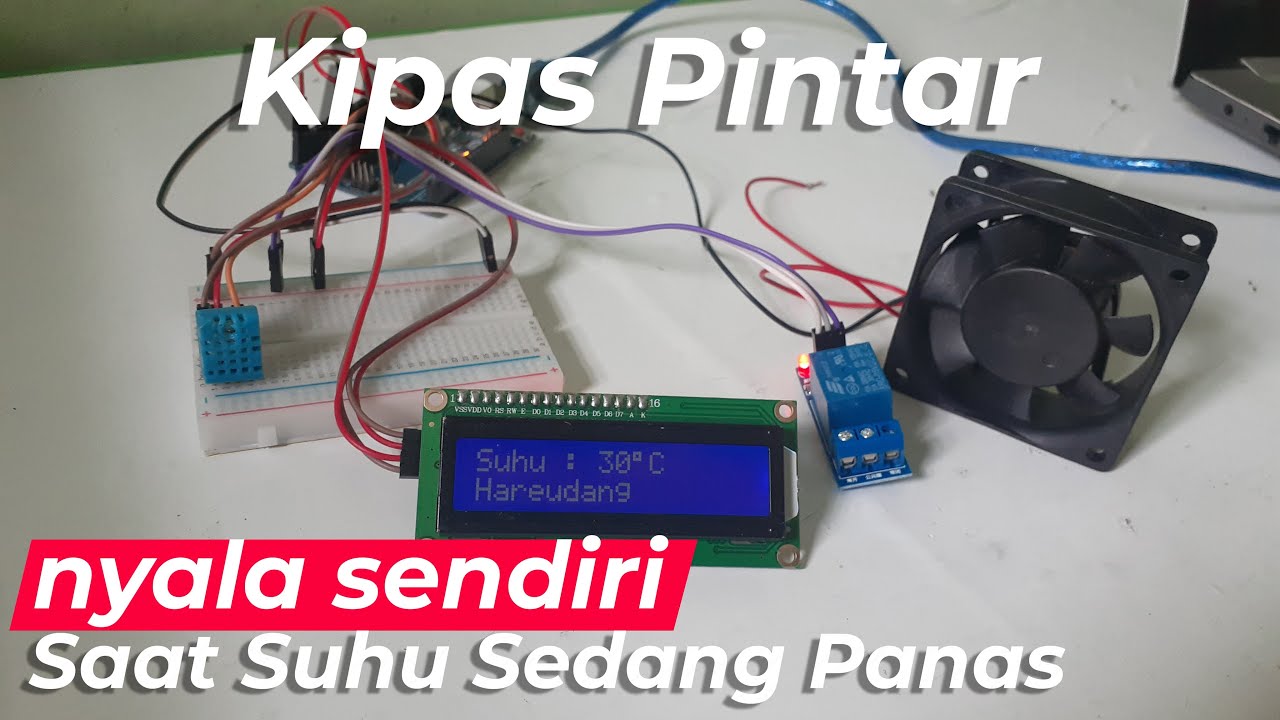
TLDRIn this engaging tutorial, viewers learn how to create a temperature-based fan speed controller using an Arduino Uno and various components, including an LCD display, I2C module, motor driver, and a temperature sensor. The video guides users through setting up connections on a breadboard, uploading necessary code, and testing the system. As the room temperature increases, the fan speed automatically adjusts, showcasing the project's effectiveness. Ideal for DIY enthusiasts, this project combines electronics and programming to enhance home comfort.
Takeaways
- 😀 This video demonstrates how to create a temperature-based fan speed controller using Arduino.
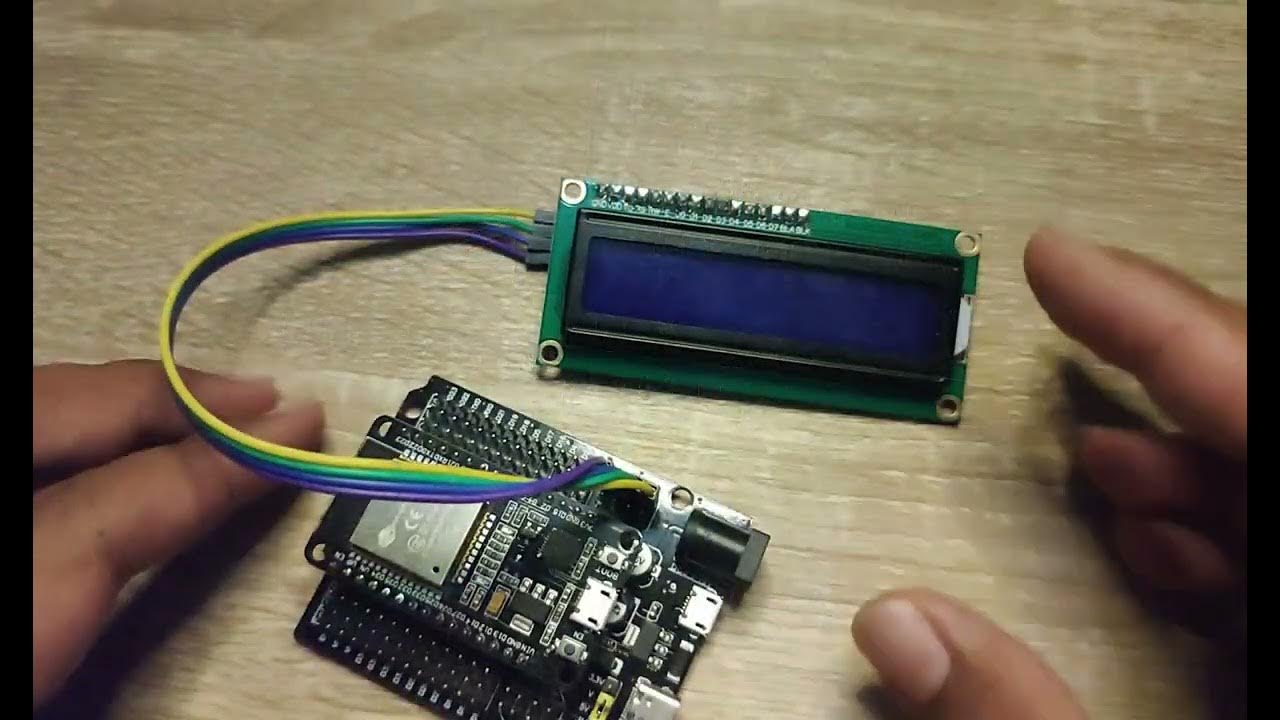
- 🔧 The project requires components such as an Arduino Uno, a 16x2 LCD display, an I2C module, and a temperature sensor.
- 📊 The fan speed adjusts automatically based on the temperature readings in the room.
- 🛠️ Connections include linking the LCD display and I2C module to the breadboard and Arduino.
- ⚡ The I2C module's ground and VCC connect to the Arduino's ground and 5V pins, respectively.
- 🌡️ The temperature sensor has three pins: signal, VCC, and ground, with specific connections to the Arduino.
- 📏 The motor driver connects to the Arduino, with various pins assigned for control, such as Ena, In1, and In2.
- 💻 After setting up the hardware, the code must be uploaded to the Arduino, with attention to the I2C module's address.
- 🔍 Users should check the I2C address via the serial monitor after uploading the initial code.
- 👍 The final setup allows the fan speed to increase as the temperature rises, enhancing efficiency.
Q & A
What is the main purpose of the project discussed in the video?
-The project aims to create a temperature-based fan speed controller that automatically adjusts the fan speed according to the room temperature.
What components are required for this Arduino project?
-The components needed include an Arduino Uno, a 16x2 LCD display, an I2C module, a breadboard, an L298 motor driver, jumper wires, a DC motor with a fan, a temperature sensor, and a USB cable.
How do you connect the I2C module to the Arduino?
-Connect the ground of the I2C module to the Arduino's ground pin, the VCC of the I2C module to the 5V pin of the Arduino, the SDA pin to A4, and the SCL pin to A5.
What are the pin connections for the temperature sensor?
-The temperature sensor has three pins: the signal pin connects to digital pin 7 on the Arduino, the middle pin (5V) connects to the 5V pin on the Arduino, and the ground pin connects to the Arduino's ground pin.
How is the motor driver connected to the Arduino?
-Connect the Ena pin of the motor driver to pin 9 of the Arduino, in1 to pin 10, and in2 to pin 11.
What should you do to find the I2C address of the module?
-Upload the provided code to your Arduino, open the serial monitor, and you will see the address of the I2C module displayed there.
What steps should you take after determining the I2C address?
-Copy the I2C address, then open the second program provided in the description and update the address in the code before uploading it to the Arduino.
How does the fan speed respond to temperature changes?
-As the temperature increases, the motor speed also increases, effectively adjusting the fan speed based on the ambient temperature.
What do you need to do before testing the fan with the motor driver?
-After connecting the DC motor fan to the motor driver, plug in the Arduino to your laptop or connect it to a power bank using a USB cable.
What should viewers do if they liked the video?
-The video encourages viewers to like the video and subscribe to the channel for more projects and content.
Outlines

Esta sección está disponible solo para usuarios con suscripción. Por favor, mejora tu plan para acceder a esta parte.
Mejorar ahoraMindmap

Esta sección está disponible solo para usuarios con suscripción. Por favor, mejora tu plan para acceder a esta parte.
Mejorar ahoraKeywords

Esta sección está disponible solo para usuarios con suscripción. Por favor, mejora tu plan para acceder a esta parte.
Mejorar ahoraHighlights

Esta sección está disponible solo para usuarios con suscripción. Por favor, mejora tu plan para acceder a esta parte.
Mejorar ahoraTranscripts

Esta sección está disponible solo para usuarios con suscripción. Por favor, mejora tu plan para acceder a esta parte.
Mejorar ahoraVer Más Videos Relacionados
Membuat Kipas Angin Otomatis Arduino

Tutorial LCD 20 Ribuan | Arduino Untuk Pemula

Indoor Air Quality Monitor System using Arduino #airqualityindex #arduinoproject #arduinonano #diy

Simulasi Arduino Menggunakan TinkerCAD - Interface monitoring suhu & Kontrol suhu berbasis LCD I2C
pengenalan, instalasi dan program dasar tampilan lcd 16x2 I2C dengan Arduino IDE

AUTOMATIC ROOM TEMPERATURE SENSOR - Tinkercad
5.0 / 5 (0 votes)
