Understanding Automatic Street Light Using LDR (ADC) | Raspberry Pi Pico With Micropython | Part-6
Summary
TLDRIn this video, the process of setting up an automatic street light using a Raspberry Pi Pico and an LDR (light-dependent resistor) is demonstrated. The circuit uses a voltage divider with the LDR and a 1K resistor, and the Raspberry Pi's analog-to-digital pins to monitor light intensity. An LED is connected to indicate when the light level drops below a set threshold, automatically turning on the street light. The video also covers the necessary coding in MicroPython using Thonny IDE, object creation for the LED and ADC, and setting conditions for controlling the LED based on light intensity readings.
Takeaways
- 🔌 The video discusses using an ADC (Analog to Digital Converter) with the Raspberry Pi Pico, which has only three ADC pins.
- 🛠️ The project involves creating an automatic street light by using an LDR (Light Dependent Resistor) and a 1K resistor in a voltage divider circuit.
- ⚡ The LDR is connected to 3.3V and the resistor is connected to ground. The midpoint of this circuit is connected to ADC pin GPIO 26 (ADC 0).
- 💡 An LED is added to the circuit, connected to GPIO pin 15 (General pin number 20), to control light intensity.
- 🖥️ To complete the circuit, two resistors, an LDR, an LED, and jumper wires are needed. The LDR-resistor combination forms the voltage divider.
- 📂 On the software side, the Raspberry Pi Pico is connected to a laptop via USB, and code is written using the Thonny IDE.
- 💻 The Python code imports the necessary modules (Pin, ADC) from the machine module and creates objects for both the LED and the ADC.
- 🔢 The ADC reads an unsigned 16-bit integer value ranging from 0 to 65,535, which corresponds to 0 to 3.3V from the LDR circuit.
- 🔄 The program uses a while loop and conditional statements to control the LED based on the light intensity value from the ADC.
- 🌃 The circuit can automatically switch the LED on or off based on light intensity, simulating an automatic street light functionality.
Q & A
What is the primary component being discussed in this video?
-The primary component being discussed is the ADC (Analog to Digital Converter) in Raspberry Pi Pico.
How many analog-to-digital converter pins are available on the Raspberry Pi Pico?
-There are three analog-to-digital converter (ADC) pins available on the Raspberry Pi Pico.
What components are used to create the voltage divider circuit in this project?
-An LDR (Light Dependent Resistor) and a 1K resistor are used to create the voltage divider circuit.
How is the voltage divider circuit connected to the Raspberry Pi Pico?
-One terminal of the LDR is connected to 3.3 volts, the other end of the resistor is connected to ground, and the meeting point between the LDR and resistor is connected to GPIO pin 26 (ADC0) on the Raspberry Pi Pico.
What is the function of the LED in this project?
-The LED is used to indicate when the light intensity is below a certain threshold, simulating an automatic street light system.
Which pin is the LED connected to in the Raspberry Pi Pico?
-The LED is connected to GPIO pin 15 (pin 20 on the board).
What software is used to write and upload the code to the Raspberry Pi Pico?
-The Thonny IDE is used to write and upload the code to the Raspberry Pi Pico.
What Python functions are imported to control the ADC and the LED?
-The 'Pin' and 'ADC' functions are imported from the 'machine' module, and the 'sleep' function is imported to control timing.
How is the analog value read from the LDR converted into a digital value?
-The ADC reads the analog value from the LDR and converts it into a 16-bit unsigned integer ranging from 0 to 65,535, which corresponds to 0 to 3.3 volts.
How does the code determine when to turn the LED on or off?
-The code uses a conditional statement that checks if the light intensity value (read by the ADC) is less than 2000. If it is, the LED is turned on, otherwise, it remains off.
Outlines

Esta sección está disponible solo para usuarios con suscripción. Por favor, mejora tu plan para acceder a esta parte.
Mejorar ahoraMindmap

Esta sección está disponible solo para usuarios con suscripción. Por favor, mejora tu plan para acceder a esta parte.
Mejorar ahoraKeywords

Esta sección está disponible solo para usuarios con suscripción. Por favor, mejora tu plan para acceder a esta parte.
Mejorar ahoraHighlights

Esta sección está disponible solo para usuarios con suscripción. Por favor, mejora tu plan para acceder a esta parte.
Mejorar ahoraTranscripts

Esta sección está disponible solo para usuarios con suscripción. Por favor, mejora tu plan para acceder a esta parte.
Mejorar ahoraVer Más Videos Relacionados

Best Science Project | Smart Street Project | Inspire Award Project | Smart City Project

Cara buat lampu otomatis 220 volt tanpa relay

What is an LDR? (Light Dependant Resistor) - Electronics Basics 26

How to make automatic night lamp |LDR Project| Automatic night light| Zubairs Lab

Rangkaian Komparator OP AMP
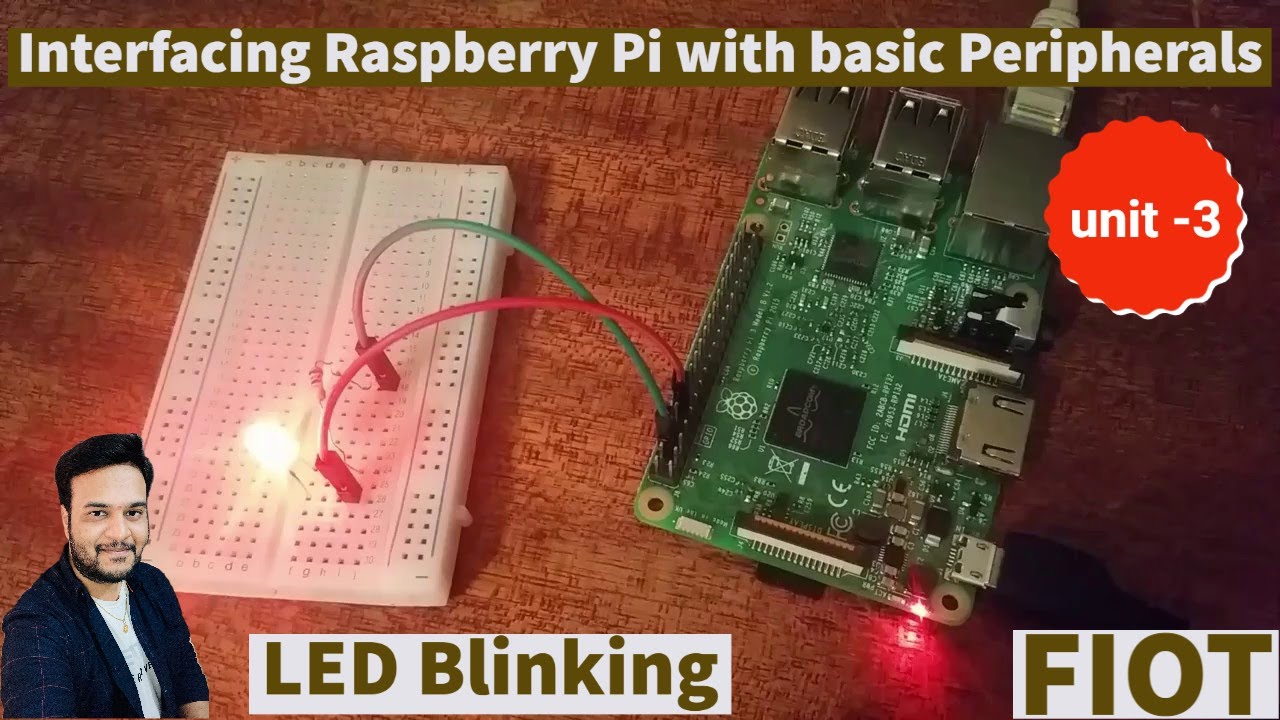
Raspberry Pi LED Blinking || Interfacing raspberry pi with basic peripherals || FIOT || CSE || JNTUH
5.0 / 5 (0 votes)
