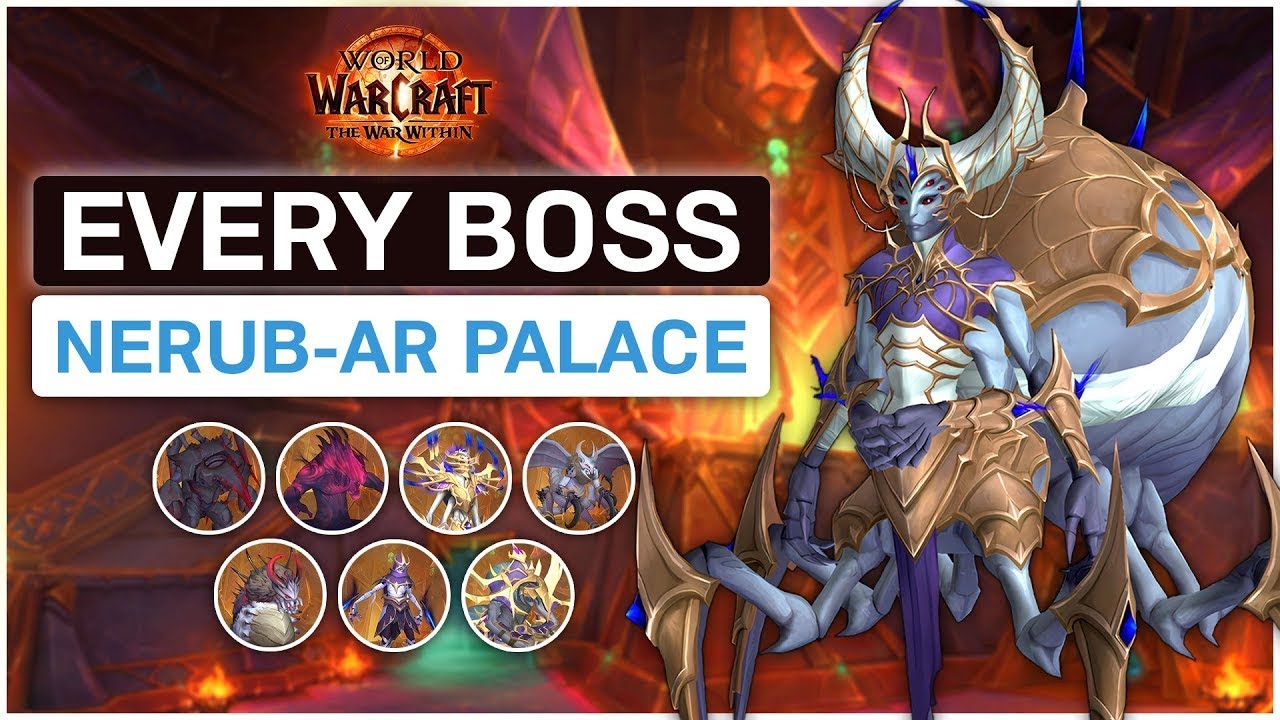
Nexus-Princess Ky'veza Boss Guide - Nerub-ar Palace - Heroic/Normal - The War Within Raid 11.0

Ready Check Pull
4 Sept 202403:51

Summary

TLDRZax introduces a guide to defeating Ky’veza, the sixth boss in Nerub-ar Palace, in World of Warcraft. The strategy involves managing two alternating phases, with the first focusing on avoiding one-shot rifts by strategically positioning shadow images. The second phase requires dealing with raid-wide damage and avoiding blue lines and cones. The guide, brought to you by Wowhead, also highlights the importance of taunt swaps and dodging mechanics. Exclusive content for Patreon supporters includes extended guides and mythic strategies.

Takeaways

  • ⚔️ **Ky’veza Boss Overview**: Ky’veza, the sixth boss in Nerub-ar Palace, has two alternating phases, both of which are single-target focused.
  • 🧙‍♂️ **Bloodlust on Pull**: The fight begins with the use of Bloodlust to maximize damage output from the start.
  • 🌪️ **Phase One Mechanics**: Players must deal with rifts that spawn and pull everyone in, with the objective to cancel the rifts by positioning them opposite each other.
  • 🗺️ **Positioning Strategy**: Tank the boss in a corner of the room and spread players with purple circles around the room's outer edges to control rift spawns.
  • 💥 **Shadow Images**: Purple circles spawn shadow images that later transform into rifts, and players must be cautious of their placement to prevent clumping.
  • 🔦 **Charge Mechanic**: After spawning rifts, shadow images charge toward random players; targeted players should position themselves to face charges away from others.
  • 🌀 **Void Shredders and Tank Swap**: Tanks must swap after each Void Shredder cast, which deals heavy damage and applies a stacking debuff.
  • ⚠️ **Heroic Mode Adjustments**: Additional mechanics include explosive dots from shadow images and projectiles that require more spacing and dodging.
  • 🌊 **Phase Two Mechanics**: The boss channels a room-wide pulse dealing raid-wide damage, with additional blue lines and cones to avoid.
  • ⌛ **DPS Check**: Players must kill the boss before the third phase two, as the boss enrages and becomes significantly more challenging.

Q & A

  • Who is Ky’veza, the sixth boss in Nerub-ar Palace?

    -Ky’veza is described as a purple assassin’s creed-looking lady with two alternating phases, both of which are entirely single-target.

  • What is the main mechanic to focus on in phase one of the Ky’veza fight?

    -The main mechanic in phase one involves rifts that spawn around the room, trying to suck players in. The goal is to spawn the rifts in opposite corners to cancel out their effects and keep players safe in the middle.

  • Where should Ky’veza be positioned during phase one?

    -The tank should position Ky’veza in one of the corners of the hexagon pattern on the ground and keep her there for the entire phase.

  • How do the purple circles around random players work in phase one?

    -Players with purple circles need to spread out around the outside of the room, ideally on different corners of the hexagon, to ensure that shadow images spawn far enough apart to prevent overlapping rift effects.

  • What happens when Ky’veza casts Nether Rift?

    -Ky’veza spawns a rift on herself and on every shadow image, which then pull nearby players towards them. If the shadow images are spread properly, the rifts cancel each other out.

  • What is the charge mechanic involving shadow images?

    -Each shadow image casts a charge toward a random player, indicated by blue beams. If the beam turns red, the player is targeted and needs to move close to the image to control the direction of the charge, preferably toward the outside of the room.

  • What special mechanic should tanks be aware of during phase one?

    -Tanks need to handle a taunt swap mechanic when Ky’veza casts Void Shredders. The tank with aggro must use a defensive cooldown and then swap after the cast to avoid excessive damage.

  • What changes occur in phase two of the Ky’veza fight?

    -In phase two, Ky’veza moves to the middle of the room and channels raid-wide damage, while players must avoid blue lines and rotating blue cones on the ground.

  • What happens if the boss is not defeated before the third phase two?

    -If the boss is not killed before the third phase two, she enrages, making the phase significantly more difficult to survive.

  • What are some of the additional mechanics players should watch for on heroic difficulty?

    -On heroic, players hit by purple circles or charges get a short damage-over-time (DoT) effect that explodes, sending projectiles onto the ground, which other players must dodge.

Outlines

00:00

🌌 Introduction to Nexus-Princess Ky'veza Strategy

Zax introduces a guide for defeating Nexus-Princess Ky'veza, the sixth boss in Nerub-ar Palace, in a video brought to viewers by Wowhead and their raid cheat sheets. The guide also acknowledges Patreon supporters and hints at exclusive content like mythic plus guides. Ky'veza is characterized as a purple, assassin-like figure with two alternating phases focused on single-target combat. The strategy emphasizes the use of bloodlust at the start. Phase one involves managing rifts that spawn and can one-shot players if touched. The goal is to have the rifts spawn in a way that their effects cancel each other out, keeping players safe in the center. This is achieved by tanking the boss in a corner and having players with purple circles spread out around the room, ideally on the corners of a hexagonal pattern on the ground. The strategy also includes dealing with shadow images that cast charges, requiring players to move strategically to avoid clumping. Additional mechanics include dodging blue lines on the ground and a taunt swap for tanks to manage increased damage. On heroic difficulty, players hit by purple circles or charges must manage a dot that explodes and sends out projectiles. The guide concludes with a reminder to defeat the boss before the third phase two to avoid enrage.

Mindmap

Keywords

💡Nexus-Princess Ky’veza

Nexus-Princess Ky’veza is the sixth boss in the Nerub-ar Palace raid. She is characterized as a purple assassin's creed-looking lady, indicating her role as a formidable opponent in the game. This keyword is central to the video's theme as it sets the stage for the discussion of the boss fight strategy.

💡Phases

The term 'phases' refers to the distinct stages of the boss fight, each with unique mechanics and strategies. In the context of the video, Ky’veza has two alternating phases, both of which are single-target focused. Understanding these phases is crucial for players to successfully defeat the boss.

💡Bloodlust

Bloodlust is a spell used by a Shaman class in World of Warcraft that increases the speed of the caster and nearby allies, effectively increasing the damage output. The video suggests using Bloodlust on pull, meaning at the start of the encounter, to maximize damage from the beginning.

💡Rifts

Rifts are a mechanic in the first phase of the Ky’veza fight where portals open and attempt to pull players into them, dealing lethal damage if contact is made. The strategy revolves around positioning these rifts to minimize their threat, showcasing a key element of the encounter.

💡Shadow Images

Shadow Images are entities that spawn during the fight and are associated with the rifts. They stand around the room and are the source of the rifts. Players must manage their positioning to ensure the rifts' suction effects cancel each other out, as mentioned in the script.

💡Nether Rift

Nether Rift is a spell cast by Ky’veza that creates rifts on herself and every shadow image, which then attempt to pull players in. This ability is a significant part of the first phase and requires players to strategize on how to avoid the rifts' pull.

💡Charge

Charge refers to an ability where shadow images target random players with a damaging attack. The script describes how players can identify if they are targeted by a charge and how to position themselves to minimize the impact on the raid.

💡Blue Lines

Blue lines are a mechanic where lines on the ground indicate damage paths that players must avoid. These lines come from the boss and all the images, requiring constant movement and awareness to prevent taking damage.

💡Taunt Swap

Taunt Swap is a mechanic where tanks must switch roles to mitigate incoming damage. In the context of the video, when Ky’veza casts Void Shredders, one tank takes damage and gains a debuff, prompting the other tank to taunt the boss to spread the damage.

💡Heroic Mode

Heroic Mode is a difficulty setting in World of Warcraft raids that presents additional challenges and mechanics. The script mentions specific mechanics that occur in Heroic mode, such as players getting a damaging debuff from the purple circles or the blue cones that spawn and explode.

💡Raid-Wide Damage

Raid-Wide Damage refers to attacks that affect the entire raid group, not just individuals. In the second phase of Ky’veza's fight, she channels an ability that deals damage to the entire raid, necessitating healers to be especially attentive to maintain the health of all players.

Highlights

Introduction of Ky’veza, the sixth boss in Nerub-ar Palace.

Ky’veza has two alternating phases, which are entirely single target.

Bloodlust should be used on pull to maximize damage.

In phase one, rifts spawn and attempt to suck players in, killing anyone that touches them.

Players need to spread out purple circles to control rift locations and avoid overlapping.

Position boss in one corner of the room to facilitate controlling rift locations.

Players need to avoid charges from shadow images by positioning them safely.

A blue beam targeting a player turns red if that player is about to be hit by a charge.

Tanks need to swap taunt after Void Shredders ability to manage damage and avoid stacking debuffs.

Healers must keep players above 10% health to avoid the boss’s execution mechanic.

In heroic mode, additional dots and projectiles are introduced after certain mechanics.

Phase two introduces raid-wide damage with blue lines and cones that must be avoided.

The boss enrages if not killed by the third phase two, greatly increasing difficulty.

New WoWHead Cheat Sheets provide concise strategies, key assignments, and pro tips for all bosses.

Patreon-exclusive content includes extended heroic guides, mythic guides, and more.

Transcripts

play00:00

Hey, we pullin'?

play00:02

Hey I’m Zax and here’s our guide to Nexus-Princess  Ky’veza, the sixth boss in Nerub-ar Palace. This  

play00:07

guide is brought to you by Wowhead and their brand  new raid cheat sheets, which we’ll tell you more  

play00:11

about right after the boss. Also big thank you to  our supporters on patreon, hope you’ll enjoy all  

play00:16

the patreon-exclusive content we’ve got coming  out this tier, like mythic plus guides and more.

play00:21

Alright, so Ky’veza is this purple assassin’s  creed looking lady. She has two alternating  

play00:26

phases, which are entirely single target,  and you’ll want to bloodlust on pull. 

play00:30

Phase one is mainly about all these rifts that  spawn and try to suck everybody into them,  

play00:34

one-shotting anyone that touches them. And the  goal of the phase is to spawn the rifts sorta  

play00:38

opposite from each other around the room, so each  of their sucks kinda cancels each other out and  

play00:42

everyone ends up safe in the middle of the room. So here’s how you do that. 

play00:45

Tank the boss toward one of the corners of  the big hexagon pattern on the ground and  

play00:49

keep her there the whole phase, and when random  players get these purple circles around them,  

play00:53

they need to spread out around the outside  of the room, ideally standing on different  

play00:56

corners of the hexagon to make things easy  to see. After a couple seconds, the circles  

play01:00

spawn these shadow images that just kinda stand  around, but they are where the rifts come from. 

play01:04

When the boss casts Nether Rift shortly  afterward, she spawns a rift on herself  

play01:08

as well as every shadow image, and then they  all suck for a few seconds. If you spread the  

play01:12

images out decently enough, you won’t even  have to run against the suck because they  

play01:16

cancel each other, but definitely do run  if you’re a little too close to a rift. 

play01:19

Shortly after that, each shadow image starts  casting a charge toward a random player,  

play01:24

which you can see based on these blue beams,  and the only way to tell if you’re targeted by  

play01:27

one is by looking to see if one of the beams is  red. If one of them is red, that image is about  

play01:31

to charge through you, so you need to run over  close to it and ideally face the charge toward  

play01:35

the outside of the room. This makes it so the  charge is easy for everyone else to dodge,  

play01:39

and makes it so the images don’t end up clumped  together, which would make the following sucky  

play01:43

rifts a little more difficult to deal with.  If your image is already super far away,  

play01:46

it’s fine to aim it toward the middle, just make  sure the charge is short and it’ll be alright. 

play01:50

After that, you get more rifts to deal  with, and the rest of the phase just  

play01:53

alternates between the rifts spawning and  the adds charging, but there are some other  

play01:56

mechanics to deal with in the phase. There are these blue lines on the  

play01:59

ground for everyone to dodge, which  come from the boss and all the images. 

play02:03

The boss actually tries to execute anyone  who gets below 10% health, so healers  

play02:07

have to be extra on point in this fight. The tanks have a taunt swap mechanic to deal  

play02:11

with. When the boss casts Void Shredders, it does  huge mixed damage to the tank and leaves a dot on  

play02:15

them that makes them take more damage from the  following Void Shredders, so the tank with the  

play02:19

boss just has to use a big defensive cooldown and  then the other tank taunts right after the cast. 

play02:23

And on heroic, anyone that gets hit by the  purple circles that spawn the shadow images,  

play02:27

or gets hit by the charge from the images, gets a  short dot that explodes on them when it expires,  

play02:32

also sending out projectiles on  the ground for everyone to dodge,  

play02:35

so anyone with the dot needs to spread  out away from everyone before it expires. 

play02:39

Eventually, when the boss reaches full  energy, she stops all those mechanics  

play02:42

and starts phase two, where she goes  to the middle of the room and starts  

play02:45

a long channel that pulses raid-wide damage. These blue lines constantly go on random players,  

play02:50

which do damage to anyone in the line  after a couple seconds, so everyone has  

play02:53

to avoid being in each other’s lines and  try not to move the lines around too much. 

play02:57

And on heroic, these blue cones spawn on the  ground and explode after a couple seconds,  

play03:01

so everyone has to avoid being in those. They  actually rotate around in a predictable way,  

play03:06

so if you kinda stay in one area, you shouldn’t  have to move very much the whole phase. 

play03:09

At the end of the channel, the boss starts  phase one over again and it’s rinse and repeat. 

play03:13

Just make sure to do enough damage to kill the  boss before the third phase two, because then she  

play03:17

enrages and that phase gets real nasty. And that’s pretty much it!

play03:21

For our recaps this tier, we're excited to  introduce the new WoWHead Cheatsheets - a  

play03:25

quick and easy way to get all of the key info  for every boss in Nerub-ar Palace, including  

play03:29

concise strategies, key assignments, and  any pro tips you might need. So check  

play03:33

out the Cheat Sheet link in the description. Thanks again to our supporters on patreon! We’ve  

play03:37

got a ton of patreon-exclusive content coming this  tier like extended heroic guides, mythic guides,  

play03:42

and a bunch more. So check out that link below. See you next time.

Rate This

5.0 / 5 (0 votes)

Etiquetas Relacionadas
Nerub'ar PalaceKy'veza GuideRaid StrategyWorld of WarcraftRift MechanicsShadow ImagesTaunt SwapVoid ShreddersHeroic ModeMythic Plus
¿Necesitas un resumen en inglés?