Adobe Illustrator Tutorial: Create a Vector Pizza from Sketch (HD)
Summary
TLDRIn this Adobe Illustrator tutorial, Dom Designs demonstrates how to transform a hand-drawn sketch of a pizza slice into a vibrant vector illustration. Starting with a rough sketch, the video guides viewers through importing the sketch into Illustrator, creating a template, tracing with the Pen tool, and refining lines with the Width tool. The tutorial then covers organizing layers, adding color with the Shape Builder tool, detailing toppings, and enhancing the illustration with shadows and a background. The step-by-step process is designed to help beginners create professional-looking vector art.
Takeaways
- 🎨 Start with a rough sketch: The tutorial begins with creating a rough sketch of a slice of pizza on paper, emphasizing the importance of initial planning.
- 📱 Digitize the sketch: The sketch is then captured via a phone camera and transferred to a computer for further work in Adobe Illustrator.
- 🖥️ Place the sketch in Illustrator: The image is placed on a 1920x1080p canvas using the placement option (Command + Shift + P).
- 🔒 Turn the image into a template: The sketch is made into a template by enabling template mode, which dims and locks the image for tracing.
- ✍️ Trace with the Pen Tool: The outline of the pizza is traced using a dark red color and a 10-point thickness with the Pen Tool (P).
- 🛠️ Refine with the Width Tool: The Width Tool is used to taper lines, creating a more realistic and varied stroke width.
- 🗑️ Clean up with Shape Builder: Unnecessary lines are removed, and strokes are adjusted using the Shape Builder tool.
- 🎨 Add color with layers: Colors are added to the illustration using a new layer named 'color', with the crust and cheese filled using specific colors from the Dom Designs Master Color Palette.
- 🍕 Detail the toppings: Toppings like pepperoni are added with attention to detail, including shadows for depth, using the Shape Builder and Path Offset tools.
- 🖼️ Finalize with background and shadow: The illustration is completed with a background and a shadow beneath the pizza slice for a finished look.
Q & A
What is the main focus of the tutorial video?
-The main focus of the tutorial video is to demonstrate how to transform a hand-drawn sketch of a slice of pizza into a vibrant vector illustration using Adobe Illustrator.
Why does the creator suggest starting with rough sketches?
-The creator suggests starting with rough sketches to plan out the drawing, which serves as a foundation before transferring the sketch to Adobe Illustrator.
How does the creator transfer the sketch to the computer?
-The creator takes a picture of the sketch with a phone and then transfers it to the computer, placing it on an empty canvas in Adobe Illustrator.
What keyboard shortcut is used to place the image in Adobe Illustrator?
-The keyboard shortcut used to place the image in Adobe Illustrator is Command + Shift + P.
How does the creator turn the image into a template in Adobe Illustrator?
-The creator turns the image into a template by double-clicking on the layers panel icon and enabling the template mode, which dims and locks the image.
What tool does the creator use to draw the outline of the pizza?
-The creator uses the Pen tool (P on the keyboard) to draw the outline of the pizza.
What is the purpose of using the Width tool in the tutorial?
-The Width tool is used to taper in some lines, making the end of the stroke thinner or thicker, which adds detail to the illustration.
How does the creator clean up and remove unnecessary lines?
-The creator uses the Shape Builder tool to select and delete unwanted strokes and also to remove the round cap on some of the strokes.
What does the creator do to separate the pizza into shapes for coloring?
-The creator uses the Shape Builder tool to separate the pizza into shapes by selecting the crust and the middle part of the pizza, allowing for individual coloring.
How does the creator add color to the illustration?
-The creator adds color by creating a new layer named 'color', copying the outline, and pasting it in back, then dragging it down to the color layer to fill the shapes with color from the Dom Designs master color palette.
What additional details does the creator add to the pepperoni toppings?
-The creator adds details to the pepperoni by creating a shadow using a darker red color with reduced opacity, and then using the Offset Path feature to add depth.
How does the creator add shadows to the pizza illustration?
-The creator adds shadows to the pizza by drawing the desired shadow areas with the Pen tool and then using the Shape Builder tool to delete unnecessary shapes, creating a realistic shadow effect.
What final touches does the creator add to complete the illustration?
-The creator completes the illustration by adding a bubble with a heart icon, a background, and a shadow underneath the pizza.
Outlines

Esta sección está disponible solo para usuarios con suscripción. Por favor, mejora tu plan para acceder a esta parte.
Mejorar ahoraMindmap

Esta sección está disponible solo para usuarios con suscripción. Por favor, mejora tu plan para acceder a esta parte.
Mejorar ahoraKeywords

Esta sección está disponible solo para usuarios con suscripción. Por favor, mejora tu plan para acceder a esta parte.
Mejorar ahoraHighlights

Esta sección está disponible solo para usuarios con suscripción. Por favor, mejora tu plan para acceder a esta parte.
Mejorar ahoraTranscripts

Esta sección está disponible solo para usuarios con suscripción. Por favor, mejora tu plan para acceder a esta parte.
Mejorar ahoraVer Más Videos Relacionados
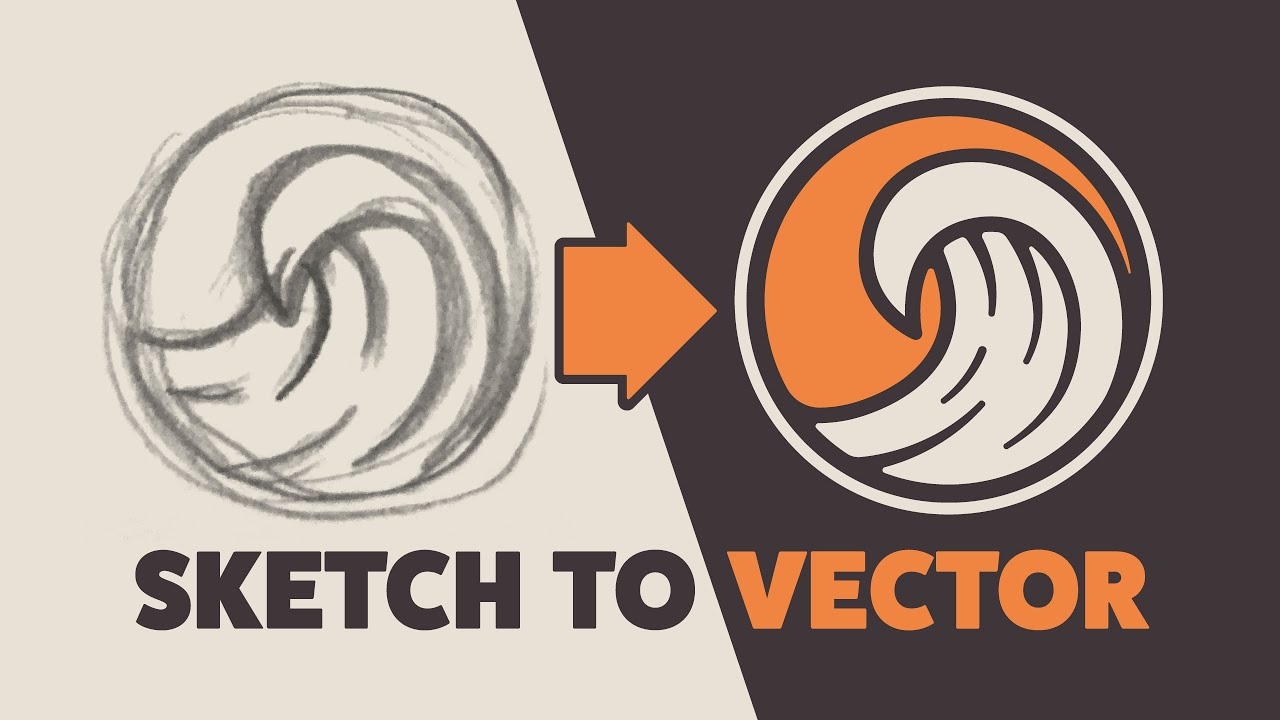
Illustrator Tutorial: Create a Vector Logo from a Rough Sketch
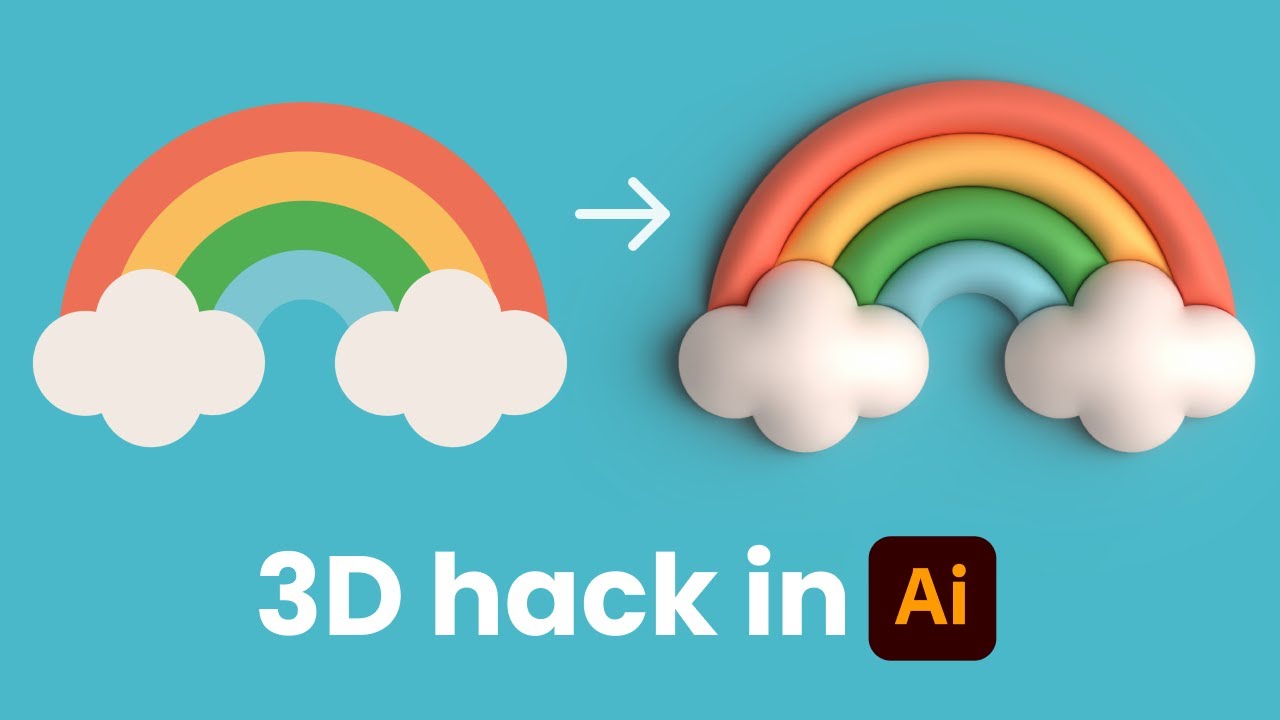
Easy 2D to 3D Illustration Hack for Beginners | Adobe Illustrator Tutorial

Trying out Illustrator's NEW Generative Shape Fill | Adobe Creative Cloud
Adobe Firefly V3: A Complete 3D Tutorial
Web Design Software (2019) #4
[MODULE 1] Video Awal Pembelajaran Adobe illustrator Dari Pemula - Intermediate by Dayu.Designn
5.0 / 5 (0 votes)
