Button | TUKAdesign Video Help Training | CAD Pattern Making Software
Summary
TLDRThis video tutorial guides users through the process of adding a button or drill hole to a piece using the software tool. It demonstrates how to select the Button Tool, choose a placement point or offset, and enter X and Y offset values, with a visual marker indicating placement. Users are then instructed to set the diameter and choose the drilling mode, specifically creating a 1/8-inch drill hole. The tutorial also covers selecting which sizes require the drill hole and concludes by showing how to finalize the process with the Create button, providing a clear, step-by-step workflow for accurate and efficient modifications.
Takeaways
- 😀 To add a button or drill hole, start by clicking the Button Tool.
- 😀 You can place the button or hole anywhere on the piece or use a reference point to offset placement.
- 😀 Enter X and Y offset values to position the button precisely.
- 😀 A red X will appear to indicate where the button or drill hole will be placed.
- 😀 Click OK to confirm the placement of the button or drill hole.
- 😀 Set the diameter of the hole before proceeding.
- 😀 Choose the appropriate mode; for example, Drill Mode can be used for creating drill holes.
- 😀 In Drill Mode, you can specify the exact size of the drill hole, such as 1/8 inch.
- 😀 Use the Sizes button to select which sizes require this drill hole.
- 😀 Click the Create button to finalize and complete the process.
- 😀 The process allows precise customization of button or hole placement for different sizes.
Q & A
What is the first step to add a button or drill hole to a piece?
-The first step is to click the Button Tool to initiate the process of adding a button or drill hole.
How can you choose where to place the button or drill hole?
-You can either click anywhere on the piece to place it directly or select a reference point to offset the placement.
What is the purpose of entering X and Y offset values?
-Entering X and Y offset values allows precise placement of the button or drill hole relative to a reference point.
What visual aid indicates where the button or hole will be placed?
-A red X will appear to show the exact placement of the button or drill hole.
What should you do after setting the offset values?
-After setting the offset values, you should click OK to confirm the placement.
How do you set the size and mode for the button or drill hole?
-You set the diameter for the hole or button and choose the mode, such as Drill Mode for creating a 1/8-inch drill hole.
What does Drill Mode do?
-Drill Mode specifies that the tool will create a drill hole rather than placing a button.
How can you select which sizes require the drill hole?
-Click the Sizes button to select the specific sizes that need the drill hole.
What is the final step to complete the process?
-The final step is to click the Create button to finish adding the button or drill hole.
Why is it important to confirm placement before setting the diameter and mode?
-Confirming the placement ensures that the button or drill hole is positioned accurately, preventing errors before defining the size and mode.
Outlines

Dieser Bereich ist nur für Premium-Benutzer verfügbar. Bitte führen Sie ein Upgrade durch, um auf diesen Abschnitt zuzugreifen.
Upgrade durchführenMindmap

Dieser Bereich ist nur für Premium-Benutzer verfügbar. Bitte führen Sie ein Upgrade durch, um auf diesen Abschnitt zuzugreifen.
Upgrade durchführenKeywords

Dieser Bereich ist nur für Premium-Benutzer verfügbar. Bitte führen Sie ein Upgrade durch, um auf diesen Abschnitt zuzugreifen.
Upgrade durchführenHighlights

Dieser Bereich ist nur für Premium-Benutzer verfügbar. Bitte führen Sie ein Upgrade durch, um auf diesen Abschnitt zuzugreifen.
Upgrade durchführenTranscripts

Dieser Bereich ist nur für Premium-Benutzer verfügbar. Bitte führen Sie ein Upgrade durch, um auf diesen Abschnitt zuzugreifen.
Upgrade durchführenWeitere ähnliche Videos ansehen

How to create Geological Database in Surpac (Step-by-Step)

How To Edit an HTML Web Page Using BlueGriffon - PLR Tutorial

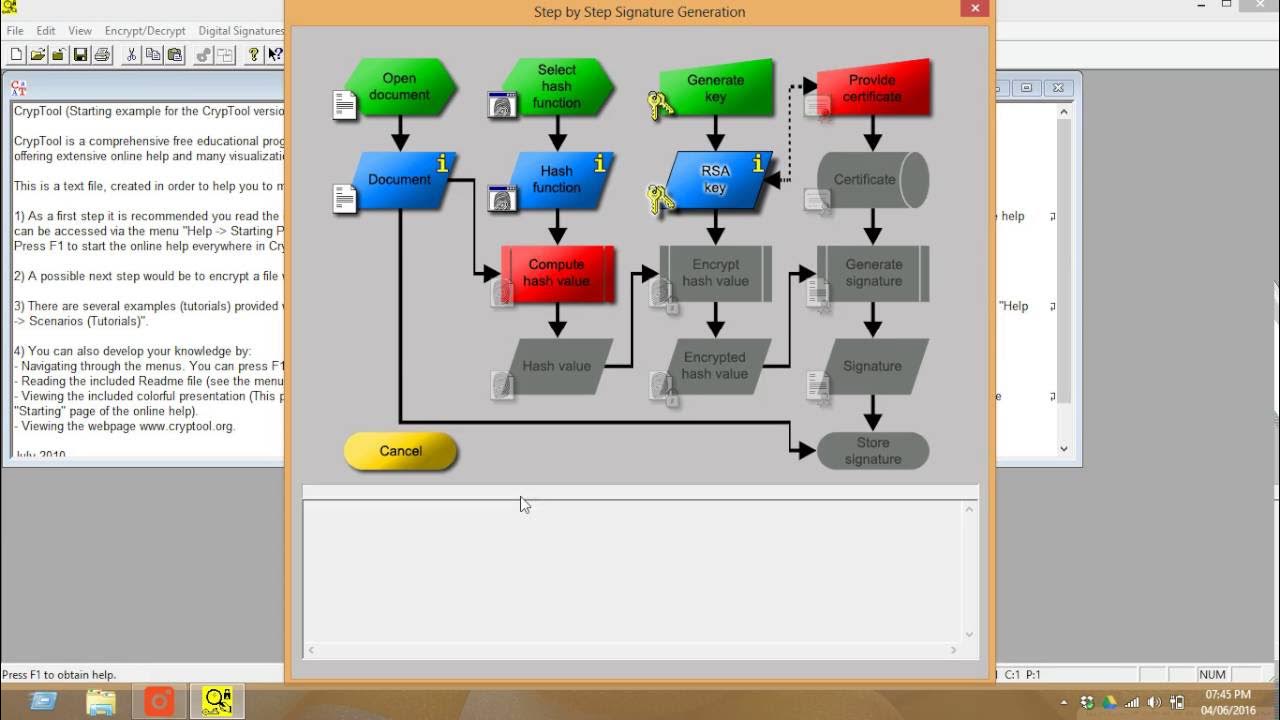
How to use CrypTool for creating the digital signature for documents

How to Repair PST & OST file Outlook 365

How to Prepare Slope Map from DEM #shorts #youtubeshorts #gis

Coin Flip Tutorial
5.0 / 5 (0 votes)
