Mudahnya Instalasi Jaringan Nirkabel (Tanpa Kabel) Menggunakan Router TP-LINK!🌐🔧
Summary
TLDRThe video demonstrates a practical exam by Group 6 on setting up a TP-Link wireless router. It begins with turning on the router and connecting to its network, followed by accessing the TP-Link website to create an account and configure settings. The group selects the WISP mode to capture and redistribute an existing Wi-Fi network, customizing the new network name and password. They test connectivity on multiple devices, including laptops, and explain how to manage user limits via IP addresses. The tutorial concludes with a brief overview of additional router features, providing a clear, step-by-step guide to installing and configuring a TP-Link wireless network.
Takeaways
- 😀 The video begins with an introduction by the speaker and a greeting in Arabic, 'Assalamualaikum warahmatullahi wabarakatuh'.
- 😀 The purpose of the video is to demonstrate how to install a TP-Link wireless router and set up a Wi-Fi network.
- 😀 The first step in the process is turning on the TP-Link router.
- 😀 After turning on the router, the speaker connects to the router's network and navigates to the TP-Link setup page via a web browser.
- 😀 The TP-Link setup page requires the creation of an account and a password, which is suggested to be '1234'.
- 😀 The speaker chooses the 'WISP' mode during setup, as they intend to take an existing Wi-Fi network and redistribute it.
- 😀 The speaker selects a Wi-Fi network to connect to and enters the required password for that network.
- 😀 The Wi-Fi name (SSID) is customized and the Wi-Fi password is changed to '2020'.
- 😀 The speaker successfully connects to the new Wi-Fi network and tests it by opening YouTube to verify internet connectivity.
- 😀 The speaker tests the connection on a laptop, ensuring that other devices can connect to the newly set up Wi-Fi network as well.
- 😀 The video concludes with a brief explanation of how to limit the number of users who can access the Wi-Fi network by adjusting the IP address range in the TP-Link router settings.
Q & A
What is the main purpose of this script?
-The main purpose of the script is to demonstrate how to install and configure a TP-Link wireless router to set up a Wi-Fi network.
What is the first step in setting up the router?
-The first step is to power on the TP-Link router and connect to its default Wi-Fi network.
Where can you find the router's login details?
-The router's login details, including the website address and password, are printed on a label located on the bottom of the router.
What is the default password provided for initial router access?
-The default password provided for the initial router access is '1234'.
Which router mode should be selected to redistribute an existing Wi-Fi network?
-The 'WISP' mode should be selected when you want to connect to an existing Wi-Fi network and redistribute it.
How do you connect the TP-Link router to an existing Wi-Fi network?
-You select the Wi-Fi network you wish to connect to, enter its password, and then configure the router's settings to redistribute that network.
What information is required when setting up a new Wi-Fi network?
-You need to enter a new Wi-Fi name (SSID) and set a new password for the Wi-Fi network.
How do you verify the success of the Wi-Fi connection?
-You can verify the connection by opening YouTube on a mobile device or checking the connection status on a laptop to ensure internet access.
What is the purpose of the advanced IP range settings?
-The advanced IP range settings allow you to limit the number of devices that can connect to the Wi-Fi network by adjusting the DHCP IP range.
How can the number of users accessing the Wi-Fi be controlled?
-By adjusting the DHCP IP range in the router settings, you can control the number of users that can connect to the Wi-Fi network. For example, setting the range from IP 192.168.0.100 to 192.168.0.109 allows only 10 users.
Outlines

Dieser Bereich ist nur für Premium-Benutzer verfügbar. Bitte führen Sie ein Upgrade durch, um auf diesen Abschnitt zuzugreifen.
Upgrade durchführenMindmap

Dieser Bereich ist nur für Premium-Benutzer verfügbar. Bitte führen Sie ein Upgrade durch, um auf diesen Abschnitt zuzugreifen.
Upgrade durchführenKeywords

Dieser Bereich ist nur für Premium-Benutzer verfügbar. Bitte führen Sie ein Upgrade durch, um auf diesen Abschnitt zuzugreifen.
Upgrade durchführenHighlights

Dieser Bereich ist nur für Premium-Benutzer verfügbar. Bitte führen Sie ein Upgrade durch, um auf diesen Abschnitt zuzugreifen.
Upgrade durchführenTranscripts

Dieser Bereich ist nur für Premium-Benutzer verfügbar. Bitte führen Sie ein Upgrade durch, um auf diesen Abschnitt zuzugreifen.
Upgrade durchführenWeitere ähnliche Videos ansehen
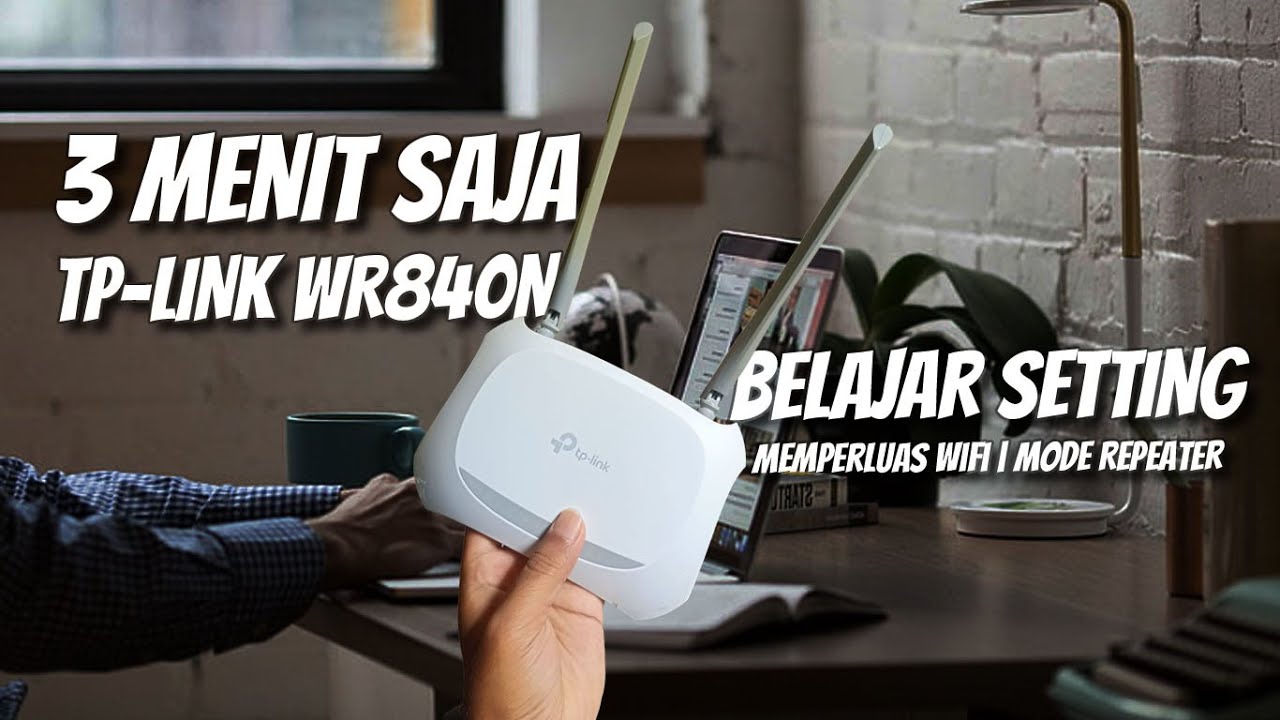
Cara Setting TP Link WR840N Pakai Mode Range Extender ( Memperluas Wifi ) - Tutorial Pemula

REVIEW DAN SETUP AWAL ROUTER TP-LINK AX1500 WIFI 6 ARCHER AX12 [PART 1]
Cara Setting Access Point TP-Link TL-WA701ND || Konfigurasi Dasar Wireless Access Point WAP

Cara Konfigurasi TP-LINK TL-WR840N Lengkap & Mudah | Tutorial Pemula Sampai Mahir

Memasang Jaringan Nirkabel - Sistem Informatika, Jaringan, dan Aplikasi

Setting One Mesh TP LINK Menggunakan Tombol WPS
5.0 / 5 (0 votes)
