SHARING FOLDER/FILE/DATA ANTAR LAPTOP DENGAN WIFI - Share Files Between Two Computers Using WiFi
Summary
TLDRThis video tutorial demonstrates how to transfer files between two laptops over a Wi-Fi network without using a LAN cable, USB flash drive, or third-party applications. The process involves selecting files or folders to share, granting access through file explorer, and ensuring both laptops are connected to the same Wi-Fi network. By using the laptop's IP address, files can be copied and pasted from one laptop to another. The tutorial also emphasizes a simple, wireless method to share files efficiently, concluding with a request to like, subscribe, and share the video.
Takeaways
- 😀 You can transfer files between two laptops without using LAN cables, flash drives, or apps by utilizing Wi-Fi.
- 😀 To begin, open File Explorer and select the file or folder you want to share.
- 😀 Right-click on the file or folder and choose 'Give access to specific people' for sharing.
- 😀 In the sharing options, choose 'Everyone' and set the permission level to 'Read'.
- 😀 After setting the permissions, click 'Share' to begin the file-sharing process.
- 😀 Ensure both laptops are connected to the same Wi-Fi network for the transfer to work.
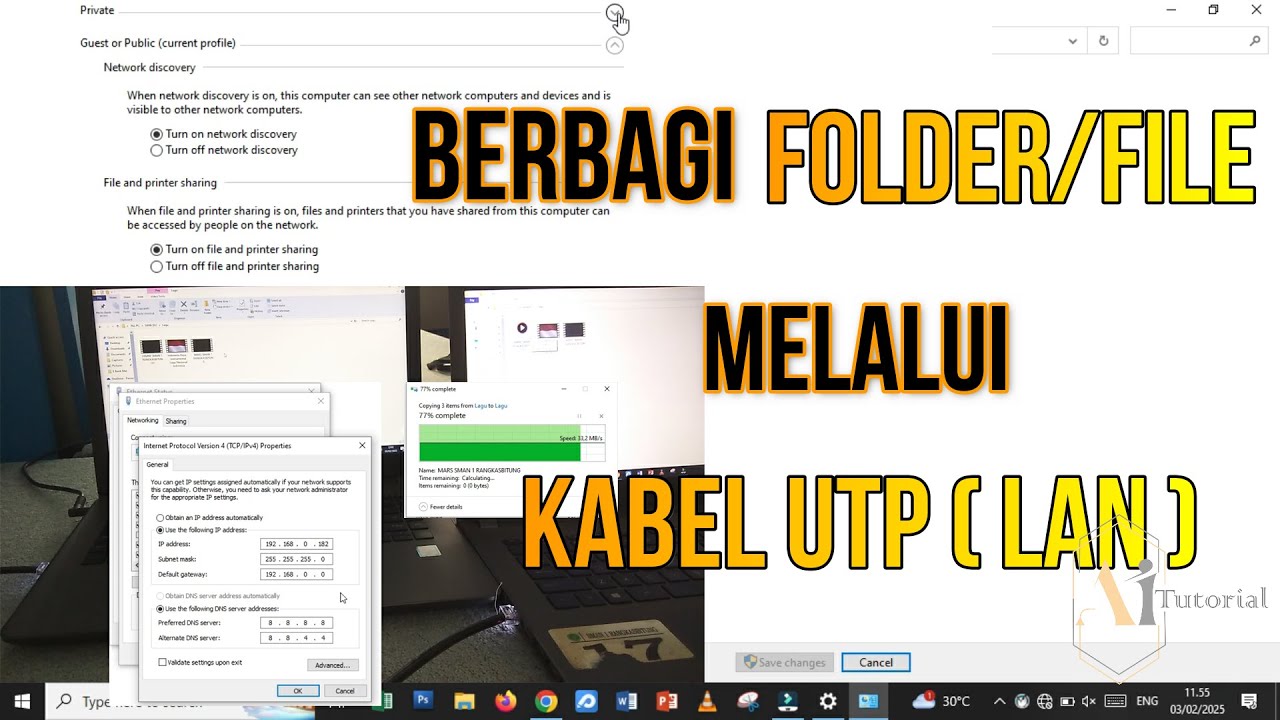
- 😀 Go to 'Network and Internet Settings' on the laptop and verify the Wi-Fi connection.
- 😀 Find the laptop's IPv4 address by clicking on the connected Wi-Fi network's settings.
- 😀 On the target laptop, press Windows + R, then enter the source laptop's IPv4 address to access shared folders.
- 😀 Once the source laptop's shared folder appears, select the files or folders to copy to the target laptop.
- 😀 Paste the files into the desired location on the target laptop, and the transfer process will begin.
Q & A
What is the main method used for transferring files between laptops in this tutorial?
-The main method used is file sharing over a Wi-Fi network, without needing LAN cables, flash drives, or third-party applications.
What is the first step in the file-sharing process?
-The first step is to open File Explorer and select the file or folder that you want to share.
How do you set up sharing for the selected file or folder?
-Right-click on the selected file or folder, choose the 'Give access to specific people' option, and then add 'Everyone' as the user with read permissions.
What should you do after setting up the file sharing permissions?
-After setting up the sharing permissions, click 'Share' to enable the sharing process.
What should you do if the laptops are connected to the same Wi-Fi network?
-If the laptops are on the same Wi-Fi network, open the 'Network and Internet' settings and check the Wi-Fi connection to make sure both laptops are connected.
How do you find the IP address of the source laptop?
-Go to the 'Network and Sharing Center' in the Wi-Fi settings, and the IP address (such as 192.168.x.x) will be displayed.
How do you access the shared folder from the destination laptop?
-On the destination laptop, press 'Windows + R', type the source laptop’s IP address with two backslashes (e.g., '\192.168.x.x'), and press 'OK'. This will open the shared folder from the source laptop.
What should you do once the shared folder is opened on the destination laptop?
-Once the shared folder is open, you can select the file or folder you want to copy, choose the location on the destination laptop, and paste it.
What happens after you paste the file on the destination laptop?
-The copying or sharing process will begin, and you just need to wait for the transfer to complete.
What are the final steps after completing the file transfer?
-The final steps are to wait for the copy-paste process to finish, and then subscribe to the channel, like, and share the video if you found the tutorial helpful.
Outlines

Dieser Bereich ist nur für Premium-Benutzer verfügbar. Bitte führen Sie ein Upgrade durch, um auf diesen Abschnitt zuzugreifen.
Upgrade durchführenMindmap

Dieser Bereich ist nur für Premium-Benutzer verfügbar. Bitte führen Sie ein Upgrade durch, um auf diesen Abschnitt zuzugreifen.
Upgrade durchführenKeywords

Dieser Bereich ist nur für Premium-Benutzer verfügbar. Bitte führen Sie ein Upgrade durch, um auf diesen Abschnitt zuzugreifen.
Upgrade durchführenHighlights

Dieser Bereich ist nur für Premium-Benutzer verfügbar. Bitte führen Sie ein Upgrade durch, um auf diesen Abschnitt zuzugreifen.
Upgrade durchführenTranscripts

Dieser Bereich ist nur für Premium-Benutzer verfügbar. Bitte führen Sie ein Upgrade durch, um auf diesen Abschnitt zuzugreifen.
Upgrade durchführenWeitere ähnliche Videos ansehen
CARA TRANSFER FOLDER/FILE MENGGUNAKAN KABEL LAN
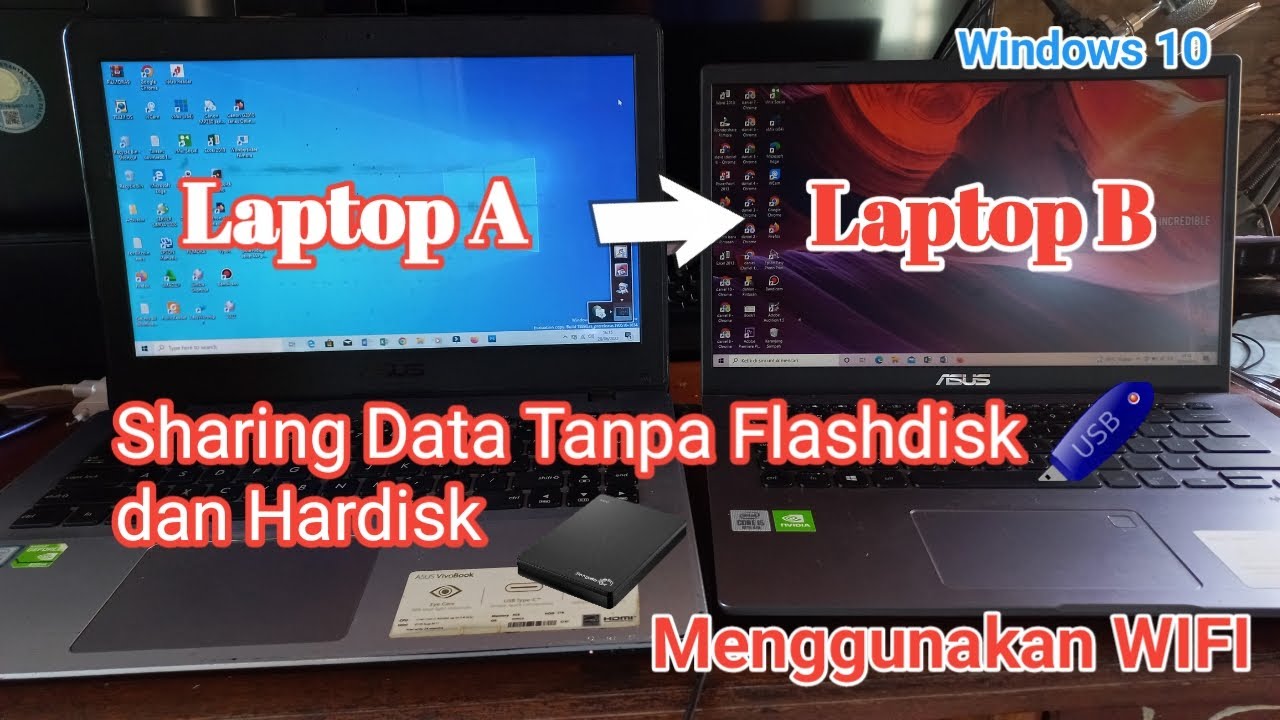
Sharing Data/File Antar Laptop Menggunakan WIFI, Tanpa Kabel Data Flashdisk dan Hardisk
Peer To Peer Network Tutorial using Crossover Cables (Tagalog)
Cómo conectar dos PCs con un cable ethernet cruzado (crossover), para compartir carpetas y archivos
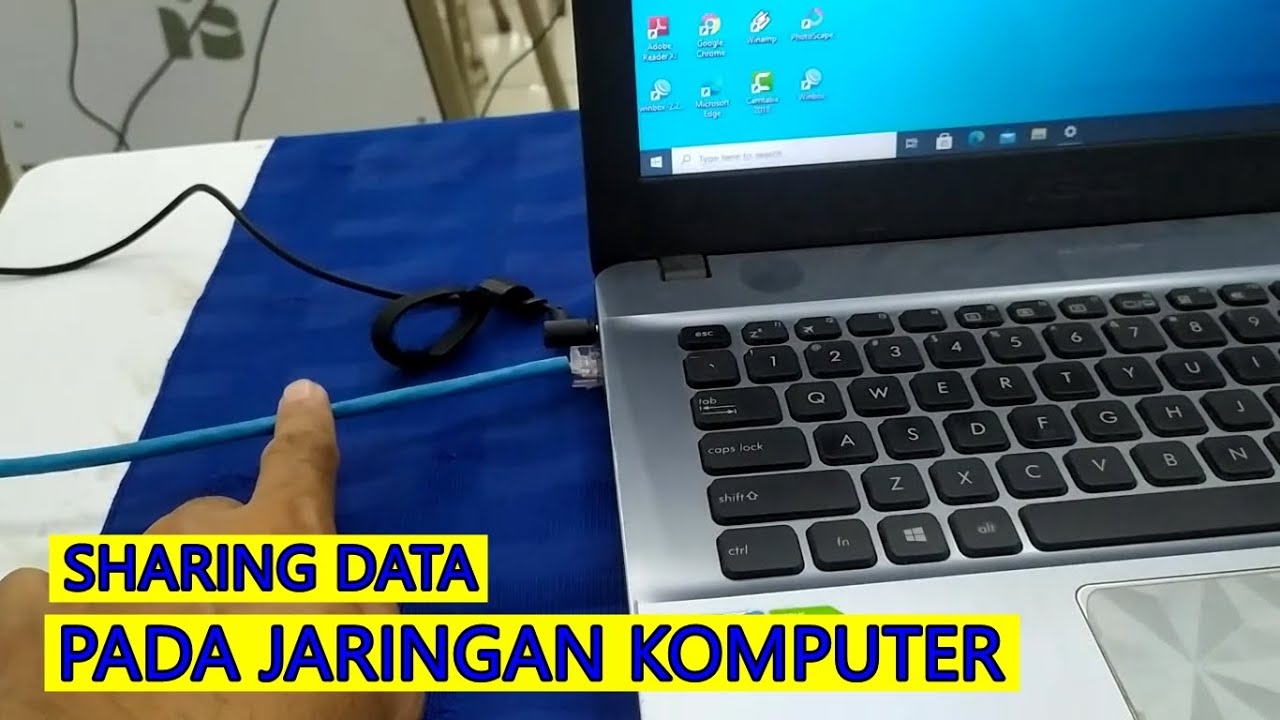
CARA SHARING DATA PADA JARINGAN LAN (JARINGAN KOMPUTER)
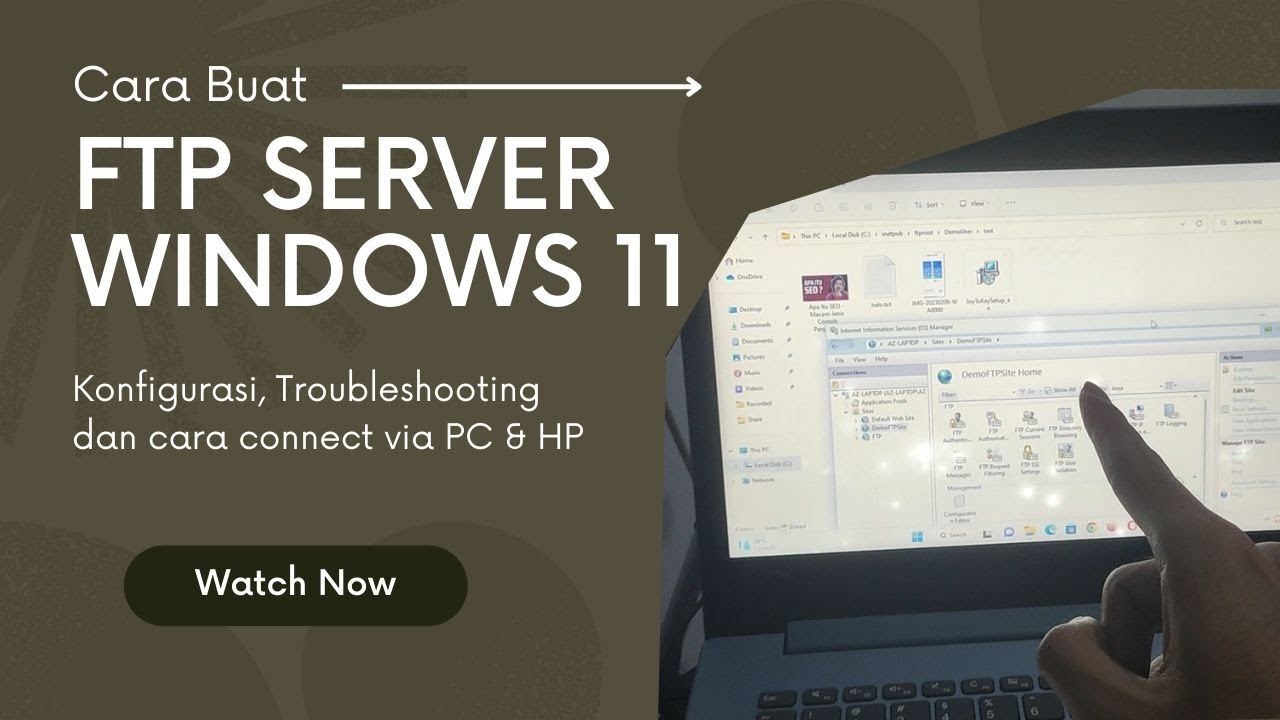
Cara Membuat FTP Server di Windows 11 - Lengkap !!
5.0 / 5 (0 votes)
