Bootloader and upload to Atmega328P-AU
Summary
TLDRThis video demonstrates how to program the ATmega328P microcontroller, commonly used in Arduino boards, without relying on an Arduino development board like the Nano. The tutorial walks through the process of using an ISP programmer to burn the bootloader and upload a sketch to the chip, alongside essential circuit diagrams and detailed steps for configuration in the Arduino IDE. The video concludes by showing a blinking LED example on the standalone ATmega328P chip, highlighting the process of making the microcontroller work independently of an Arduino board.
Takeaways
- 😀 The tutorial explains how to program the ATmega328P microcontroller directly instead of using an Arduino development board like the Arduino Nano.
- 😀 Two breadboard circuits are used to demonstrate the same blink sketch—one running on an Arduino Nano and the other on a standalone ATmega328P chip.
- 😀 The ATmega328P microcontroller runs the blink sketch immediately upon powering up, without requiring boot-up time.
- 😀 To burn the bootloader and upload a sketch to the ATmega328P, an XP-4627 ISP programmer is used, costing about $15.
- 😀 A schematic of the basic circuit for in-system programming (ISP) is provided, detailing connections for power, clock, and communication lines.
- 😀 The tutorial explains how to use a TQFP32 test socket for the ATmega328P, allowing the chip to span across two breadboards.
- 😀 The ATmega328P chip is placed into a test socket, and precautions are taken to ensure the correct orientation and installation of the chip.
- 😀 To use the ATmega328P with the Arduino IDE, additional steps are required, such as installing a special core for the ATmega328 and adjusting board settings.
- 😀 The process involves changing the driver for the USB programmer and selecting the appropriate core in the Arduino IDE for the ATmega328P chip.
- 😀 After burning the bootloader and uploading the sketch using the USB ASP programmer, the blinking LED on the ATmega328P proves successful programming.
Q & A
What is the purpose of programming the ATmega328P microcontroller directly instead of using an Arduino development board?
-The purpose is to program the chip itself, rather than relying on the Arduino development board (like the Arduino Nano), allowing for more customized and efficient use of the microcontroller in standalone applications.
How does the standalone ATmega328P microcontroller behave when the blink sketch is uploaded?
-Once powered up, the standalone ATmega328P microcontroller immediately starts running the blink sketch, turning an LED on and off every second, without requiring any boot-up time.
What is the XP-4627 ISP programmer used for in this setup?
-The XP-4627 ISP programmer is used to burn the bootloader and upload the sketch to the ATmega328P microcontroller through in-system programming (ISP).
What does the schematic shown in the video represent?
-The schematic illustrates the basic circuit connections required for the ISP programmer, including power connections, oscillator crystal, communication lines for SPI interface, reset pin, and other necessary components for programming the ATmega328P.
Why is there a caution about not powering both the USB programmer and the breadboard power supply simultaneously?
-Powering both the USB programmer and the breadboard power supply at the same time could potentially cause damage to the components, as the two power sources might conflict or cause power surges.
What is the significance of burning the bootloader into the ATmega328P?
-Burning the bootloader configures the ATmega328P to be compatible with the Arduino IDE, allowing it to be programmed in the same way as an Arduino board.
Why was a tool like Zadic necessary in this process?
-Zadic was necessary to update the USB ASP programmer's driver, as the default driver did not work for the user, and the correct driver was needed to establish proper communication between the computer and the programmer.
What is the role of the 'Mini Core' in the Arduino IDE?
-The 'Mini Core' is a collection of configuration settings and drivers added to the Arduino IDE, enabling it to support the ATmega328P microcontroller, which is not included by default.
What configuration options are available when selecting the ATmega328P chip in the Arduino IDE?
-The configuration options include clock speed, brown-out detection, EEPROM retention, compiler settings, and bootloader options. These settings help tailor the chip's behavior to specific needs.
What happens after the sketch is successfully uploaded to the ATmega328P microcontroller?
-Once the sketch is successfully uploaded, the programmer is disconnected, and the breadboard is powered up. The ATmega328P then runs the uploaded sketch, in this case, blinking an LED, indicating the successful transfer of the program.
Outlines

Dieser Bereich ist nur für Premium-Benutzer verfügbar. Bitte führen Sie ein Upgrade durch, um auf diesen Abschnitt zuzugreifen.
Upgrade durchführenMindmap

Dieser Bereich ist nur für Premium-Benutzer verfügbar. Bitte führen Sie ein Upgrade durch, um auf diesen Abschnitt zuzugreifen.
Upgrade durchführenKeywords

Dieser Bereich ist nur für Premium-Benutzer verfügbar. Bitte führen Sie ein Upgrade durch, um auf diesen Abschnitt zuzugreifen.
Upgrade durchführenHighlights

Dieser Bereich ist nur für Premium-Benutzer verfügbar. Bitte führen Sie ein Upgrade durch, um auf diesen Abschnitt zuzugreifen.
Upgrade durchführenTranscripts

Dieser Bereich ist nur für Premium-Benutzer verfügbar. Bitte führen Sie ein Upgrade durch, um auf diesen Abschnitt zuzugreifen.
Upgrade durchführenWeitere ähnliche Videos ansehen

Arduino in 100 Seconds
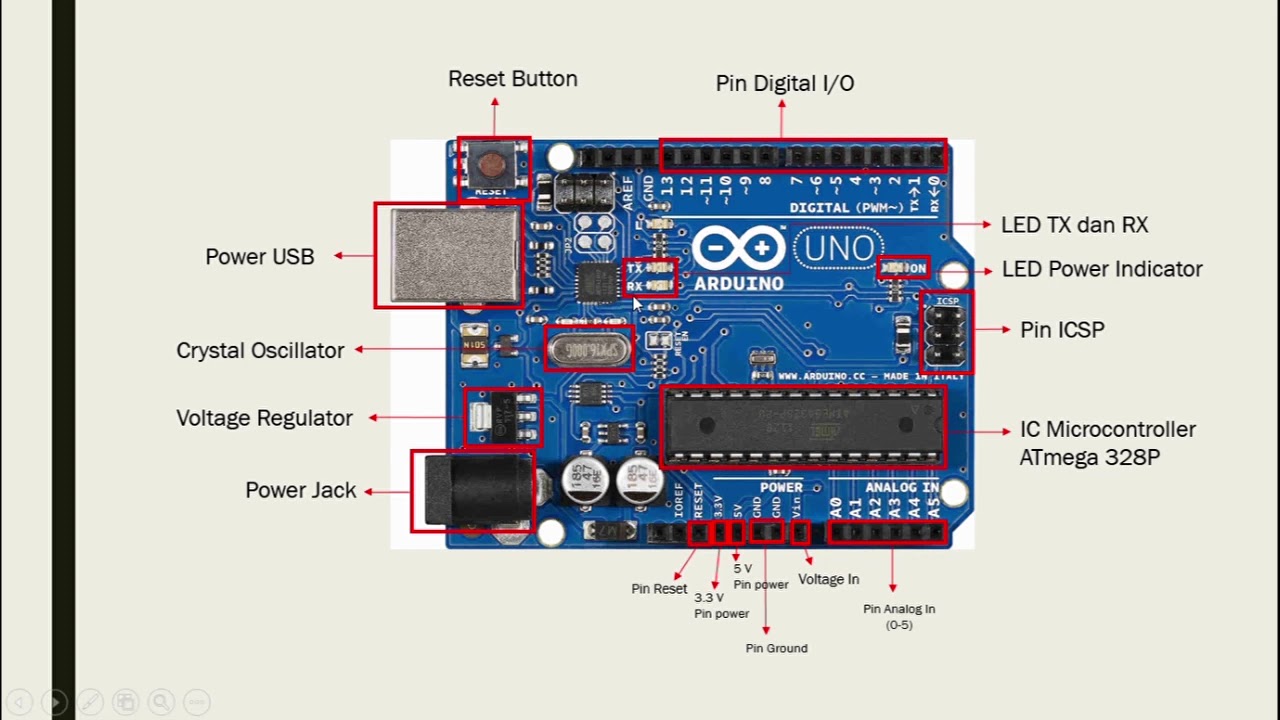
Arduino Uno tutorial Basic microcontroller overview

Arduino: Toggle a LED using Direct Port Manipulation #arduino #arduinoide
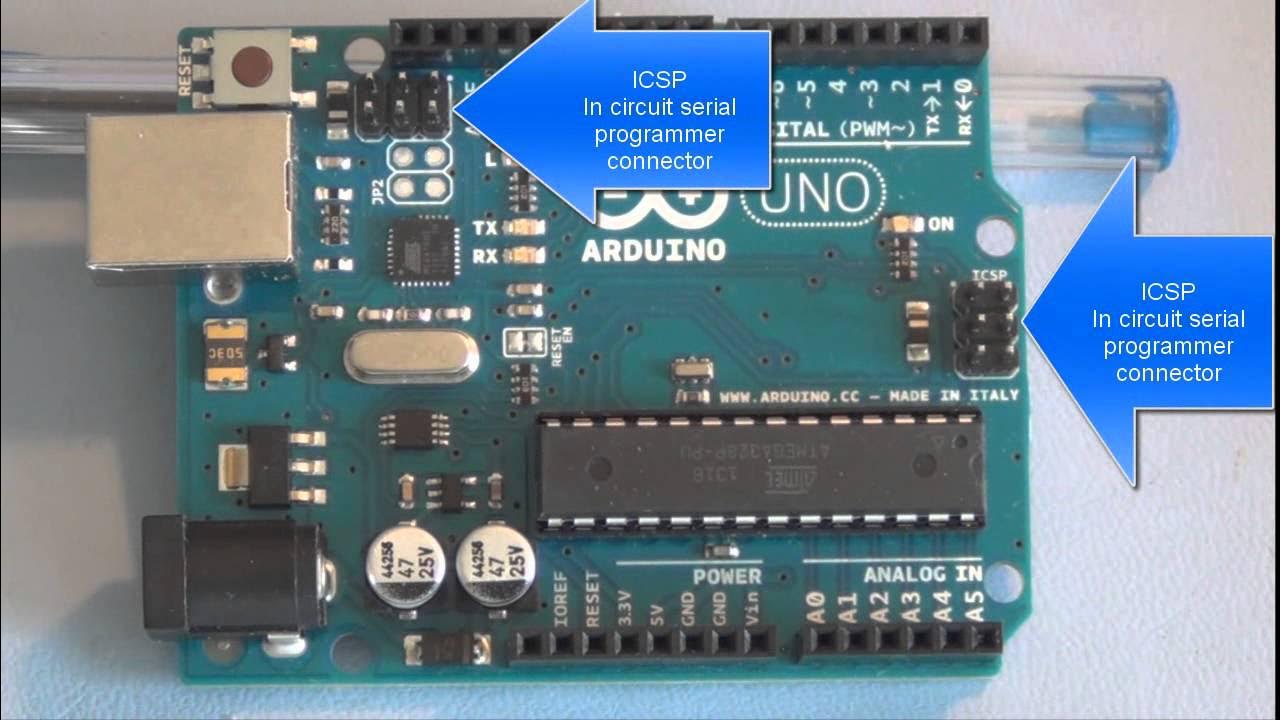
#1 Pengenalan Bagian Arduino UNO R3
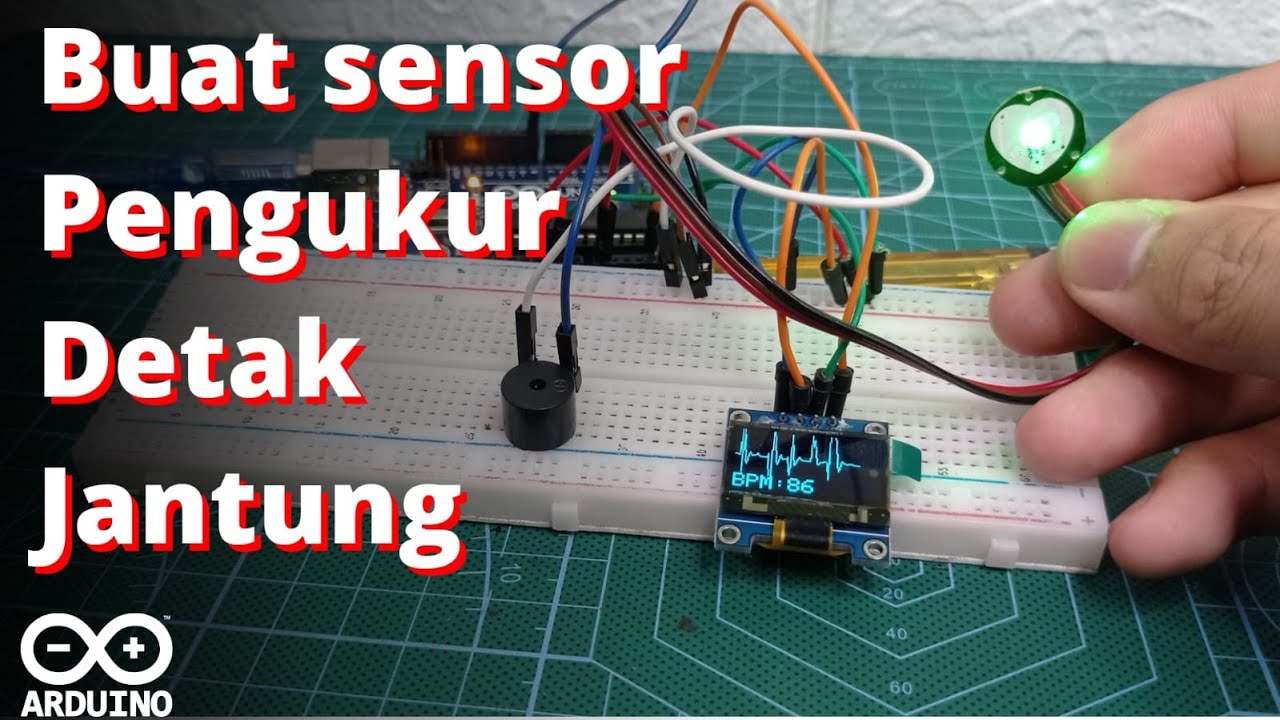
Buat Sensor Pengukur detak Jantung || Heart Rate Sensor Arduino || Pulse sensor [#Tutorial12]
You can learn Arduino in 15 minutes.
5.0 / 5 (0 votes)
