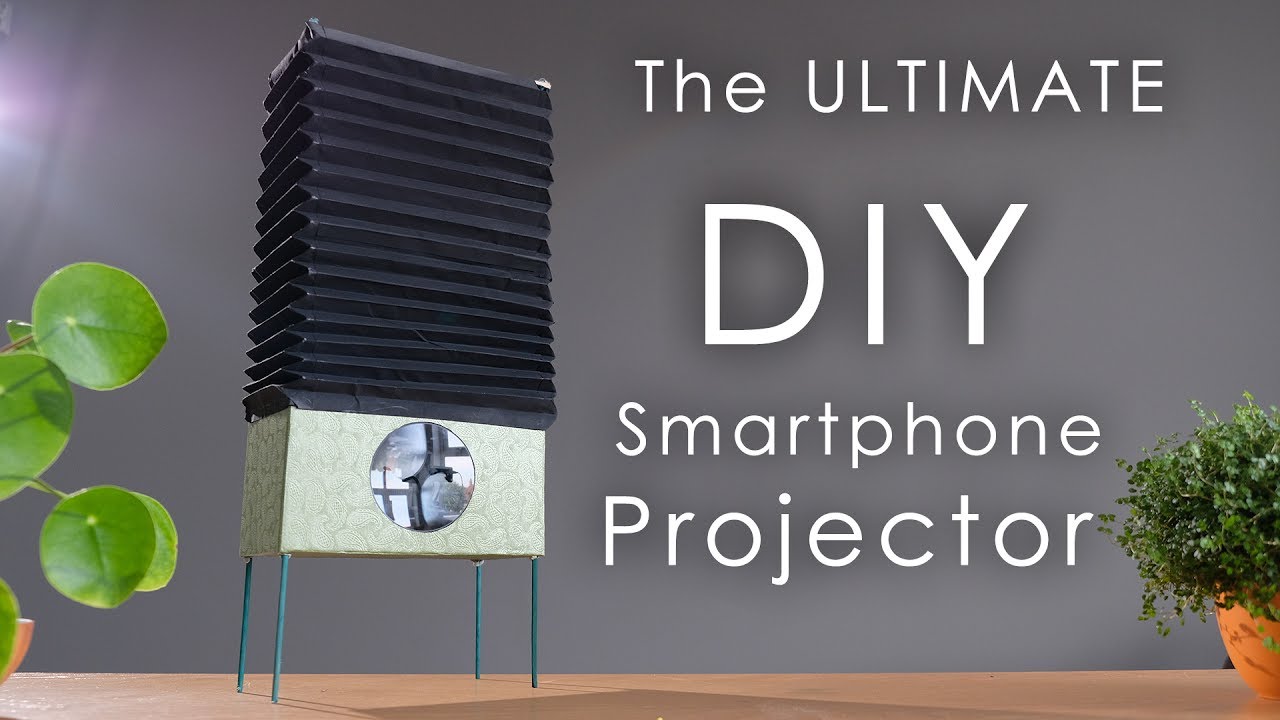
Build A Smartphone Projector! (Using Shoebox)
Summary
TLDRIn this episode of Tech Builder, Angelo demonstrates how to create a smartphone projector using common office supplies and a shoebox. The tutorial guides viewers through the steps of assembling the projector, including cutting a magnifying glass for the lens, reinforcing the shoebox, and building a stand for the phone. The process also includes mounting the phone, inverting the screen, and calibrating the projector for focus. This simple, fun DIY project is perfect for anyone looking to create their own projector at home using basic materials.
Takeaways
- 😀 You can create a smartphone projector with simple office supplies and a shoebox.
- 😀 Essential materials for the project include a magnifying glass, foam board, masking tape, cutter, hot glue gun, and a shoebox.
- 😀 The first step is to modify the magnifying glass by cutting off its handle to use the glass as the projector's lens.
- 😀 Reinforce the shoebox flaps with glue to prevent wobbling and ensure stability for the projector.
- 😀 After cutting holes for the projector lens, let the glue dry before proceeding to attach the lens.
- 😀 Make an exact hole for the lens by tracing the magnifying glass on the cardboard and cutting it out carefully.
- 😀 Use hot glue to secure the magnifying lens in place after cutting the hole.
- 😀 Build a stand using foam board to hold the phone inside the box, ensuring it aligns perfectly with the lens.
- 😀 Attach your phone to the stand with double-sided sticky tape, making sure it aligns with the lens.
- 😀 To make the projection work, lock your phone screen and flip it upside down, as the lens inverts the image.
- 😀 Adjust the distance between the phone and the lens to calibrate the projector for sharp focus.
Q & A
What materials are needed to build the smartphone projector?
-To build the smartphone projector, you will need a magnifying glass, foam board, a ruler, masking tape, a cutter, a smartphone, a hot glue gun, a ruler, and a shoebox.
Why is it necessary to cut the handle off the magnifying glass?
-The handle of the magnifying glass is cut off so that only the glass lens is used for the projector, which will act as the main lens for the projection.
What is the purpose of reinforcing the shoebox with glue?
-Reinforcing the shoebox with glue helps prevent it from wobbling, ensuring stability for the projector and providing a solid housing for the components.
How do you create a hole for the magnifying glass in the shoebox?
-To create the hole, place the magnifying glass at the center of the shoebox, trace around it with a pencil, and then cut the traced circle using an X-acto knife or a compass.
What should you do if the magnifying glass doesn't fit perfectly after cutting the hole?
-If the magnifying glass doesn’t fit perfectly, you can use the previous cutout as a stencil to remove excess cardboard with an X-acto knife for a better fit.
How do you create a stand to hold the phone in place for the projector?
-To create the stand, cut pieces of foam board and assemble them to fit inside the shoebox. Then, cut foam board for the legs of the stand and glue them together at right angles to prevent image distortion.
Why is it important for the phone to be mounted at the center of the stand?
-Mounting the phone at the center of the stand ensures that the phone’s screen aligns perfectly with the lens of the projector, providing a proper projection on the wall.
Why should you lock the phone screen when projecting a video?
-Locking the phone screen prevents the image from rotating and keeps the screen upside-down, which is necessary because the lens inverts the image when projecting.
How can you adjust the focus of the smartphone projector?
-To adjust the focus, move the phone backward or forward within the box to change the distance between the phone’s screen and the projector lens. This will help achieve a sharper focus on the projected image.
What is the final step to complete the smartphone projector?
-The final step is to calibrate the projector by adjusting the distance between the lens and the phone, ensuring the image is in focus and sharp on the wall.
Outlines

Dieser Bereich ist nur für Premium-Benutzer verfügbar. Bitte führen Sie ein Upgrade durch, um auf diesen Abschnitt zuzugreifen.
Upgrade durchführenMindmap

Dieser Bereich ist nur für Premium-Benutzer verfügbar. Bitte führen Sie ein Upgrade durch, um auf diesen Abschnitt zuzugreifen.
Upgrade durchführenKeywords

Dieser Bereich ist nur für Premium-Benutzer verfügbar. Bitte führen Sie ein Upgrade durch, um auf diesen Abschnitt zuzugreifen.
Upgrade durchführenHighlights

Dieser Bereich ist nur für Premium-Benutzer verfügbar. Bitte führen Sie ein Upgrade durch, um auf diesen Abschnitt zuzugreifen.
Upgrade durchführenTranscripts

Dieser Bereich ist nur für Premium-Benutzer verfügbar. Bitte führen Sie ein Upgrade durch, um auf diesen Abschnitt zuzugreifen.
Upgrade durchführenWeitere ähnliche Videos ansehen
Oracle Training - Create Purchase Order from Requisition in Oracle E-Business Suite R12 (1080p - HD)
DIY Smartphone Projector (for watching movies)

How To Connect A Laptop To A Projector

Como fazer um PROJETOR DE CELULAR caseiro passo a passo

Tech Video Kaise Banaye? | Bina Face Dikhaye Tech Video Kaise Banaye?| How To Make Tech Videos 2025🚀
Understand Blower Motor Circuits to Better Diagnose Problems (Season 5/E12)
5.0 / 5 (0 votes)
