CARA MEMBUAT SURAT UNDANGAN RESMI YANG BAIK DAN BENAR DI WORD
Summary
TLDRIn this tutorial, the presenter walks viewers through the process of creating a professional invitation letter in Microsoft Word. The guide includes steps on setting up the document's paper size, margins, and layout, as well as designing a letterhead with a logo and adding various text elements. The presenter explains how to use tabulations, formatting options, and other Word features to create a polished, official invitation letter used by government or company offices. The tutorial concludes with instructions on printing the finalized letter.
Takeaways
- 😀 Make sure to subscribe and enable notifications for updates from the channel.
- 😀 The tutorial explains how to create an official invitation letter in Microsoft Word, typically used by government or corporate entities.
- 😀 Start by opening Microsoft Word and adjusting the document’s paper size and margins. Use a standard margin of 2.54 cm and select F4 paper size, or manually input the dimensions.
- 😀 Customize the header with the name of the institution (e.g., 'Pemerintah Kabupaten Bengkalis') and format it with uppercase letters and appropriate font sizes (12 for the main header and 18 for the second line).
- 😀 Use the 'Insert' menu to draw a line beneath the header and customize its thickness and color.
- 😀 Add a logo to the header by inserting an image and adjusting its size and positioning using the 'Wrap Text' function.
- 😀 For creating the letter content, use tabulation to align sections like the letter number ('Nomor Surat'), attachments ('Lampiran'), and subject ('Hal'). Adjust the tab stops for precise alignment.
- 😀 Ensure proper paragraph formatting with first-line indentations and 1.5 line spacing for clarity and professionalism.
- 😀 Input the body of the letter, including meeting details such as date, time, and location, with appropriate spacing and alignment.
- 😀 End the letter with a polite closing phrase and include the date and the position of the person responsible (e.g., 'Kepala Desa').
- 😀 Once the document is finalized, preview and print the letter using the 'File' menu in Word.
Q & A
What is the purpose of the tutorial in the video?
-The tutorial teaches how to create a professional, official invitation letter using Microsoft Word, which is commonly used by government or business organizations.
How do you set up the paper size and margins for the document?
-To set up the paper size, go to the 'Layout' tab, click on 'Margins,' select 'Custom Margins,' and adjust the margins to 2.54 cm. For paper size, choose F4 or set custom dimensions of 21.5 cm by 33 cm.
What is the significance of using F4 paper size in the tutorial?
-F4 paper size is commonly used for official documents in certain regions. It provides a larger space compared to standard A4 paper, which is useful for professional letter formats.
How do you format the letterhead in the document?
-To format the letterhead, type the name of the organization, apply bold and uppercase formatting, and adjust the font size. Then, insert a horizontal line and add the organization’s logo, adjusting its size and position using the 'Wrap Text' feature.
Why is it important to adjust the margins and paper size at the beginning?
-Adjusting margins and paper size at the start ensures that the document is formatted correctly and meets the required standards for official letters, making it look professional and neat.
How do you insert and adjust the logo in the document?
-To insert a logo, go to the 'Insert' tab, choose 'Pictures,' and select the logo image. Once inserted, use the 'Wrap Text' option to adjust its position and size, making sure it aligns well with the letterhead.
What is the purpose of using tabs and tabulations in this tutorial?
-Tabs and tabulations are used to align text neatly, such as aligning the letter number, attachments, and subject fields. This ensures a clean and organized presentation of information.
How do you format the body of the invitation letter?
-The body of the invitation is formatted by adjusting the line spacing, indentations, and ensuring the text is clearly aligned. Indents and proper spacing are used to maintain a professional and easy-to-read structure.
What steps are involved in finalizing the letter’s appearance before printing?
-To finalize the letter, check the alignment, adjust spacing, remove unnecessary tabulations, and ensure that all sections are neatly formatted. Then, you can proceed to print the letter.
How do you print the completed invitation letter from Microsoft Word?
-To print the completed invitation, go to the 'File' menu, select 'Print,' and review the preview of the document. Once satisfied with the layout, click 'Print' to produce a physical copy of the letter.
Outlines

Dieser Bereich ist nur für Premium-Benutzer verfügbar. Bitte führen Sie ein Upgrade durch, um auf diesen Abschnitt zuzugreifen.
Upgrade durchführenMindmap

Dieser Bereich ist nur für Premium-Benutzer verfügbar. Bitte führen Sie ein Upgrade durch, um auf diesen Abschnitt zuzugreifen.
Upgrade durchführenKeywords

Dieser Bereich ist nur für Premium-Benutzer verfügbar. Bitte führen Sie ein Upgrade durch, um auf diesen Abschnitt zuzugreifen.
Upgrade durchführenHighlights

Dieser Bereich ist nur für Premium-Benutzer verfügbar. Bitte führen Sie ein Upgrade durch, um auf diesen Abschnitt zuzugreifen.
Upgrade durchführenTranscripts

Dieser Bereich ist nur für Premium-Benutzer verfügbar. Bitte führen Sie ein Upgrade durch, um auf diesen Abschnitt zuzugreifen.
Upgrade durchführenWeitere ähnliche Videos ansehen
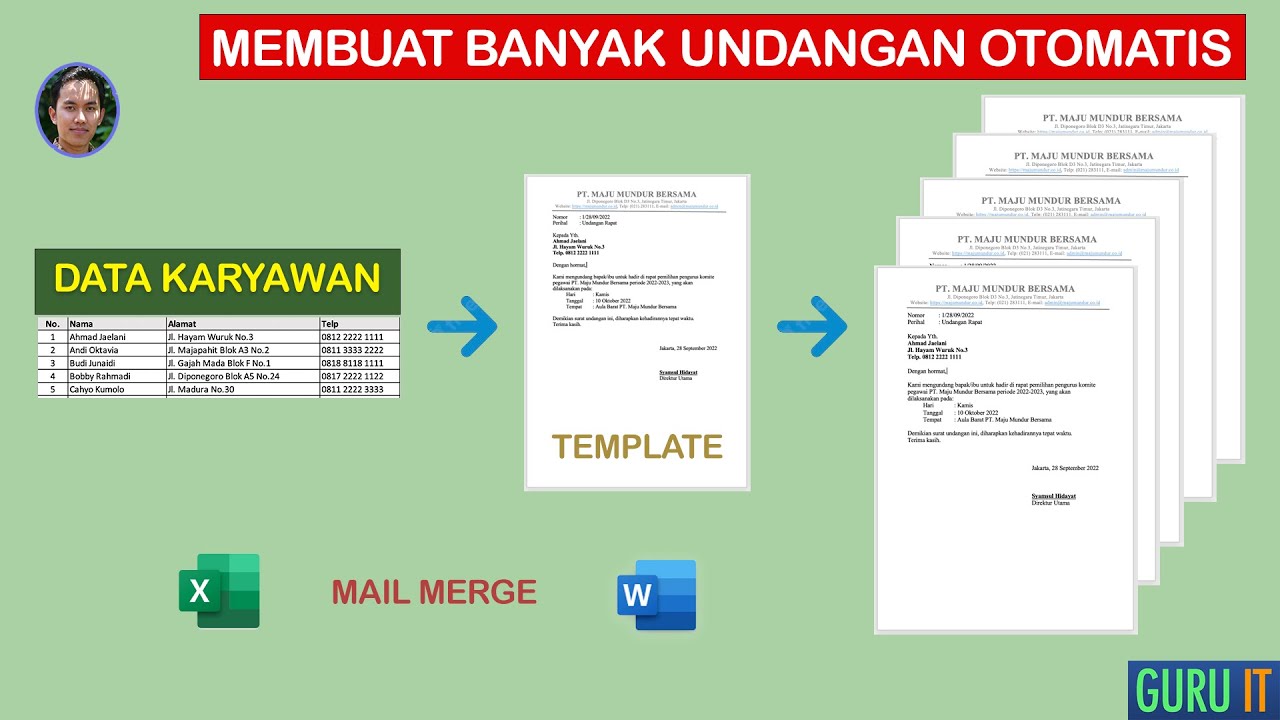
Membuat Surat Undangan dengan Mail Merge
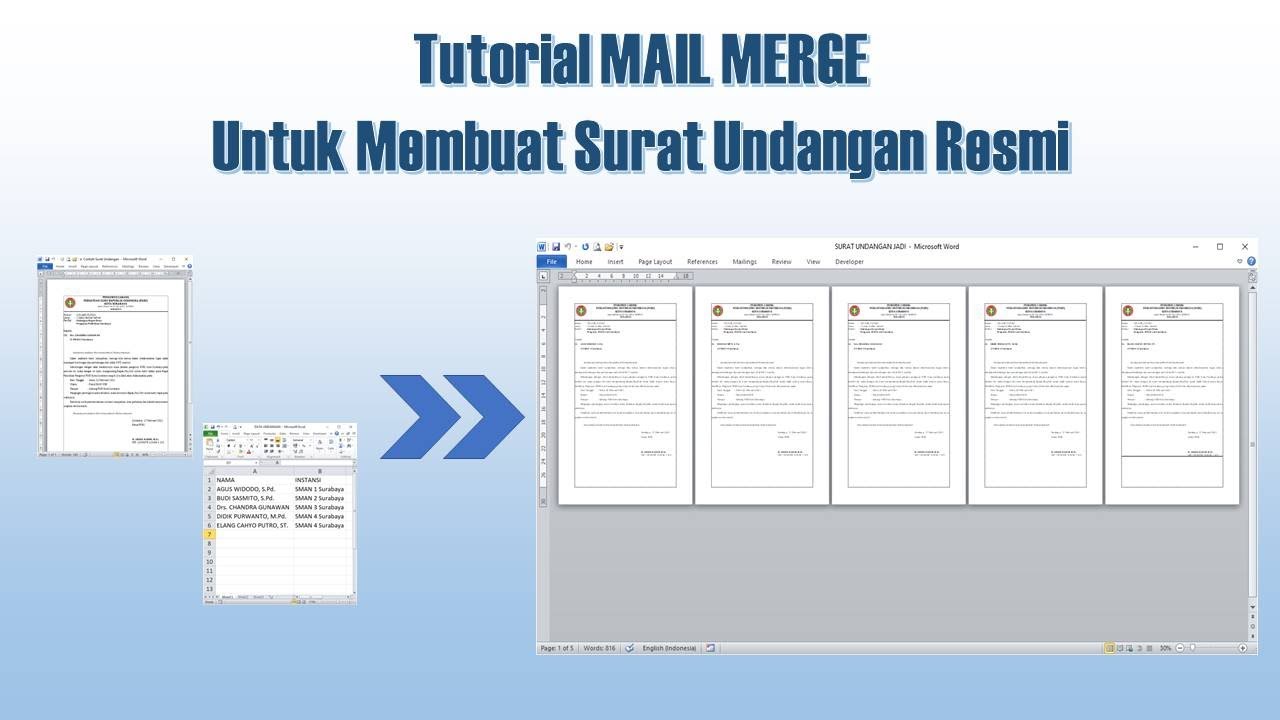
Cara Membuat Mail Merge untuk Surat Undangan
Cara Membuat Surat Resmi (Dinas) di Microsoft Word
Cara Membuat surat masal di Word - Mail Merge

Cara Download & Install Microsoft Office Secara Gratis dan Legal.

Cara Membuat Surat Perjanjian Kerjasama Usaha || Contoh Part 1
5.0 / 5 (0 votes)
