How to build an A-frame Level
Summary
TLDRIn this DIY video, Scott Bun from Treehouse Trade School demonstrates how to build a simple, effective A-frame level using scrap wood and basic hardware, offering an affordable alternative when a laser level is unavailable. He guides viewers through selecting materials, cutting wood, assembling the frame, attaching a string with a weight, and calibrating the tool for accurate grading. The A-frame level is perfect for small-scale projects like backyard permaculture, providing a cost-effective way to mark out level lines and grade percentages, even if it's slower than a laser level.
Takeaways
- 😀 Building an A-frame level is a practical solution when a laser level is unavailable for grading tasks.
- 😀 Scrap wood with solid grain and minimal knots is ideal for constructing the A-frame level.
- 😀 The legs of the A-frame level should be around 5 feet long for small-scale backyard projects, as larger sizes are more accurate for larger fields.
- 😀 Precision isn't critical for this tool, but it helps to avoid knots in the wood and ensure the legs are evenly cut.
- 😀 The hardware used for the A-frame includes bolts, wing nuts, lock nuts, and washers, which are essential for assembling the frame.
- 😀 A string with a weight is used as a plumb line to ensure accuracy when leveling the A-frame.
- 😀 The tool can be calibrated by marking sawdust piles and ensuring the legs are placed in the same position each time to verify level.
- 😀 The A-frame level can also be used to mark out slopes or percentages for grading purposes, such as 1% or 2% slopes.
- 😀 While not as fast as a laser level, the A-frame level is a budget-friendly alternative that can be made with basic tools and materials.
- 😀 The A-frame level is versatile enough for small backyard projects, like permaculture grading, but can be adapted for larger fields with a bigger frame.
- 😀 This method is a great DIY project for those working on a budget or without access to more expensive equipment like a laser level.
Q & A
Why does the speaker choose to build an A-frame level instead of using a laser level?
-The speaker's laser level is in the shop, and they have a grading job to do. Since the laser level is unavailable, they decide to build an A-frame level as a substitute.
What type of wood does the speaker choose for the A-frame level, and why?
-The speaker selects solid wood that is lightweight and has minimal knots, as knots can interfere with the level’s accuracy. They aim for a piece with a solid grain that avoids significant knots.
What are the dimensions of the legs of the A-frame, and why are they chosen?
-The speaker cuts the legs to 5 feet in length. This size is chosen as it is suitable for small backyard permaculture projects, providing a good balance between portability and accuracy.
How does the speaker ensure that the crossbar pieces are the correct size?
-The speaker cuts a 1x8 board into 2.5-inch wide strips, ensuring that each piece is approximately 38 inches long. This measurement is made based on the requirements of the frame's size and functionality.
What type of hardware does the speaker use to assemble the A-frame?
-The speaker uses bolts, wing nuts, lock nuts, and washers to assemble the A-frame. These materials are chosen for their ability to hold the frame together securely and allow for adjustability.
Why does the speaker use a lock nut in the construction of the A-frame?
-The lock nut is used to prevent the bolt from loosening over time. It adds security to the frame and ensures that the components remain tightly fixed during use.
How is the string and weight used in the A-frame level?
-The string is tied to the top of the frame and runs down to a weight at the bottom. The weight helps ensure that the string hangs vertically, marking a precise level for the grading process.
What is the purpose of the sawdust piles in the calibration process?
-The sawdust piles are used as markers to calibrate the A-frame level. By placing the frame in two different positions and marking the center, the speaker determines the level point for accurate grading.
How does the speaker calibrate the A-frame level?
-The speaker rotates the A-frame 180° and makes a mark in each position. The center of these two marks determines the true level, which can be used to measure the ground's contour or grade.
Can the A-frame level be used for more than just marking level ground?
-Yes, the A-frame level can also be used to mark specific percentages of grade (e.g., 1%, 2%) by adjusting the height of the A-frame and using the string and weight to measure the slope.
Outlines

Dieser Bereich ist nur für Premium-Benutzer verfügbar. Bitte führen Sie ein Upgrade durch, um auf diesen Abschnitt zuzugreifen.
Upgrade durchführenMindmap

Dieser Bereich ist nur für Premium-Benutzer verfügbar. Bitte führen Sie ein Upgrade durch, um auf diesen Abschnitt zuzugreifen.
Upgrade durchführenKeywords

Dieser Bereich ist nur für Premium-Benutzer verfügbar. Bitte führen Sie ein Upgrade durch, um auf diesen Abschnitt zuzugreifen.
Upgrade durchführenHighlights

Dieser Bereich ist nur für Premium-Benutzer verfügbar. Bitte führen Sie ein Upgrade durch, um auf diesen Abschnitt zuzugreifen.
Upgrade durchführenTranscripts

Dieser Bereich ist nur für Premium-Benutzer verfügbar. Bitte führen Sie ein Upgrade durch, um auf diesen Abschnitt zuzugreifen.
Upgrade durchführenWeitere ähnliche Videos ansehen
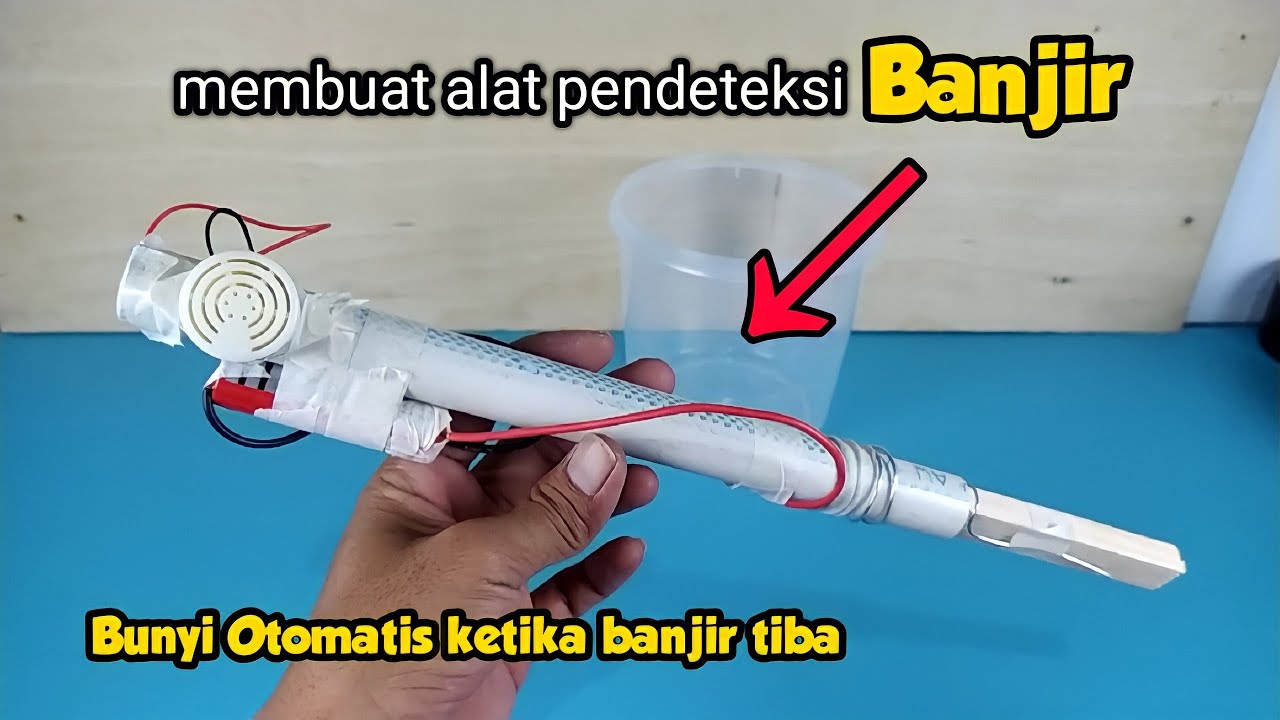
cara membuat alat PENDETEKSI BANJIR, kalian bisa buat sendiri dirumah !!!
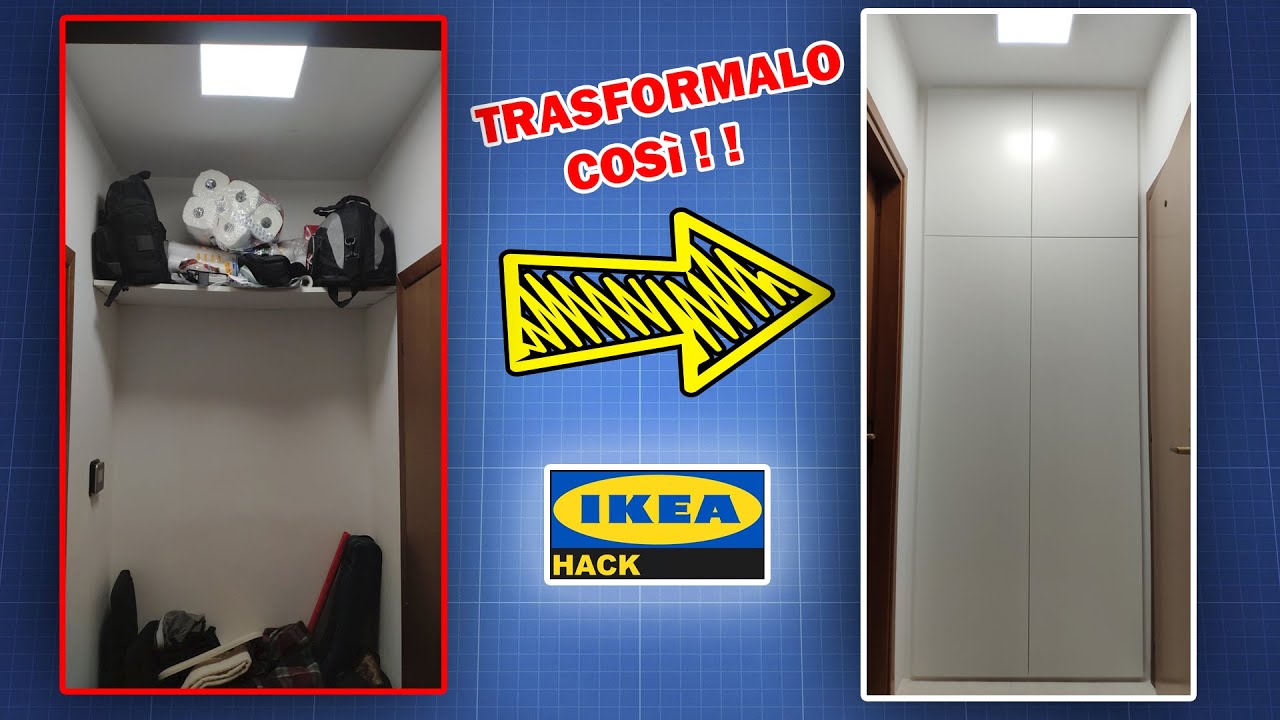
Armadio a muro fai da te con ante IKEA pax
Cara membuat alarm pintu dan jendela sederhana tapi kualitas mantap
2057 How To Make The Homemade Battery You May Have Been Waiting For

Cara membuat alat penyaring udara sederhana

Easy DIY Rustic Coat Rack
5.0 / 5 (0 votes)
