Easy DIY Rustic Coat Rack
Summary
TLDRIn this video, the host demonstrates how to create a simple, affordable, and stylish coat rack using a piece of wood and old bolts. After measuring and drilling holes for the bolts, the host tests the fit, sands the wood to smooth out the edges, and assembles the hooks. The project is easy and quick, with options to finish it by staining or oiling the wood. The host shares tips on mounting the rack, including using studs or plastic plugs in drywall for support. It’s a perfect DIY gift idea that combines functionality and rustic charm.
Takeaways
- 😀 Start with a unique, characterful piece of wood to make your coat rack stand out.
- 😀 Measure the wood to your desired length; 3 feet is a good standard length for a small rack.
- 😀 Reuse old bolts for the project; Habitat for Humanity stores are a good source.
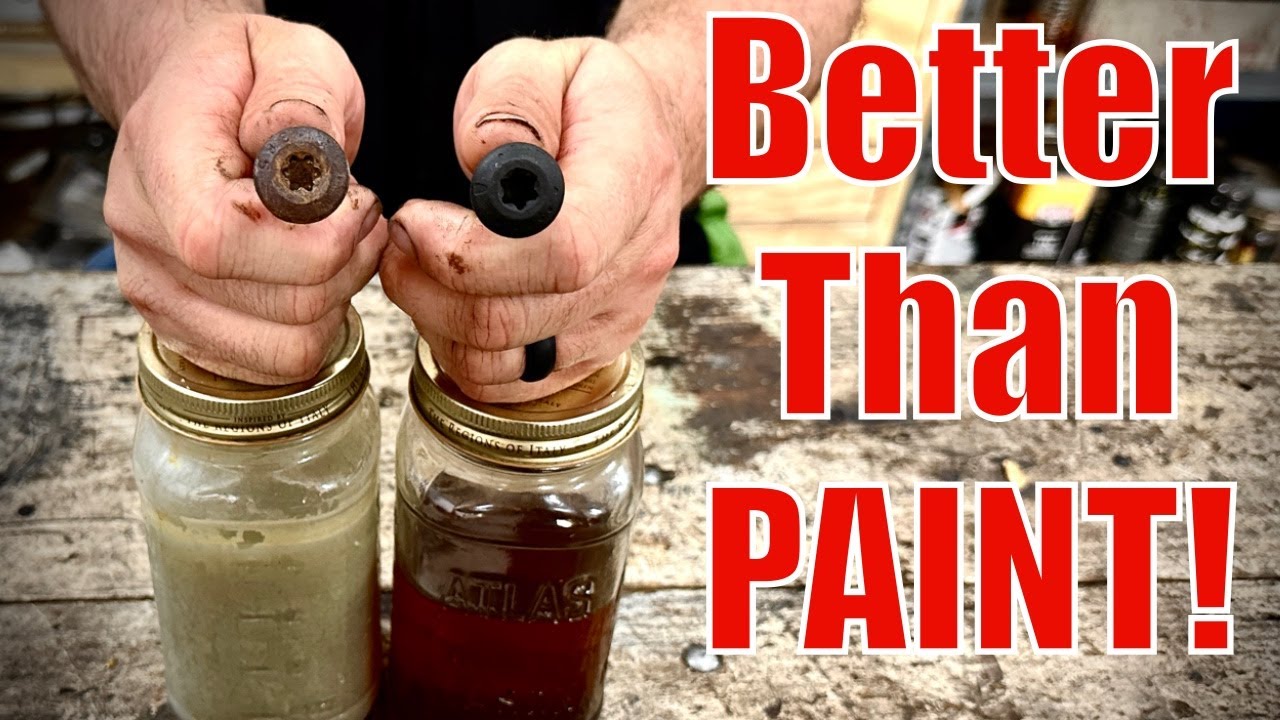
- 😀 Ensure the bolts don’t have any residue to avoid damaging coats and jackets.
- 😀 Calculate the spacing between bolts (roughly 4 inches for a 3-foot piece).
- 😀 Center the holes across the width of the board, ensuring the bolts are evenly placed.
- 😀 Drill holes that are slightly smaller than the bolt to ensure a tight fit and secure threading.
- 😀 Sand the wood to soften the edges and enhance the visual appeal before installing the bolts.
- 😀 Optionally, oil or stain the wood to finish, but leaving it natural is also a great option.
- 😀 Tighten the bolts securely using a wrench or pliers to ensure they hold weight effectively.
- 😀 Mount the coat rack using screws into wall studs, or drywall anchors if studs aren’t available.
Q & A
What is the primary goal of this project?
-The primary goal is to create a simple, quick, and inexpensive coat rack using basic materials like wood and bolts.
What type of wood is recommended for this project?
-While the script doesn't specify an exact type of wood, it emphasizes using cool, unique wood as it adds character to the coat hooks.
How long should the piece of wood be for this coat rack?
-The piece of wood in the video is 3 feet long, but the length can vary depending on the desired size of the coat rack.
Where can you find the bolts needed for this project?
-The bolts used in the video were purchased from a Habitat for Humanity store, but they can be found at hardware stores or online.
How do you determine the number of bolts for the coat rack?
-The number of bolts is based on personal preference, but the video uses six bolts for a 3-foot long piece of wood.
What is the method for spacing the bolts on the piece of wood?
-The bolts are spaced evenly at 4-inch intervals, with measurements provided for each hole placement along the wood.
Why is it important to test the drill bit size before drilling into the wood?
-Testing the drill bit ensures that the hole is the right size for the bolt threads to anchor securely into the wood, providing strong support for the coat rack.
What should you do if the drill bit is too small or too tight for the bolt?
-If the drill bit is too tight, it's recommended to use a larger bit to ensure the bolts can thread into the wood smoothly without too much resistance.
What is the purpose of sanding the wood in this project?
-Sanding the wood helps to smooth out the edges, soften the surface, and give the piece a polished look, enhancing its appearance and usability.
How do you mount the coat rack once it's assembled?
-To mount the coat rack, locate the studs on the wall and either use bolts or screws directly into the studs, or use plastic plugs for drywall if studs aren't available.
Can the wood be treated after assembly, and if so, how?
-Yes, the wood can be treated by oiling or staining it to enhance the appearance and durability, although the creator of the video left it unfinished for now.
What is the suggested way to secure heavy coats on the rack?
-The rack should be mounted securely using screws or bolts, ensuring it can hold the weight of heavy coats, especially in colder climates where thicker jackets are worn.
What is the recommended process for securing the bolts onto the wood?
-The bolts should be twisted in by hand until they are tight enough, and then a wrench or pliers can be used to ensure they're securely fastened.
What kind of gift can this coat rack make?
-This coat rack makes for a great and easy-to-make gift, especially around Christmas time, because of its simple design and functionality.
Outlines

This section is available to paid users only. Please upgrade to access this part.
Upgrade NowMindmap

This section is available to paid users only. Please upgrade to access this part.
Upgrade NowKeywords

This section is available to paid users only. Please upgrade to access this part.
Upgrade NowHighlights

This section is available to paid users only. Please upgrade to access this part.
Upgrade NowTranscripts

This section is available to paid users only. Please upgrade to access this part.
Upgrade NowBrowse More Related Video

MURAH !! MEMBUAT TRAY MICROGREEN CUMA Rp.4.500

Beginner Hand Tool Woodworking Project. Spalted Beech Pencil Case.
Black Oxide: The Simple and Powerful Way to Transform Your Hardware

Snapped coil spring replacement HYUNDAI TUCSON #hyundai #tucson #snappedcoilspring

Labirinto que espanta água (EXPERIÊNCIA do labirinto hidrofóbico)

How to build an A-frame Level
5.0 / 5 (0 votes)