NODE MCU ESP 8266 SEBAGAI WI-FI REPEATER.
Summary
TLDRThis tutorial video demonstrates how to turn an ESP8266 NodeMCU into a WiFi extender. The presenter walks viewers through the necessary steps, including downloading and extracting the required files, configuring the device, and flashing it with the appropriate firmware. Once the setup is complete, the WiFi repeater is tested for speed and connectivity. The video is aimed at users who want to expand their WiFi coverage using a simple, affordable DIY solution. The video concludes with a call to like and subscribe, promising more content in the future.
Takeaways
- 😀 Wi-Fi is an essential part of daily life, but sometimes the signal strength from a router can be weak or inadequate in certain areas.
- 😀 The tutorial demonstrates how to create a Wi-Fi repeater or extender using NodeMCU ESP8266.
- 😀 Before starting, the video encourages viewers to like and subscribe to the channel for future content.
- 😀 The first step involves connecting the NodeMCU ESP8266 to the computer using a USB cable.
- 😀 Two files need to be downloaded for the process: one for the flash tool and another for the Wi-Fi repeater firmware.
- 😀 After downloading, the files are extracted and prepared for the flashing process.
- 😀 The flash tool is used to upload the necessary firmware to the NodeMCU ESP8266 via the USB connection.
- 😀 The firmware contains configuration files that need to be copied into the appropriate folder in the ESP8266 tool.
- 😀 The flashing process involves selecting the correct SPI speed, setting it to 80 Mbps, and ensuring the device is set to 32-bit mode.
- 😀 Once flashed, the NodeMCU will be reset and appear as a new Wi-Fi network, which can be connected to for further setup.
- 😀 The Wi-Fi extender functionality is set up by entering the source router’s SSID and password, followed by configuring the repeater’s settings.
- 😀 The NodeMCU ESP8266 successfully becomes a Wi-Fi extender, allowing users to test and measure the network speed and upload/download rates.
- 😀 A note on the number of devices that can connect to the repeater: the limit is four devices.
- 😀 The tutorial concludes with a reminder to subscribe to the channel and stay tuned for more videos.
Q & A
What is the main topic of the video?
-The video demonstrates how to create a WiFi repeater or WiFi extender using the NodeMCU ESP8266.
What is the purpose of a WiFi repeater?
-A WiFi repeater extends the range of a WiFi network, helping improve connectivity in areas where the original signal is weak or unreachable.
What equipment is required to create a WiFi repeater using NodeMCU ESP8266?
-The required equipment includes a NodeMCU ESP8266, a computer, and software files like the ESP8266 flash tool and WiFi repeater files.
How do you begin the process of creating a WiFi repeater with NodeMCU ESP8266?
-Start by connecting the NodeMCU ESP8266 to the computer, then download and extract the necessary files from the provided links.
Where can you find the download links for the necessary files?
-The download links for the necessary files are provided in the video description.
What files need to be downloaded for the WiFi repeater setup?
-The files to be downloaded include the ESP8266 flash tool and the USB WiFi repeater files.
What is the procedure after downloading the necessary files?
-After downloading the files, extract them and open the corresponding folder. You will then configure the flash tool and copy required files for the flashing process.
How do you flash the NodeMCU ESP8266 for WiFi repeater setup?
-To flash the NodeMCU, open the flash tool, select the extracted files, configure settings like SPI speed and platform, then start the flash process.
What should you do if the flash process is successful?
-After a successful flash, reset the NodeMCU ESP8266, either by pressing the reset button or disconnecting and reconnecting the power.
What happens after resetting the NodeMCU ESP8266?
-After resetting, the device should appear as a new WiFi network. You can connect to it and access the configuration page to set up the extender.
What are the limitations of the NodeMCU ESP8266 as a WiFi extender?
-The NodeMCU ESP8266 has a limitation of supporting a maximum of four devices connected to it at a time.
How can the WiFi repeater's performance be tested?
-You can test the performance of the WiFi repeater by conducting a speed test to check the download and upload speeds.
Outlines

Dieser Bereich ist nur für Premium-Benutzer verfügbar. Bitte führen Sie ein Upgrade durch, um auf diesen Abschnitt zuzugreifen.
Upgrade durchführenMindmap

Dieser Bereich ist nur für Premium-Benutzer verfügbar. Bitte führen Sie ein Upgrade durch, um auf diesen Abschnitt zuzugreifen.
Upgrade durchführenKeywords

Dieser Bereich ist nur für Premium-Benutzer verfügbar. Bitte führen Sie ein Upgrade durch, um auf diesen Abschnitt zuzugreifen.
Upgrade durchführenHighlights

Dieser Bereich ist nur für Premium-Benutzer verfügbar. Bitte führen Sie ein Upgrade durch, um auf diesen Abschnitt zuzugreifen.
Upgrade durchführenTranscripts

Dieser Bereich ist nur für Premium-Benutzer verfügbar. Bitte führen Sie ein Upgrade durch, um auf diesen Abschnitt zuzugreifen.
Upgrade durchführenWeitere ähnliche Videos ansehen
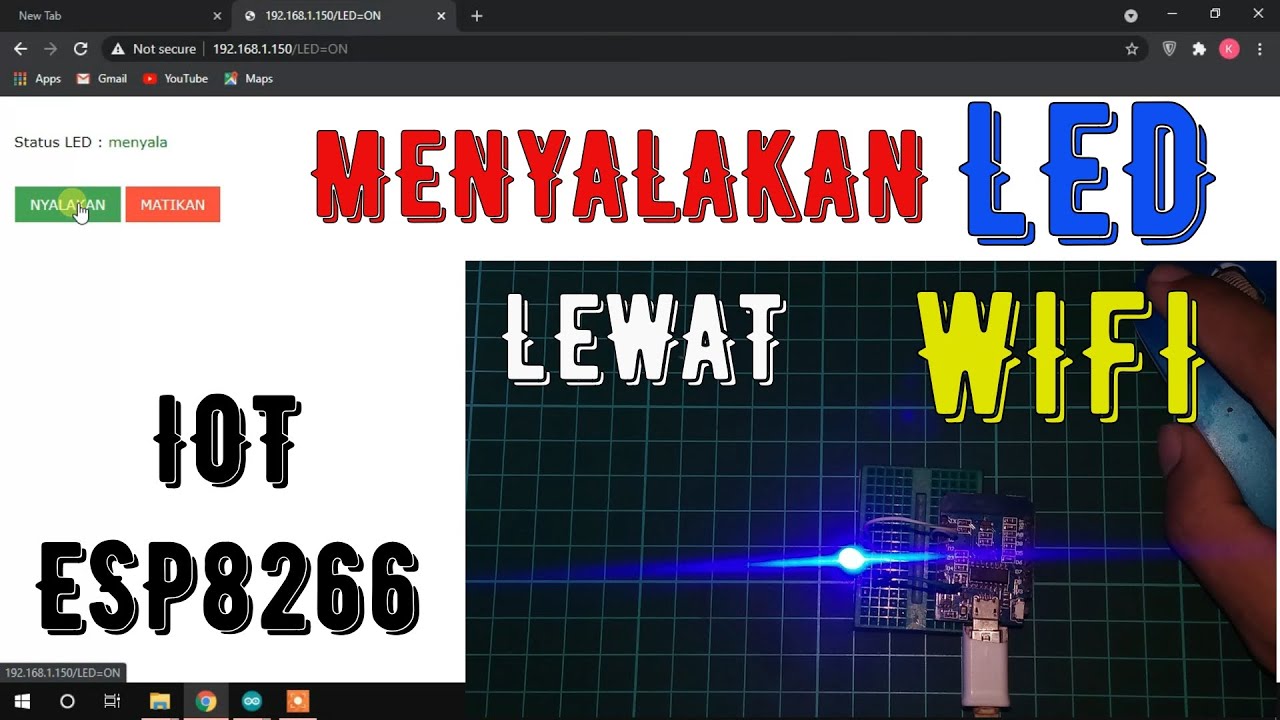
MENYALAKAN LED LEWAT WIFI | ESP8266 | IOT | MENYALAKAN LAMPU LEWAT INTERNET
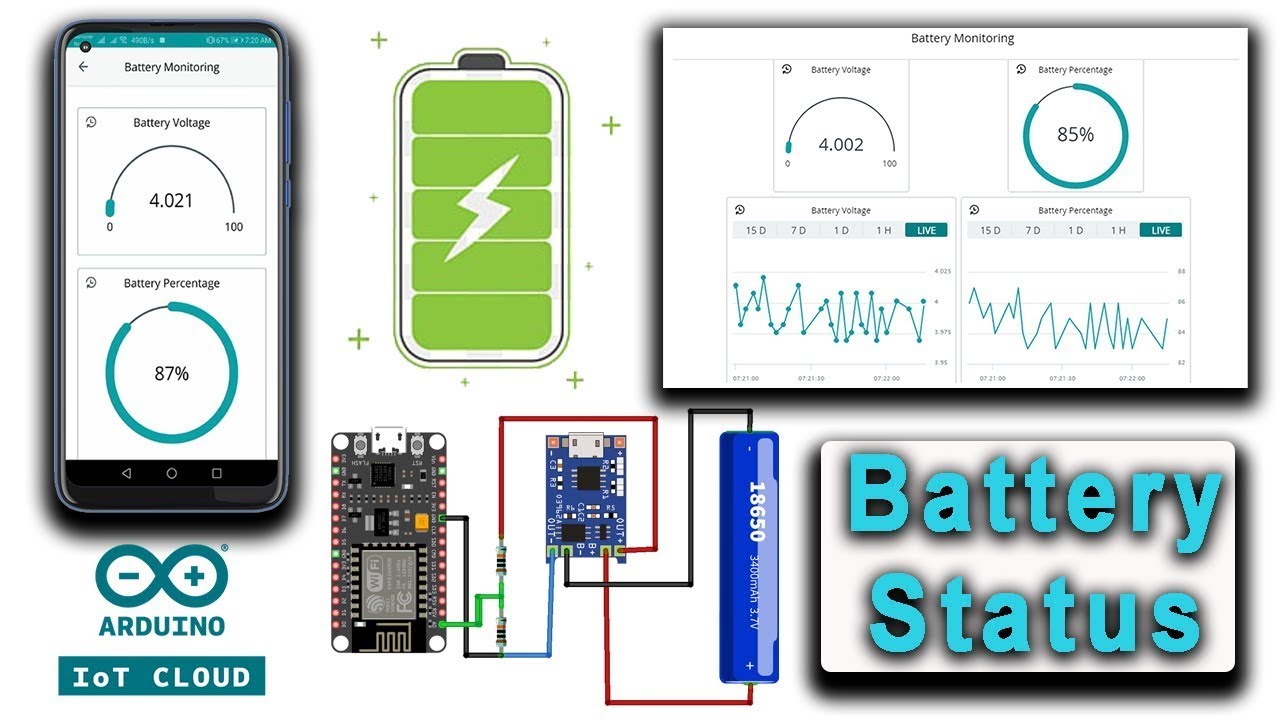
IoT Based Battery Monitoring System Using ESP8266 & Arduino IoT Cloud

Review Dan Cara Setting WiFi Extender Atau WiFi Repeater
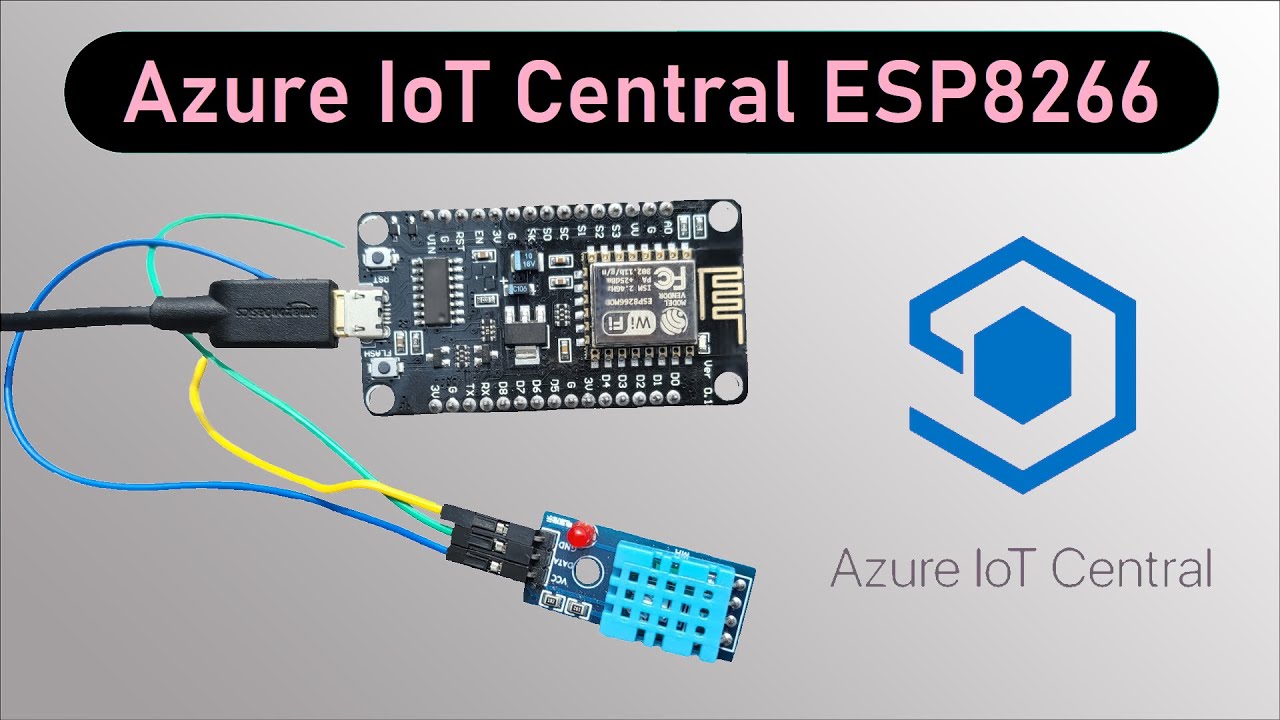
Getting Started with Microsoft Azure IoT Central using NodeMCU ESP8266

Membuat Robot SUMO IOT ESP8266 dan Aplikasi Android
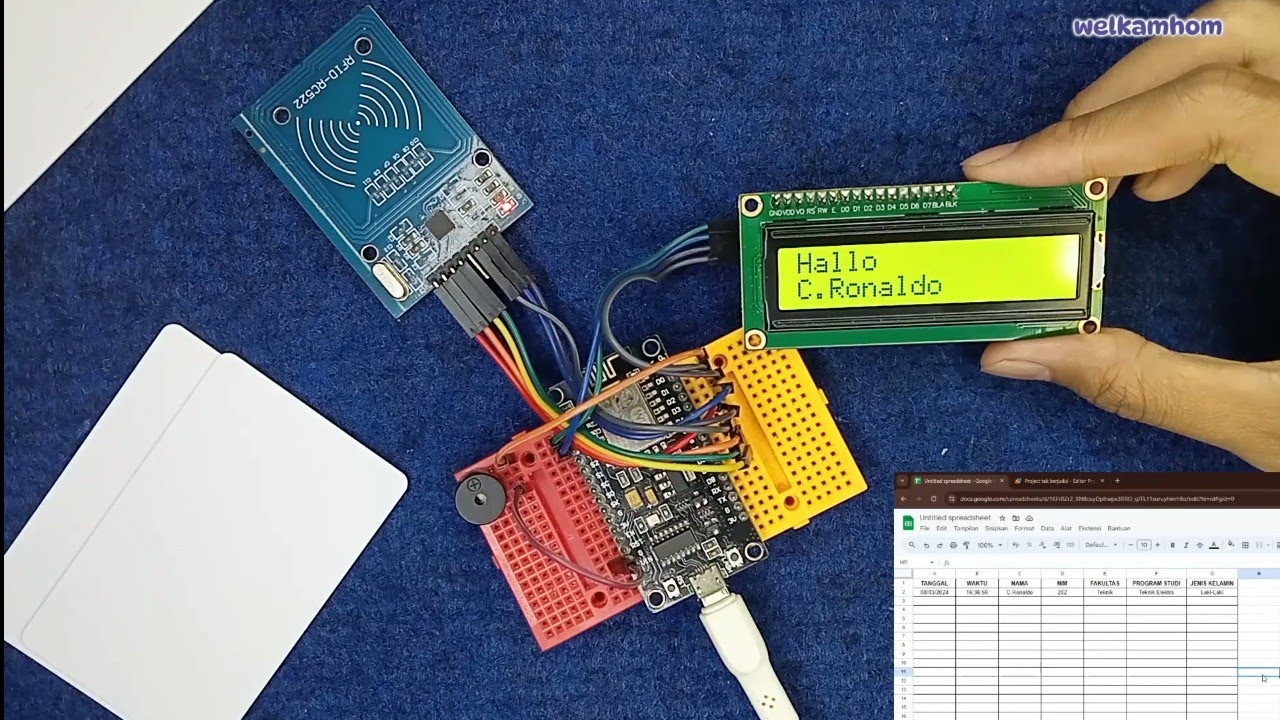
Sistem Absensi Online Menggunakan kartu RFID
5.0 / 5 (0 votes)
