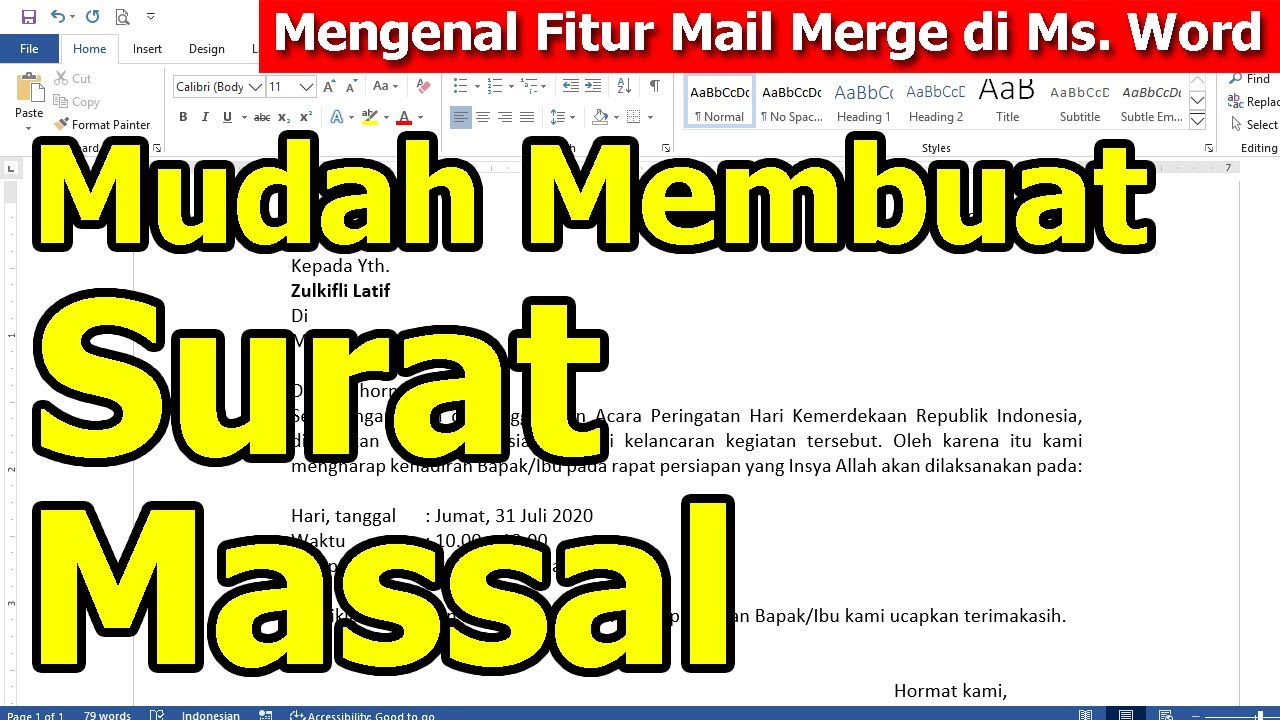
Cara Membuat Mail Merge untuk Surat Undangan
Summary
TLDRThis video provides a tutorial on how to create official invitation letters using the Mail Merge feature in Microsoft Word. The presenter demonstrates linking a Word document to an Excel file containing names and addresses, enabling the automatic generation of personalized invitations for multiple recipients. The tutorial guides viewers through the steps of preparing the invitation format, inputting data in Excel, and merging the data with Word. The video also explains how to preview and print the invitations, making the process efficient for users handling large numbers of recipients.
Takeaways
- 📄 The video provides a tutorial on how to create official invitation letters using Microsoft Word's mail merge feature.
- 📝 Mail merge allows users to create multiple documents, such as letters and certificates, with different recipient details using the same template.
- 📊 Microsoft Excel is used to store recipient data, such as names and addresses, which will later be linked to the Word document.
- 📧 The process involves preparing the invitation letter template first, followed by creating a data table in Excel with two columns: Name and Address.
- 🔗 The tutorial explains how to link the Excel data to the Word document by selecting the 'Use Existing List' option in the mail merge settings.
- 📑 Once linked, the user inserts fields like Name and Address from the Excel data into the Word template at the appropriate places.
- 👀 A preview option is available to check if the recipient names and details are correctly inserted into the letter before generating the final documents.
- 💾 The final step involves either editing individual documents or printing them directly in bulk, depending on the user's preference.
- 🖨️ If the user selects to print, all invitations are generated with unique recipient information, ready for printing.
- 💡 The video emphasizes that once the process is set up, it becomes efficient for creating a large number of personalized documents.
Q & A
What is the main purpose of the video tutorial?
-The main purpose of the video tutorial is to demonstrate how to use the 'Mail Merge' feature in Microsoft Word to create official invitation letters with different recipient names and addresses automatically.
What software is used in the tutorial for managing recipient data?
-The tutorial uses Microsoft Excel to manage recipient data, such as names and addresses, which are linked to the invitation template in Microsoft Word.
How does the 'Mail Merge' feature in Microsoft Word help in generating multiple documents?
-The 'Mail Merge' feature allows users to create a single document, like an invitation, and automatically generate multiple versions of it by inserting unique recipient data from an Excel spreadsheet, such as names and addresses.
What are the main steps involved in the tutorial?
-The main steps include: 1) Preparing the invitation letter format in Microsoft Word, 2) Creating a recipient list in Excel with names and addresses, 3) Linking the Word document to the Excel data, 4) Using 'Mail Merge' to insert the data into the Word document, and 5) Previewing and printing the documents.
What specific Excel data is needed for the 'Mail Merge' process?
-The Excel data should include at least two columns: one for the recipient's name and another for their address or institution.
How is the data from Excel connected to the Word document in the tutorial?
-The data from Excel is connected to the Word document by using the 'Mailings' tab in Word, selecting 'Use Existing List,' and choosing the Excel file containing the recipient information.
What is the role of the 'Insert Merge Field' function in the process?
-The 'Insert Merge Field' function allows users to insert the recipient's name and address from the Excel spreadsheet into specific locations in the Word document, personalizing each invitation.
How can users preview the merged data before finalizing the documents?
-Users can click the 'Preview Results' option in the 'Mailings' tab to see how the recipient's name and address will appear in the final documents before printing.
What are the options for finishing the 'Mail Merge' process in Word?
-Users can choose to either 'Edit Individual Documents' to manually review each invitation or 'Print Documents' to immediately print all invitations with the personalized data.
What should users do after the 'Mail Merge' process is completed?
-After the process is completed, users can save the master invitation template and the generated documents or directly print the invitations. The saved Word document will include multiple copies of the invitation with different recipient details.
Outlines

Dieser Bereich ist nur für Premium-Benutzer verfügbar. Bitte führen Sie ein Upgrade durch, um auf diesen Abschnitt zuzugreifen.
Upgrade durchführenMindmap

Dieser Bereich ist nur für Premium-Benutzer verfügbar. Bitte führen Sie ein Upgrade durch, um auf diesen Abschnitt zuzugreifen.
Upgrade durchführenKeywords

Dieser Bereich ist nur für Premium-Benutzer verfügbar. Bitte führen Sie ein Upgrade durch, um auf diesen Abschnitt zuzugreifen.
Upgrade durchführenHighlights

Dieser Bereich ist nur für Premium-Benutzer verfügbar. Bitte führen Sie ein Upgrade durch, um auf diesen Abschnitt zuzugreifen.
Upgrade durchführenTranscripts

Dieser Bereich ist nur für Premium-Benutzer verfügbar. Bitte führen Sie ein Upgrade durch, um auf diesen Abschnitt zuzugreifen.
Upgrade durchführen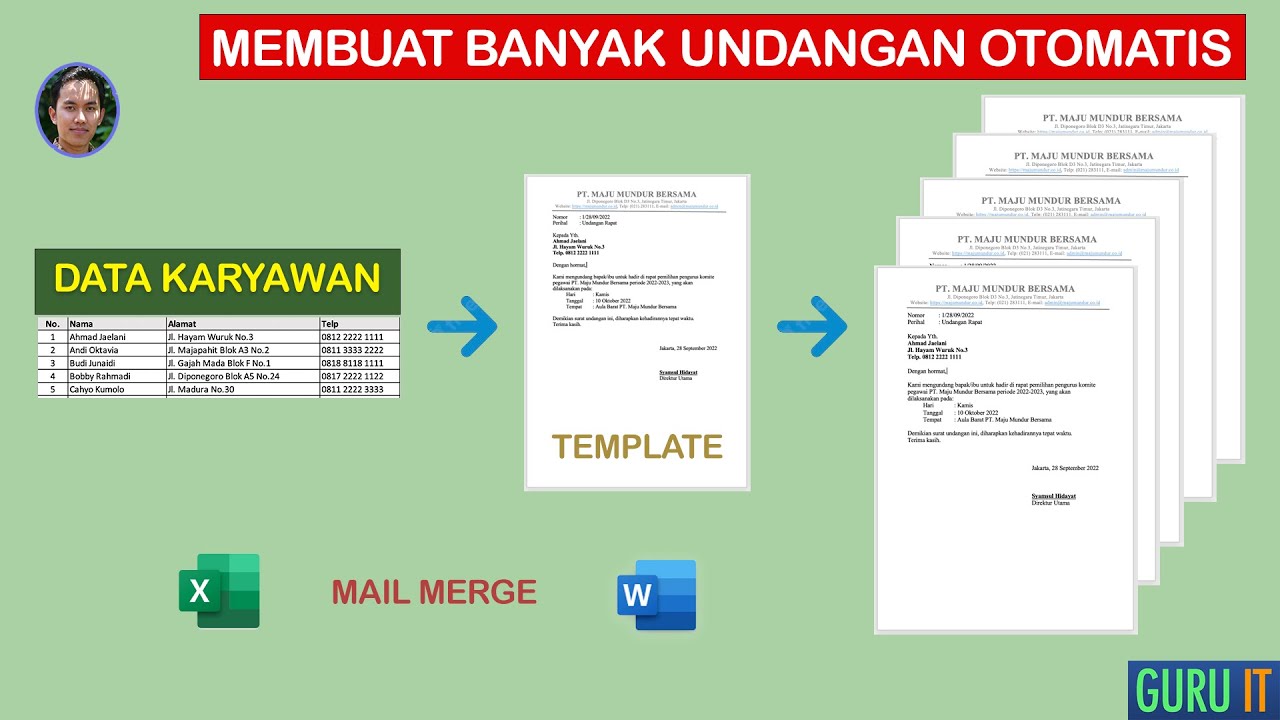


5.0 / 5 (0 votes)
