Sound Design and Synth Fundamentals
Summary
TLDRIn this video, the fundamentals of sound design are explained in a clear and accessible way, focusing on key concepts like basic waveforms (sine, triangle, square, and sawtooth), additive and subtractive synthesis, unison, filters, ADSR envelopes, LFOs, and effects. The tutorial is designed to help viewers understand and apply these principles across different synthesizers and software, enabling them to create the sounds they desire. The instructor emphasizes practical examples and visual aids to simplify complex topics, making it an ideal resource for beginners.
Takeaways
- 🎶 The video covers the fundamentals of sound design applicable to any synthesizer or software.
- 🌐 It introduces four basic waveforms: sine, triangle, square, and sawtooth, each with unique characteristics and uses.
- 📈 The script explains how to visualize waveforms using an oscilloscope and frequency analyzer.
- 🔊 Sine waves are ideal for bass sounds and kick drums, while triangle, square, and sawtooth waves add harmonic richness.
- 🔬 Additive synthesis involves starting with a simple waveform and adding complexity, whereas subtractive synthesis starts with a complex waveform and simplifies it.
- 🎵 Unison is used to duplicate and pan voices around the stereo field, adding richness to sounds.
- 🎛️ Detuning in unison can thicken sounds but must be used carefully to avoid a poor sound quality.
- 📊 Filters, including low-pass, high-pass, and more complex types, are essential for shaping sound by removing frequencies.
- 🕒 ADSR (Attack, Decay, Sustain, Release) envelopes define the shape and volume of a sound over time.
- 🔁 LFOs (Low-Frequency Oscillators) add movement and automation to parameters like filter cutoff for dynamic sounds.
- 🔧 Effects chains in DAWs or synths, such as distortion, reverb, and chorus, further shape and enrich synthesized sounds.
Q & A
What are the four basic wave shapes mentioned in the tutorial?
-The four basic wave shapes are sine wave, triangle wave, square wave, and sawtooth wave.
How does a sine wave differ from the other wave shapes?
-A sine wave is the most simple wave shape with only one harmonic, making it smooth and useful for bass sound design, especially in sub-bass and kick drums.
What is the key characteristic of a triangle wave?
-A triangle wave has a main fundamental note with additional harmonics, giving it a slight buzzing sound that is more harmonically rich than a sine wave.
How does a square wave sound and why?
-A square wave has many harmonics, making it sound more buzzy and harmonically rich compared to sine and triangle waves.
What is the difference between additive and subtractive synthesis?
-Additive synthesis involves starting with a basic wave shape and adding more waves to make the sound more complex. Subtractive synthesis starts with a complex waveform and removes parts of it to create a new sound.
What role does unison play in sound design?
-Unison adds more voices to a sound, duplicating, panning, and detuning them around the stereo field, which enriches and thickens the sound.
Why is it important to be cautious with the detune amount in unison?
-Excessive detuning can make the sound unpleasant and can also strain the CPU, so it's important to find a balance when detuning.
What is the purpose of filters in sound design?
-Filters are used to remove certain frequencies from a sound. Common filters include low-pass filters, which allow low frequencies to pass and cut off high frequencies, and high-pass filters, which do the opposite.
How does ADSR (Attack, Decay, Sustain, Release) shape a sound?
-ADSR controls the volume and shape of the sound over time. Attack determines how quickly the sound reaches its peak, decay sets how fast it drops to the sustain level, sustain holds the volume while a key is pressed, and release controls how the sound fades after the key is released.
What is an LFO and how is it used in sound design?
-An LFO (Low-Frequency Oscillator) is used to add movement and modulation to sound parameters, like the filter cutoff, by oscillating at low frequencies. This can create effects like vibrato or rhythmic pulsing.
Outlines

هذا القسم متوفر فقط للمشتركين. يرجى الترقية للوصول إلى هذه الميزة.
قم بالترقية الآنMindmap

هذا القسم متوفر فقط للمشتركين. يرجى الترقية للوصول إلى هذه الميزة.
قم بالترقية الآنKeywords

هذا القسم متوفر فقط للمشتركين. يرجى الترقية للوصول إلى هذه الميزة.
قم بالترقية الآنHighlights

هذا القسم متوفر فقط للمشتركين. يرجى الترقية للوصول إلى هذه الميزة.
قم بالترقية الآنTranscripts

هذا القسم متوفر فقط للمشتركين. يرجى الترقية للوصول إلى هذه الميزة.
قم بالترقية الآنتصفح المزيد من مقاطع الفيديو ذات الصلة
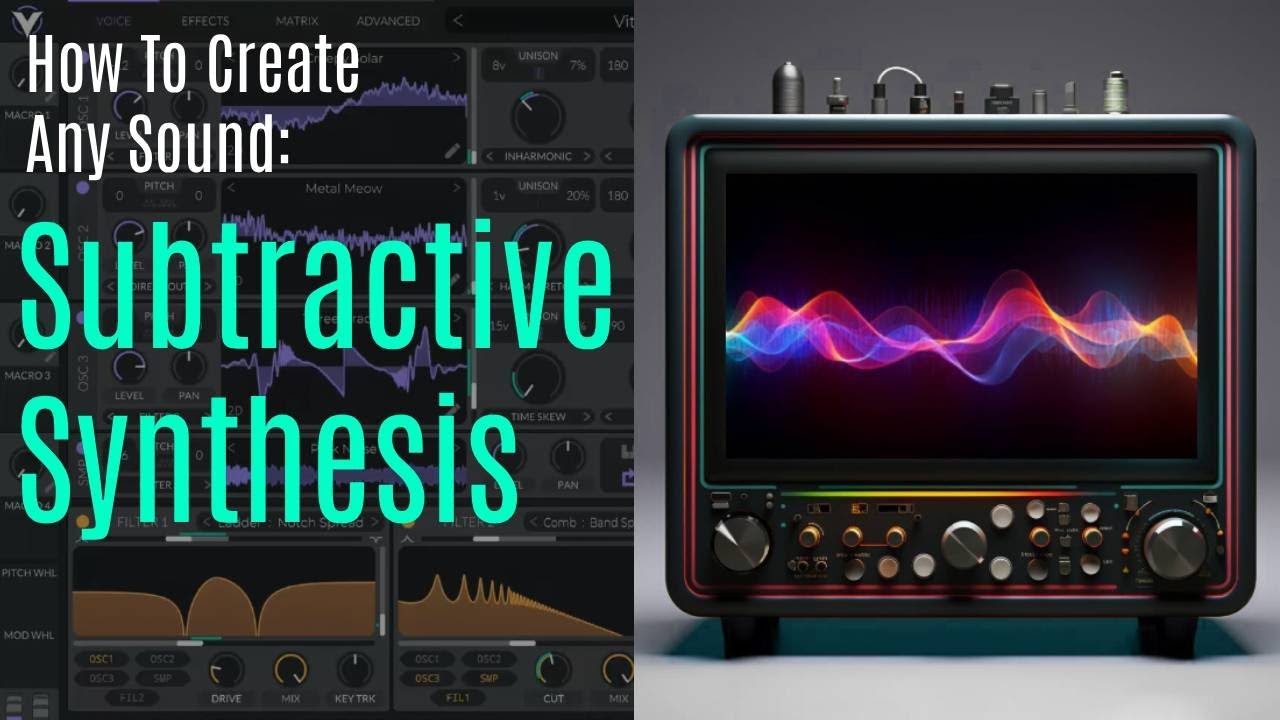
Sound Design Tutorial - Subtractive Synthesis
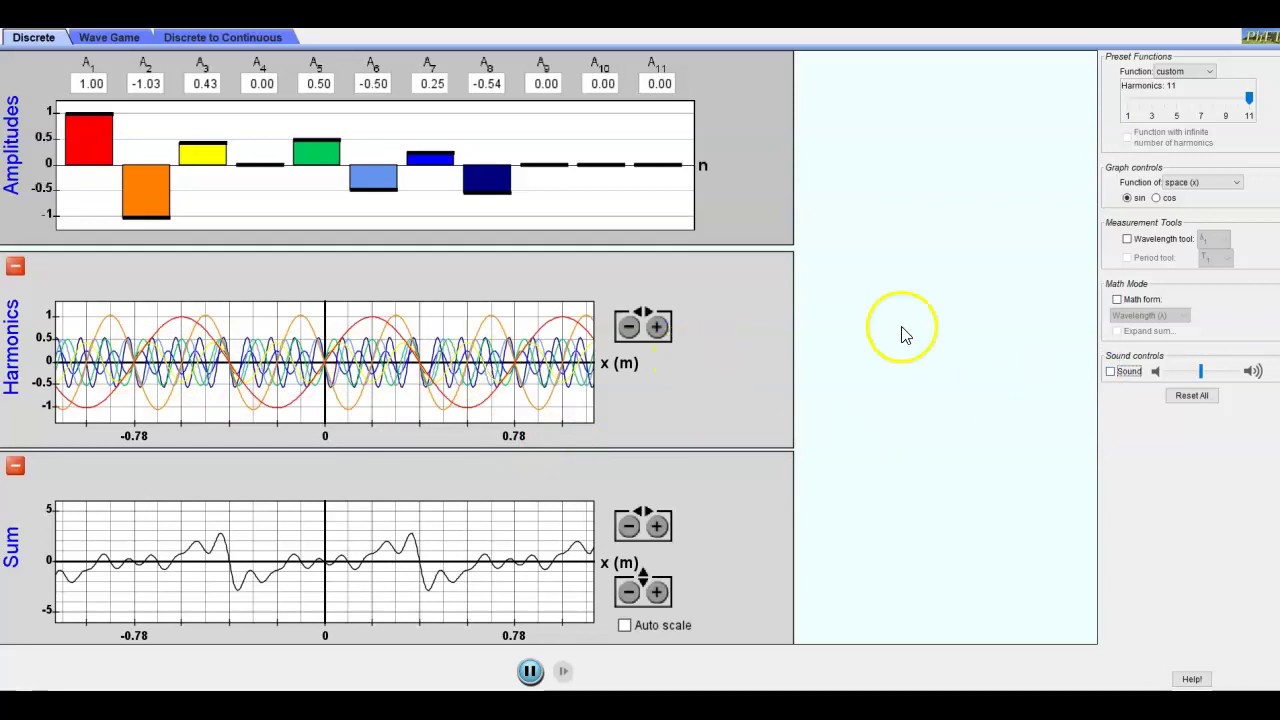
Introduction to PhET Fourier: Making Waves Simulation

Ableton Operator Overview
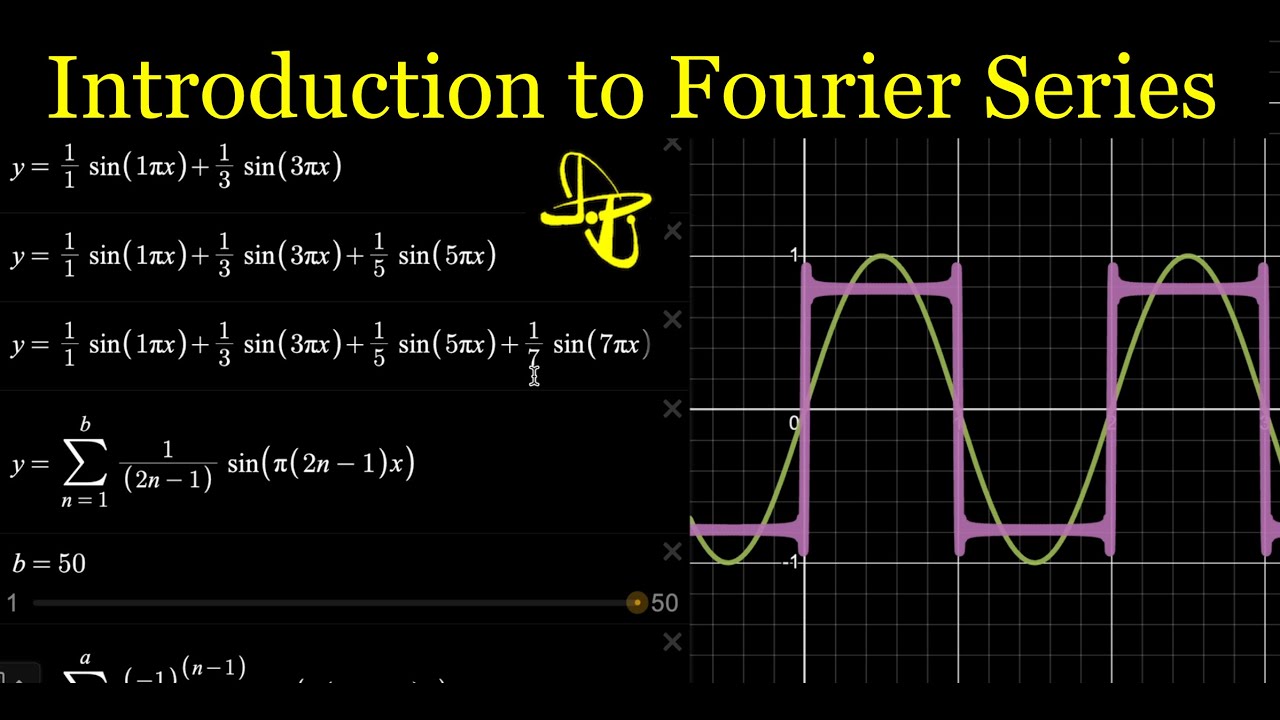
Introduction to Fourier Series - Adding Sine Waves to make Sawtooth, Square, and Triangle Waves

The Simple Hack That Turns MONO Into STEREO

function generator | function generator working | function generator using op amp | block diagram
5.0 / 5 (0 votes)
