Cara membuat jaringan Peer To Peer menggunakan kabel UTP Cross Over|(Praktikum Jaringan Komputer)
Summary
TLDRIn this instructional video, Baresi Bachtiar from class 04 TPM01 demonstrates step-by-step how to set up a peer-to-peer computer network. The tutorial covers all necessary tools, including crimping pliers, UTP LAN cables, RJ45 connectors, and a tester. Viewers are guided through stripping, arranging, and connecting cables, testing connections, and configuring IP addresses on two laptops to establish network communication. The video also explains enabling file sharing and verifying network connectivity using the ping command, ensuring the peer-to-peer setup is fully functional. This hands-on guide is practical for beginners aiming to create a simple, functional network between computers.
Takeaways
- 😀 The presenter introduces himself as Baresi Bachtiar and explains that the video demonstrates how to install and configure a peer-to-peer computer network.
- 🛠️ The tools required to create a peer-to-peer network cable include a crimping tool, UTP LAN cable, two RJ45 connectors, and a LAN cable tester.
- 🔌 The first practical step is stripping the outer insulation of the UTP cable using a crimping tool.
- 📏 After stripping the cable, the internal wires are arranged according to a specific color order before being inserted into the RJ45 connector.
- 🎨 One end of the cable follows a color sequence: white-orange, orange, white-green, blue, white-blue, green, white-brown, and brown.
- ✂️ Once the wires are arranged correctly, the ends are trimmed evenly so they fit properly into the RJ45 connector.
- 🔧 The wires are inserted into the RJ45 connector and then crimped tightly using the crimping tool to secure them.
- 🔄 The second end of the cable uses a different wire arrangement to create the proper connection for the network cable.
- 🧪 After both ends are crimped, the cable is tested using a LAN tester to ensure all indicators light up correctly, confirming the cable works.
- 💻 Two laptops are used to demonstrate the peer-to-peer network configuration after the cable is successfully created.
- 🌐 Network settings are configured by accessing Internet settings and modifying the IPv4 properties to assign a specific IP address.
- 🔓 Network sharing options are enabled so that file sharing between the two computers is allowed.
- ⌨️ The Command Prompt (CMD) is used to verify the IP address configuration and test the network connection.
- 📡 A ping command is used from one laptop to the other to confirm that the peer-to-peer network connection is successful.
- ✅ If the ping response is successful, it means the peer-to-peer network between the two laptops is properly established and ready for file sharing.
Q & A
What tools are required to create a peer-to-peer network according to the video?
-The tools needed include a crimping tool, UTP LAN cables, RJ45 connectors, and a LAN cable tester.
How should the UTP cables be prepared before inserting into RJ45 connectors?
-The cable ends should be stripped using a crimping tool, the individual wires untwisted and arranged according to the standard color order, and then cut to ensure even lengths before insertion into the RJ45 connectors.
What is the correct wiring order for the first RJ45 connector?
-The correct order is: White-Orange, Orange, White-Green, Blue, White-Blue, Green, White-Brown, Brown.
How is the LAN cable tested after crimping?
-Connect both ends of the cable to a LAN tester. If all indicator lights turn on (usually green), the cable is properly wired and ready for use.
What is the purpose of configuring IPv4 addresses on the laptops?
-Configuring IPv4 addresses ensures that each laptop has a unique address in the same subnet, which allows them to communicate with each other in a peer-to-peer network.
How can you check if the peer-to-peer connection between laptops is successful?
-By using the CMD command 'ping' followed by the IP address of the other laptop. If the ping is successful and returns a response, the connection is established.
Why is enabling file sharing necessary in a peer-to-peer network?
-File sharing must be enabled to allow laptops to access and transfer files between each other over the network.
What are common mistakes to avoid when making a LAN cable?
-Common mistakes include incorrect wire order, uneven cable lengths inside the connector, loose connections, or skipping the testing step which can result in a non-functional cable.
What IP addresses were used in the example for Laptop A and Laptop B?
-Laptop A used 192.168.1.100 and Laptop B used 192.168.1.101, ensuring they are in the same subnet for communication.
What indicates that the LAN cable is ready to be used in the network?
-All indicators on the LAN tester lighting up, confirming proper wiring and connectivity, indicates the cable is ready for use.
What is the overall purpose of the video tutorial?
-The tutorial demonstrates how to make and test a LAN cable and configure a peer-to-peer network between two laptops for file sharing.
Outlines

هذا القسم متوفر فقط للمشتركين. يرجى الترقية للوصول إلى هذه الميزة.
قم بالترقية الآنMindmap

هذا القسم متوفر فقط للمشتركين. يرجى الترقية للوصول إلى هذه الميزة.
قم بالترقية الآنKeywords

هذا القسم متوفر فقط للمشتركين. يرجى الترقية للوصول إلى هذه الميزة.
قم بالترقية الآنHighlights

هذا القسم متوفر فقط للمشتركين. يرجى الترقية للوصول إلى هذه الميزة.
قم بالترقية الآنTranscripts

هذا القسم متوفر فقط للمشتركين. يرجى الترقية للوصول إلى هذه الميزة.
قم بالترقية الآنتصفح المزيد من مقاطع الفيديو ذات الصلة

Cara Membuat Jaringan Peer To Peer di Cisco Packet Tracer
CSS NC 2 COC 2 - Network Configuration - Folder Sharing (TAGALOG) Computer Systems Servicing
KONFIGURASI WIFI REPEATER MENGGUNAKAN KOMPUTER / LAPTOP UNTUK MEMPERLUAS SINYAL WIFI.
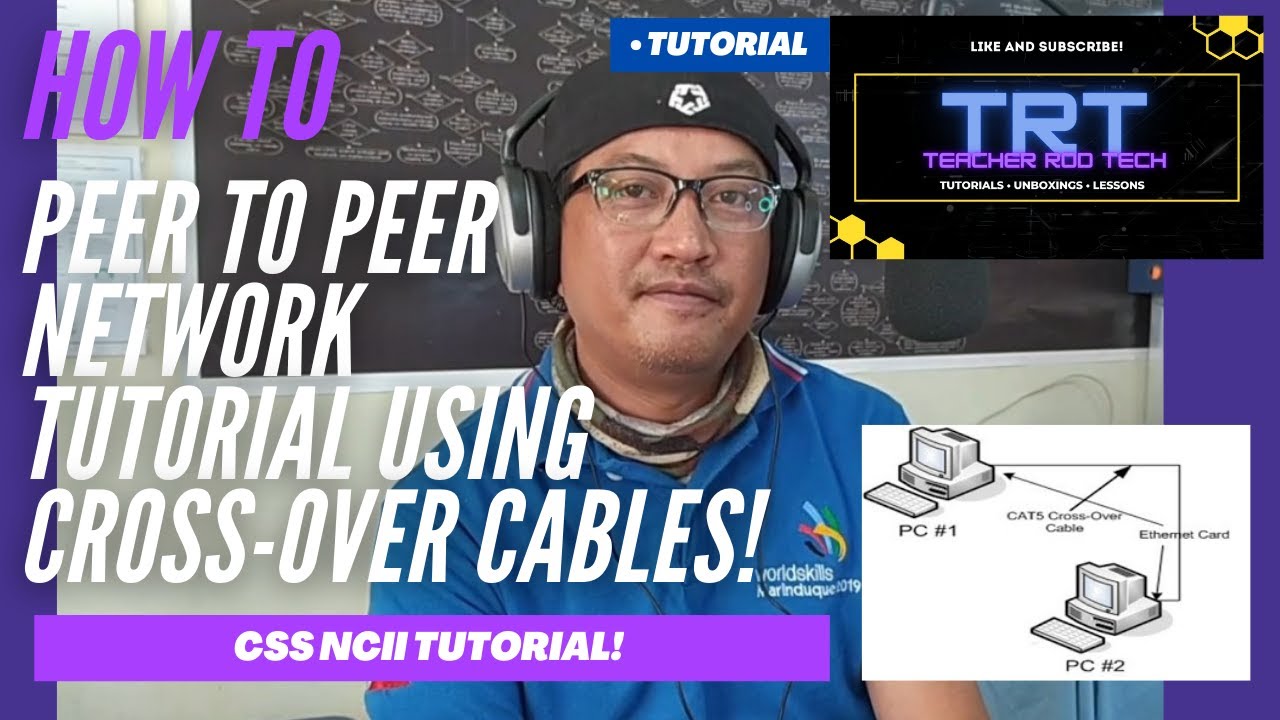
Peer To Peer Network Tutorial using Crossover Cables (Tagalog)

Cara membuat jaringan Peer to Peer sederhana || Jaringan Dasar #1

penjelasan Topologi peer to peer
5.0 / 5 (0 votes)
