Tutorial Sculpt untuk pemula
Summary
TLDRIn this tutorial, Dodi Priatmono introduces the basics of digital sculpting using Blender. He demonstrates the process of creating detailed characters, focusing on techniques like the subdivision surface modifier, sculpting with tools like the Grab and Masking, and using remeshing for finer details. Along with creating a cute carrot character, Dodi covers essential aspects such as topology, texturing, and even the basics of UV mapping. This step-by-step guide is designed for beginners, offering tips to speed up the process and improve the quality of your 3D models.
Takeaways
- 😀 The tutorial focuses on using digital sculpting in Blender to create 3D models, specifically for beginners and intermediate users.
- 😀 The technique of digital sculpting allows for more detailed and cute characters, and can be applied to any type of character design.
- 😀 The tutorial includes a comprehensive guide, covering the entire process from character design to retopology and texturing in Blender.
- 😀 The importance of using tools like the grab tool, brush size adjustments, and X-mirroring for better symmetry while sculpting is emphasized.
- 😀 The tutorial showcases the use of the subdivision surface modifier and explains how to apply and adjust modifiers in Blender.
- 😀 Masking and remeshing techniques are used to define the character's form and ensure better mesh quality, with step-by-step instructions on cleaning up topology.
- 😀 The process includes using different brushes like smooth, inflate, and grab, to shape the model's features, such as the carrot character.
- 😀 Tips for improving workflow include using the quick favorites menu and wireframe view for better control over mesh details.
- 😀 The sculpting process is demonstrated with simple tools, making it accessible for users who are using a regular mouse, though a pen tablet is recommended for better precision.
- 😀 After sculpting, the tutorial transitions into creating the eyes and other facial features, demonstrating basic techniques for detail creation such as using the inflate and smooth tools.
Q & A
What is the main focus of the tutorial presented in the video?
-The main focus of the tutorial is teaching how to use the sculpting technique or digital sculpting in Blender to create detailed and cute characters, with a specific example of creating a cute carrot character.
What is the difference between sculpting and traditional modeling techniques?
-Sculpting is a more freeform approach that mimics physical sculpting with a brush, allowing for organic and detailed shapes, while traditional modeling typically involves manipulating a mesh through more controlled geometric operations like extrusions and subdivisions.
What is the importance of the X mirror function in Blender sculpting?
-The X mirror function allows for symmetrical sculpting, ensuring that any changes made to one side of the model are automatically mirrored to the other side along the X-axis, which speeds up the sculpting process for characters and objects.
Why is it recommended to use a pen tablet instead of a regular mouse for sculpting?
-A pen tablet provides more precision and control over the sculpting process, especially when it comes to pressure sensitivity and finer adjustments, which makes it easier to achieve more detailed and natural-looking results.
What is the purpose of the remesh function in Blender's sculpt mode?
-The remesh function is used to increase the number of segments or resolution of the mesh, allowing for finer details and smoother sculpting. It is often applied when a part of the model lacks enough geometry to support detailed sculpting.
What does the masking tool do in Blender's sculpting process?
-The masking tool allows the user to protect certain areas of the mesh while sculpting. Areas that are masked will not be affected by sculpting operations, helping to isolate and refine specific parts of the model.
What is the purpose of the 'smooth' tool in Blender's sculpt mode?
-The 'smooth' tool helps to even out uneven or harsh surfaces in the sculpt, making the geometry smoother and more natural. This is especially useful for blending areas that have sharp transitions or unwanted roughness.
How does the 'inflate' tool work in Blender sculpting?
-The 'inflate' tool is used to push the surface of the model outward, effectively increasing its volume. This can be useful for creating bulging or rounded areas, such as adding volume to a character's limbs or body.
What are the benefits of using a color palette in Blender for texturing?
-The color palette allows for easy reuse of colors during the sculpting and texturing process. By saving frequently used colors, you can maintain color consistency and reduce the time spent picking colors manually for different parts of the model.
What is the final step in the tutorial for creating the cute carrot character?
-The final step involves adding color to the model, using the sculpting tools to apply an orange color for the body and a green color for the top, followed by using a smoothing technique to merge the colors seamlessly. Afterward, the character is ready for rendering.
Outlines

هذا القسم متوفر فقط للمشتركين. يرجى الترقية للوصول إلى هذه الميزة.
قم بالترقية الآنMindmap

هذا القسم متوفر فقط للمشتركين. يرجى الترقية للوصول إلى هذه الميزة.
قم بالترقية الآنKeywords

هذا القسم متوفر فقط للمشتركين. يرجى الترقية للوصول إلى هذه الميزة.
قم بالترقية الآنHighlights

هذا القسم متوفر فقط للمشتركين. يرجى الترقية للوصول إلى هذه الميزة.
قم بالترقية الآنTranscripts

هذا القسم متوفر فقط للمشتركين. يرجى الترقية للوصول إلى هذه الميزة.
قم بالترقية الآنتصفح المزيد من مقاطع الفيديو ذات الصلة
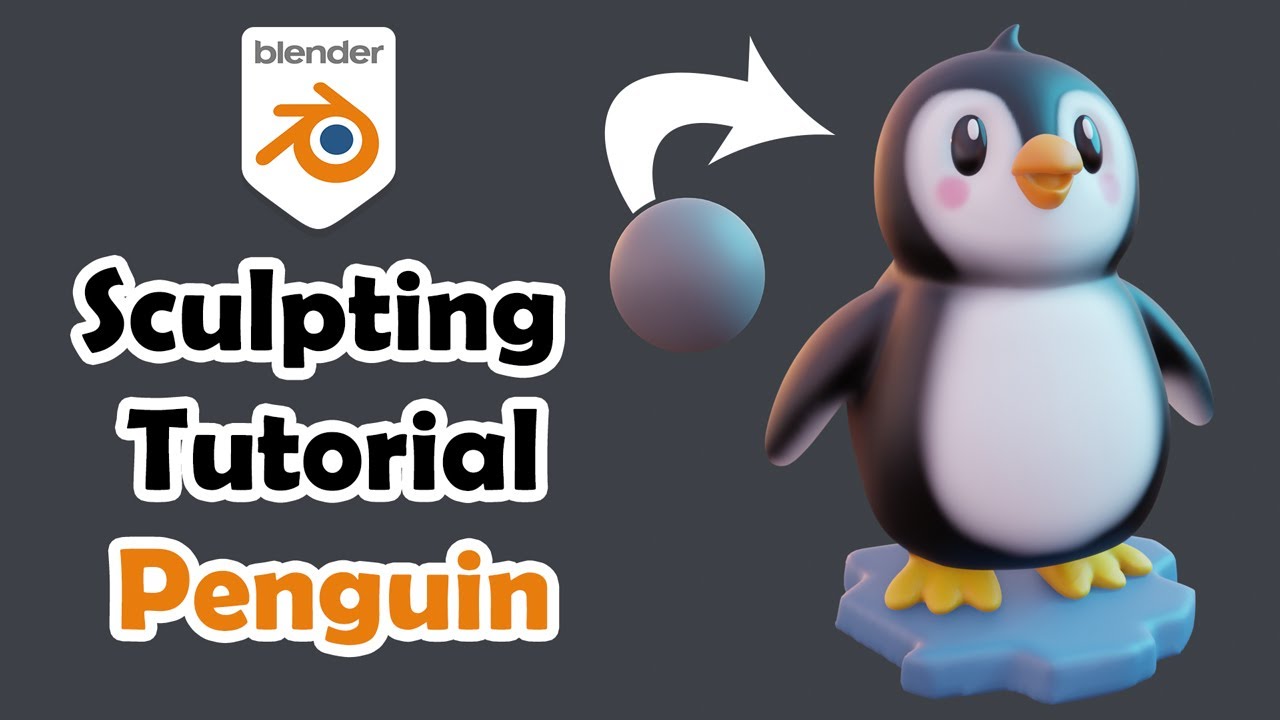
Blender Sculpting Tutorial Penguin

Tutorial animasi 3D blender 2.8 bahasa indonesia Pt 4 - Sculpting dan Material

How to make a Character in Blender - My Full Process in 10 Minutes
Blender BEGINNER tutorial! - Roblox Development
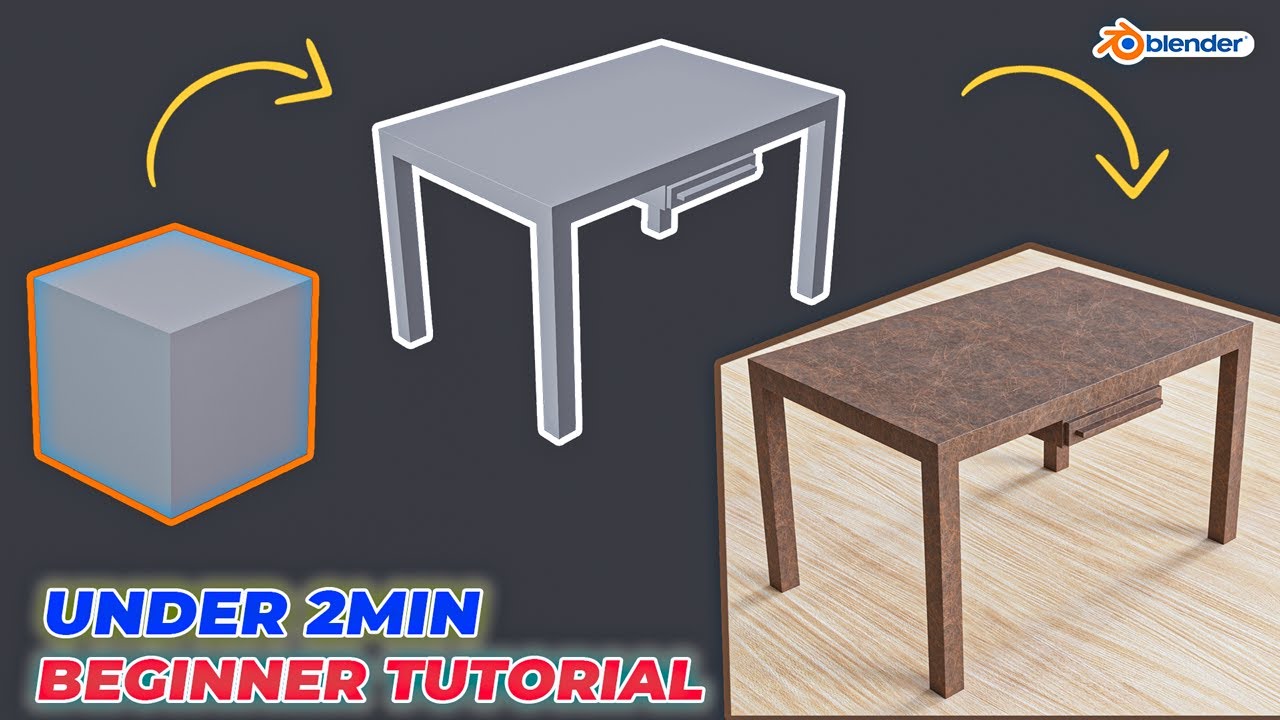
Modeling Table Under 2Min || Blender Beginners Tutorial
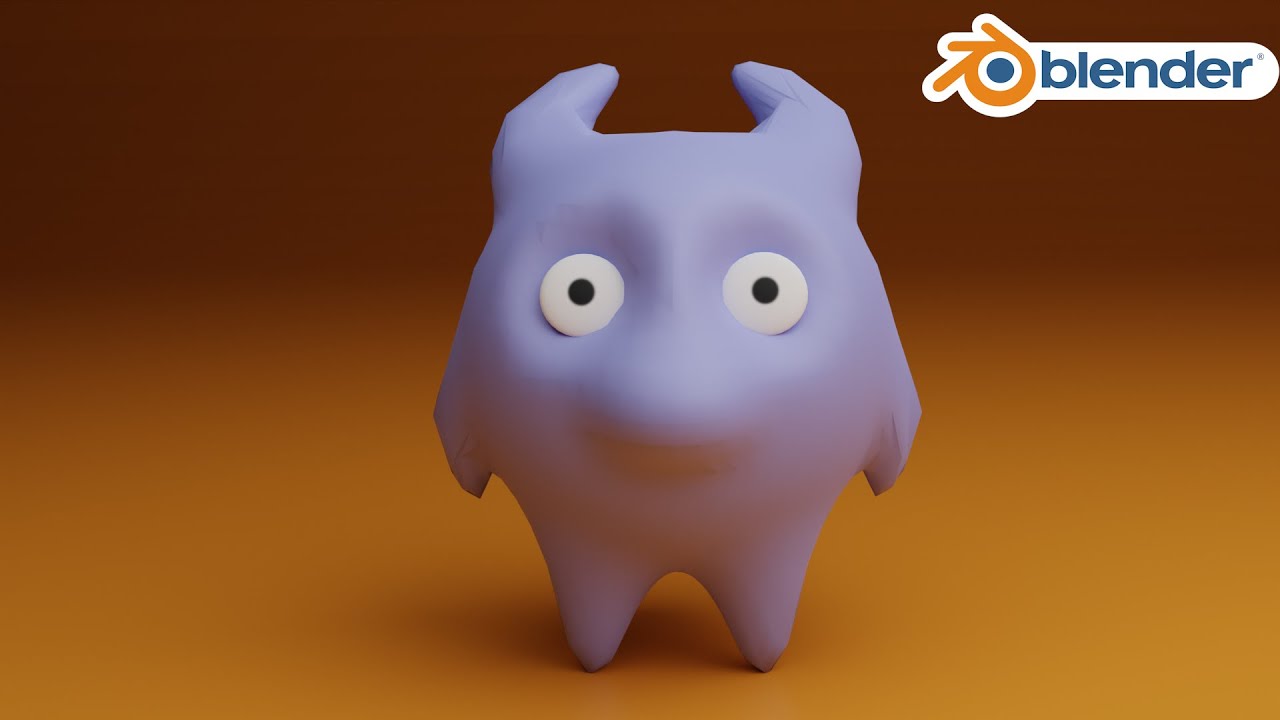
Teknik Sculpting Dasar - Modelling Monster Kecil
5.0 / 5 (0 votes)
