Pre-Module 1: 2D Essential Drawing (Autodesk Inventor 2024)
Summary
TLDRThis tutorial provides an introduction to basic 2D sketching in Autodesk Inventor 2024. It covers a variety of essential tools and techniques such as creating lines, splines, circles, rectangles, and arcs. The video explains functions like dimensioning, trimming, offsetting, scaling, and mirroring, while also introducing constraints like coincident, concentric, and tangency. The tutorial is designed to help students communicate engineering designs effectively and build a solid foundation for creating precise 2D sketches and drawings in Inventor. By the end, viewers will be equipped with the knowledge to navigate the software's key sketching features.
Takeaways
- 😀 Autodesk Inventor is a 3D mechanical solid modeling software used for creating digital prototypes, part assemblies, engineering drawings, and product design.
- 😀 Engineering drawing is a critical communication tool in engineering, and it is essential for students to learn how to use it effectively.
- 😀 The sketching process involves various tools like line, spline, and circle, each offering different functionalities to create precise shapes and designs.
- 😀 The 'edit sketch' function allows users to modify and adjust their sketches after they’ve been created, ensuring precision.
- 😀 Autodesk Inventor offers a variety of geometric tools, such as ellipses, arcs, and rectangles, to help create more complex shapes.
- 😀 The scale tool allows users to adjust the size of their sketches while maintaining proportionality.
- 😀 The offset tool lets users duplicate sketch geometry and dynamically offset it from the original geometry for pattern creation.
- 😀 The mirror tool enables creating a mirror image of a sketch across an axis, helping users save time in design replication.
- 😀 Constraints like coincident, concentric, and tangency are used to define relationships between sketch entities, ensuring alignment and consistency.
- 😀 Users should always save their file after completing the sketch and making necessary adjustments, ensuring that the work is preserved.
Q & A
What is the main objective of learning two-dimensional sketches in Autodesk Inventor?
-The main objective is for students to use engineering drawing as a standard communication medium in engineering, ensuring they can accurately represent designs and concepts through sketches.
What is Autodesk Inventor primarily used for?
-Autodesk Inventor is a 3D mechanical solid modeling design software used to create 3D digital prototypes, which include part modeling, assembly, engineering drawings, and digital product design.
What are the different tools available in the Sketch tab for creating geometry?
-In the Sketch tab, tools like the Line tool, Spline tool, Circle tool, and Rectangle tool are available. These tools help in drawing basic shapes, which can then be modified using other editing tools.
How can you create a more complex curve using the Spline tool?
-To create a complex curve with the Spline tool, you can choose between two types: Spline Control Vertex, which uses helper points, and Spline Interpolation, which uses specific points to define the curve.
What are the two types of circles that can be drawn in Autodesk Inventor?
-The two types of circles are the **Center Point Circle**, which is defined by a center point and radius, and the **Tangential Circle**, which is defined by tangents to other sketch entities.
What is the purpose of the Fill tool in Autodesk Inventor?
-The Fill tool is used to round the corners at the intersection of sketch entities, providing a smooth, curved transition between lines or curves.
How can you move a sketch entity in Autodesk Inventor?
-To move a sketch entity, select the entities you wish to move, define a base point, and then choose the new location to move the selected geometry.
What does the Trim tool do in Autodesk Inventor?
-The Trim tool is used to remove portions of a curve or geometry up to the nearest intersecting geometry, allowing for cleaner sketches.
How does the Offset tool work in Autodesk Inventor?
-The Offset tool duplicates selected sketch geometry and places it at a specified distance from the original, creating parallel or concentric shapes.
What are the two types of rectangles that can be created in Autodesk Inventor?
-The two types of rectangles are the **Two-Point Rectangle**, which is defined by two opposite corners, and the **Three-Point Rectangle**, which is defined by a length, direction, and a corner point.
What does the **Scale** tool do in Autodesk Inventor?
-The Scale tool is used to adjust the size of selected sketch geometry, either increasing or decreasing it, while specifying a base point for reference.
Outlines

هذا القسم متوفر فقط للمشتركين. يرجى الترقية للوصول إلى هذه الميزة.
قم بالترقية الآنMindmap

هذا القسم متوفر فقط للمشتركين. يرجى الترقية للوصول إلى هذه الميزة.
قم بالترقية الآنKeywords

هذا القسم متوفر فقط للمشتركين. يرجى الترقية للوصول إلى هذه الميزة.
قم بالترقية الآنHighlights

هذا القسم متوفر فقط للمشتركين. يرجى الترقية للوصول إلى هذه الميزة.
قم بالترقية الآنTranscripts

هذا القسم متوفر فقط للمشتركين. يرجى الترقية للوصول إلى هذه الميزة.
قم بالترقية الآنتصفح المزيد من مقاطع الفيديو ذات الصلة
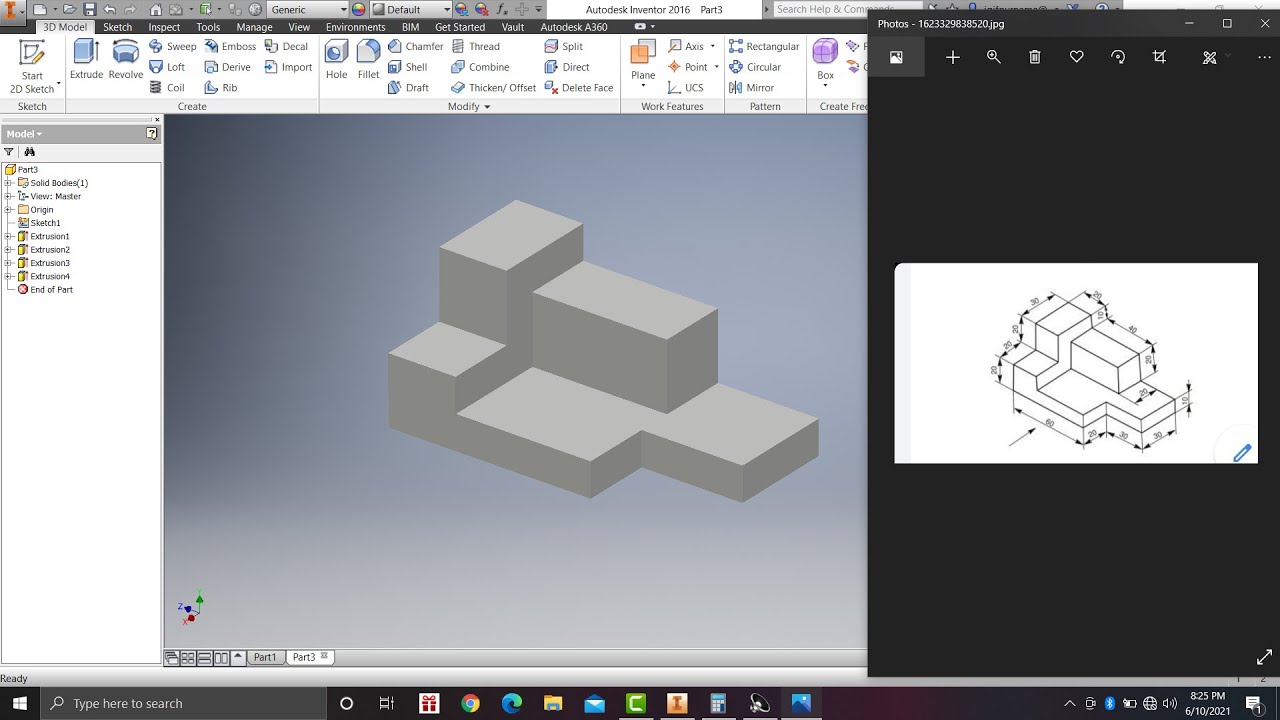
Learn autodesk inventor 3dimensional # 13 mechanical engineering
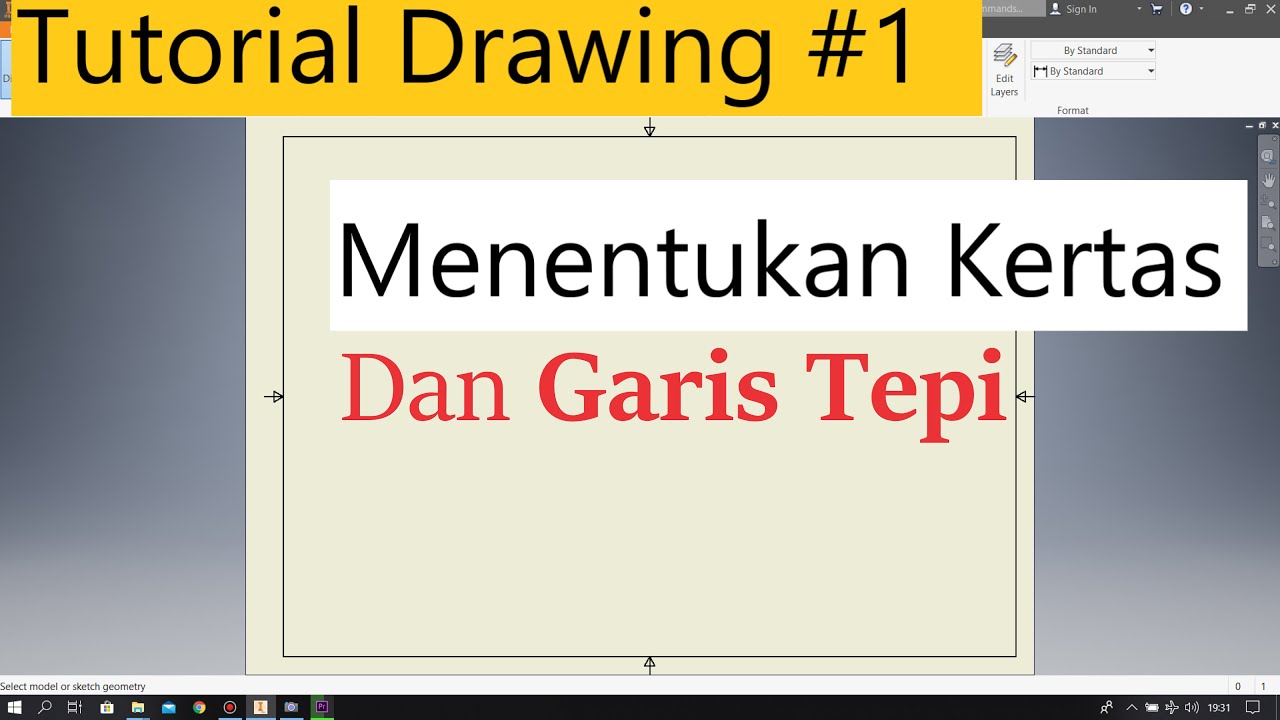
Tutorial Drawing #1 Mengubah Ukuran Kertas dan Garis Tepi Di Autodesk Inventor Indonesia
PEN in | Autodesk Inventor CAD

Module 3.1 - Essential Drawing (Autodesk Inventor 2024)

Toolbar and "File" Tab - Home Screen (Part 1) | Autodesk Inventor 2021 IN DEPTH
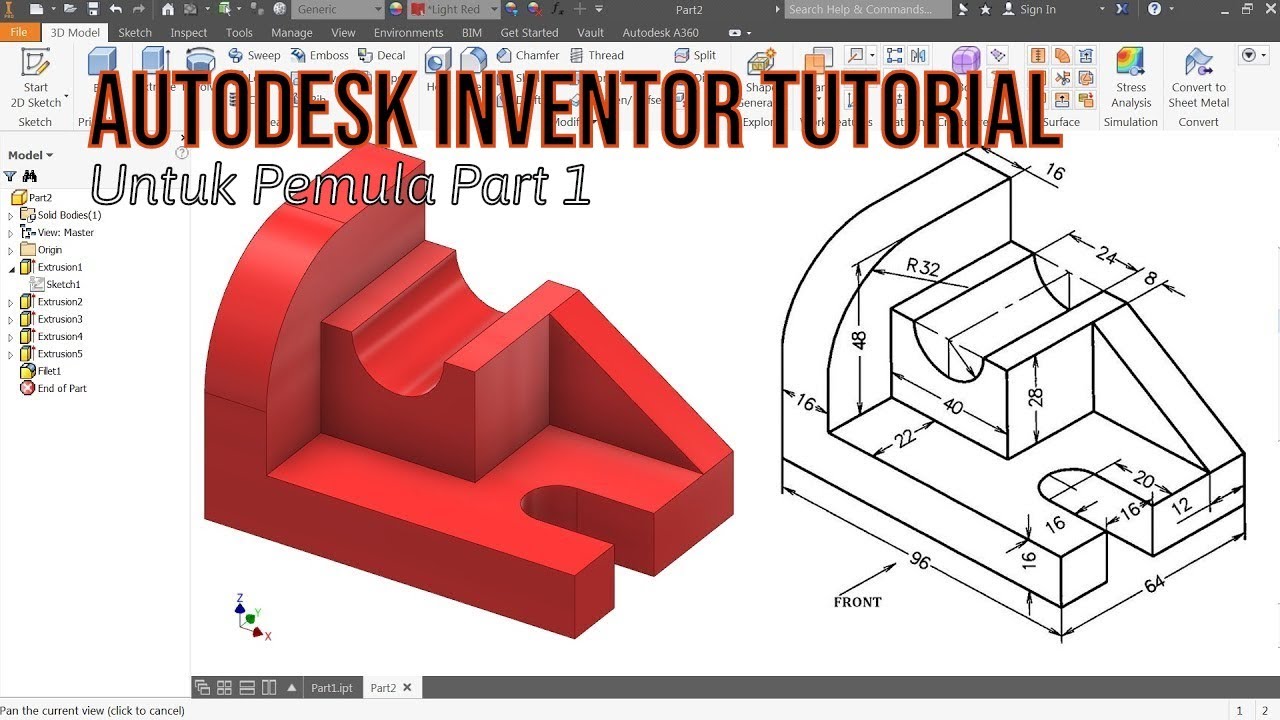
TUTORIAL AUTODESK INVENTOR UNTUK PEMULA PART 1
5.0 / 5 (0 votes)
