TUTORIAL BIM REVIT STRUKTUR SMK PART 22 | DPIB SMKN 1 JAKARTA - PLACING KOLOM DAN BALOK
Summary
TLDRThis video tutorial provides a step-by-step guide for modeling structural columns and beams in a construction project. It covers the process of placing and adjusting main and practical columns with specific dimensions, ensuring proper alignment with the foundation. The video also demonstrates how to model beams to connect walls and structure floors. Key steps include selecting, duplicating, and adjusting elements in the 3D view to verify accuracy. Additionally, the tutorial touches on saving files and making necessary adjustments to ensure all elements are correctly positioned. The process ends with a preview of the completed column and beam structure, setting the stage for further modeling of other building components.
Takeaways
- 😀 The first step involves modeling the main column with dimensions 30x30 cm and placing it at the correct position above the foundation.
- 😀 After placing the main column, it’s duplicated and renamed as 'Main Column' and aligned at the correct level in the 3D view.
- 😀 The column placement is verified at level 2 to ensure the correct height and alignment with the floor plan.
- 😀 To make the process more manageable, the floor plan tab is closed, and focus is shifted to the structural file.
- 😀 After placing the main columns, the practical columns, used for connecting walls, are modeled and placed at the foundation.
- 😀 Practical columns are duplicated from the existing ones, resized to 20x20 cm, and placed at required points.
- 😀 The model is periodically saved to avoid losing any progress during the process.
- 😀 After placing practical columns, their alignment is checked in the 3D view to ensure they are positioned correctly.
- 😀 Any mistakes in placement, such as incorrect grid alignment, are corrected by selecting and moving components to the right positions.
- 😀 Balok (beam) modeling follows, with specific dimensions (150x250 mm) applied to the beams placed at level 2.
- 😀 The video ends with an overview of placing beams, practical columns, and preparations for modeling the next floor structures like slabs and beams.
Q & A
What is the first step in modeling the main column (Kolom Utama)?
-The first step is to go to Level 1, select the 'Struktur' option, then click on 'Kolom' to begin modeling the main column. After that, you duplicate the column and rename it as 'Kolom Utama' with dimensions of 30x30 cm.
How do you verify that the main column is placed correctly in the model?
-You check the 3D view to ensure that the main column is placed at the correct location above the foundation, aligning properly with the grid lines and ensuring it is positioned at Level 2 for the correct top offset.
What should you do after duplicating the main column to create the practical column (Kolom Praktis)?
-After duplicating the main column, you change its dimensions to 20x20 cm for the practical column. This column is then placed in the appropriate locations above the foundation, ensuring it is correctly aligned.
Why do you close the floor plan view during the modeling process?
-The floor plan view is closed to help focus on the structural elements without being distracted by unnecessary details, making it easier to work on the structural model itself.
What action should you take if the practical column is incorrectly placed in the model?
-If the practical column is incorrectly placed, you can move it to the correct position by selecting it and using the move tool to adjust its alignment.
How do you model the beams (Balok) in the structure?
-To model the beams, you select the 'Beam' option under 'Struktur,' choose the 'Concrete Rectangular Beam,' and then duplicate it. Afterward, you change the dimensions to 15x25 cm and place the beams on Level 2, starting from the upper corners.
What is the purpose of the practical columns in the structure?
-Practical columns are used to bind the walls together and provide support between them, but they are not intended to carry the main load of the structure.
How do you ensure the beams are correctly placed in the structure?
-You should check the 3D view to verify the correct placement of the beams. Additionally, you can adjust their positioning by modifying the parameters in the 'Beam' type settings and moving them as needed.
What should you do after completing the column and beam placement?
-After completing the column and beam placement, you should regularly save your work, verify that the columns and beams are correctly aligned with the grid, and make any necessary adjustments to ensure accuracy.
What is the next structural element to be modeled after the columns and beams?
-After the columns and beams are modeled, the next step is to model the floor slab (Plat) and additional columns and beams for the next level of the building.
Outlines

هذا القسم متوفر فقط للمشتركين. يرجى الترقية للوصول إلى هذه الميزة.
قم بالترقية الآنMindmap

هذا القسم متوفر فقط للمشتركين. يرجى الترقية للوصول إلى هذه الميزة.
قم بالترقية الآنKeywords

هذا القسم متوفر فقط للمشتركين. يرجى الترقية للوصول إلى هذه الميزة.
قم بالترقية الآنHighlights

هذا القسم متوفر فقط للمشتركين. يرجى الترقية للوصول إلى هذه الميزة.
قم بالترقية الآنTranscripts

هذا القسم متوفر فقط للمشتركين. يرجى الترقية للوصول إلى هذه الميزة.
قم بالترقية الآنتصفح المزيد من مقاطع الفيديو ذات الصلة

TAHAPAN BANGUN RUMAH 2 LANTAI: ANIMASI VIDEO JOEN - Part (1/2)

Installing a Joist Hanger
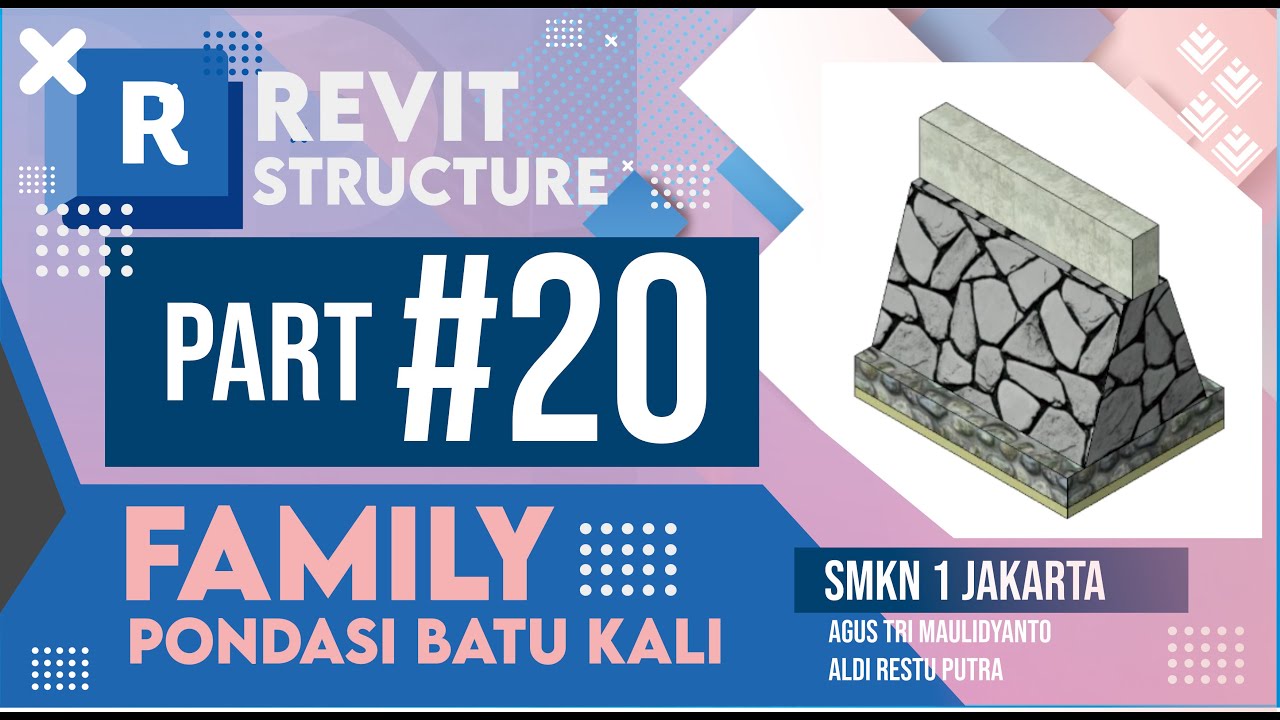
TUTORIAL BIM REVIT STRUKTUR SMK PART 20 | DPIB SMKN 1 JAKARTA - PONDASI BATU KALI

Structural Theory 1 Chapter 1 Part II (with Subtitles)

CARA MENCARI UKURAN BALOK BETON || ukuran balok rumah 2 lantai

Penjadwalan Proyek Gedung Menggunakan Ms.Project
5.0 / 5 (0 votes)
