TUTORIAL PHOTOSHOP #12 || Penggunaan Opacity & Fill, Lock,Filter Layer & Blanding Mode Di Photoshop
Summary
TLDRIn this tutorial from the Raden desain YouTube channel, viewers learn about layers in Adobe Photoshop. The instructor covers topics such as filter layers, opacity, fill, blending modes, and layer locking options. They explain the difference between opacity and fill, demonstrate how to use blending modes for effects, and show how to lock layers to prevent accidental edits. The tutorial is designed to help users efficiently navigate and edit multiple layers in Photoshop.
Takeaways
- 😀 Welcome to the Raden Design YouTube channel for quick, easy, and fun design learning!
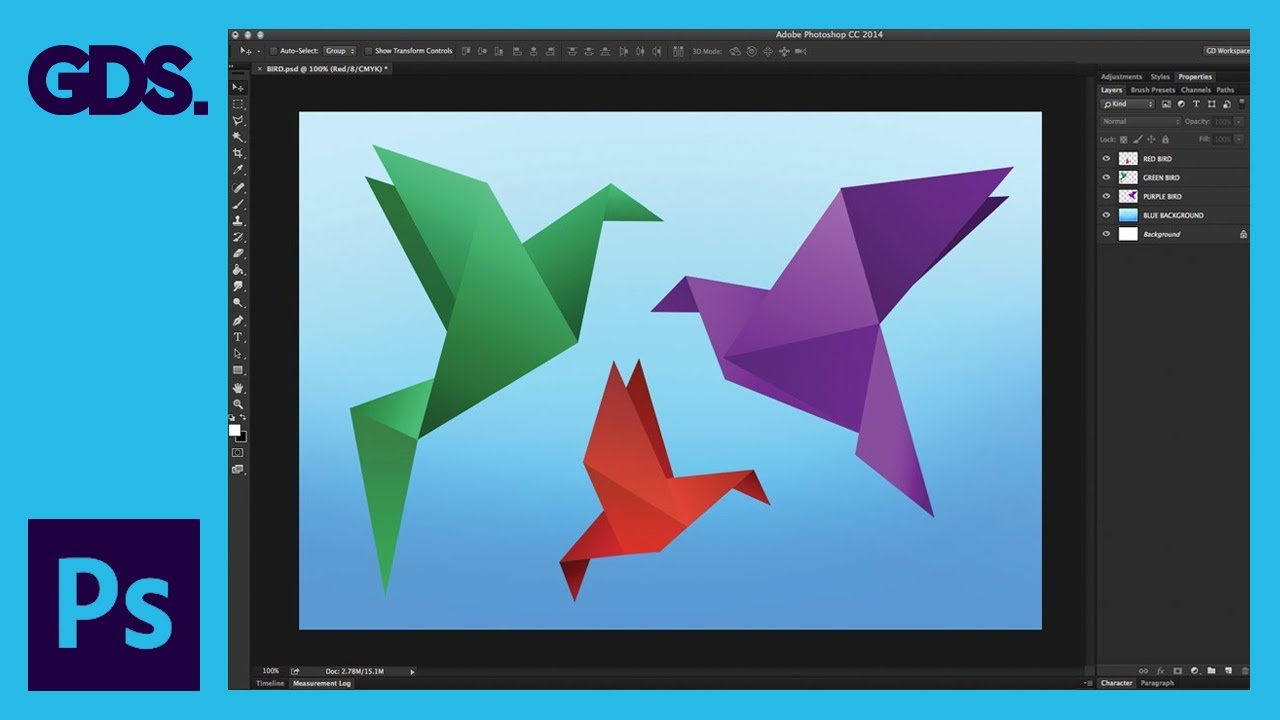
- 🎨 This tutorial is part 12 of Adobe Photoshop lessons, focusing on layers.
- 😕 The creator is unsure whether to cover layers fully or in parts, asking for viewer input.
- 🔄 Layers in Photoshop are extensive; the video covers various types, including pixel, adjustment, text, and smart object layers.
- 🔍 Layer filtering helps when working with many layers by showing only specific types, such as text or adjustment layers.
- ⚖️ Opacity controls the transparency of the entire object, while Fill only affects the inside content, leaving strokes intact.
- ✨ Blending modes create interaction effects between different layers, altering how they visually combine.
- 🔒 The lock function is used to prevent layers from being edited or moved, maintaining certain properties like transparency.
- 🔗 Layers can be linked together, making them move in sync when repositioning elements.
- 💡 Encouragement to keep learning, as mastery comes with practice and consistency.
Q & A
What is the main topic of this YouTube tutorial?
-The main topic of this YouTube tutorial is learning about layers in Adobe Photoshop, specifically focusing on the functionalities and differences between opacity and fill.
What does the instructor suggest doing with the vast array of layers in Photoshop?
-The instructor suggests that instead of explaining each layer from A to Z, which would be lengthy, it's better to demonstrate the use of layers directly in the software.
What is the purpose of the 'filter layer' mentioned in the script?
-The 'filter layer' is used to apply effects to the layers below it. It allows users to choose what types of layers (pixel, adjustment, text, shape, Smart object) will be affected by the filter.
How does the instructor explain the difference between 'opacity' and 'fill'?
-The instructor explains that 'opacity' affects the transparency of the entire object, including its stroke or outline, whereas 'fill' only affects the fill color of the object, leaving the stroke or outline unchanged.
What is the role of 'blending mode' in the tutorial?
-The 'blending mode' is used to determine how two layers interact with each other. It can create various effects on the layer below it, such as making it lighter or darker.
Can you give an example of how the instructor uses 'blending mode'?
-The instructor uses a yellow box over a sky image and changes the blending mode to 'Overlay' to demonstrate how it affects the appearance of the sky.
What does the 'lock layer' feature do according to the script?
-The 'lock layer' feature prevents certain layers from being edited or affected by changes. It can lock transparency, pixels, or position, ensuring that specific layers remain unchanged while others are edited.
How does the instructor demonstrate the use of 'lock transparent pixels'?
-The instructor creates a new layer and attempts to apply color to it while it is locked. The color does not apply, showing that the layer is protected from changes until it is unlocked.
What is the benefit of using 'link layers' as described in the tutorial?
-Using 'link layers' allows you to move multiple layers together as a single unit. This is useful for maintaining the relationship between objects, such as aligning text with an image.
How does the instructor recommend unlocking linked layers?
-The instructor recommends unlocking linked layers by clicking on the chain icon that represents the link between the layers.
What is the final message the instructor gives to the students at the end of the tutorial?
-The instructor encourages students to continue learning and practicing, emphasizing that with habituation, they can master the skills taught in the tutorial.
Outlines

هذا القسم متوفر فقط للمشتركين. يرجى الترقية للوصول إلى هذه الميزة.
قم بالترقية الآنMindmap

هذا القسم متوفر فقط للمشتركين. يرجى الترقية للوصول إلى هذه الميزة.
قم بالترقية الآنKeywords

هذا القسم متوفر فقط للمشتركين. يرجى الترقية للوصول إلى هذه الميزة.
قم بالترقية الآنHighlights

هذا القسم متوفر فقط للمشتركين. يرجى الترقية للوصول إلى هذه الميزة.
قم بالترقية الآنTranscripts

هذا القسم متوفر فقط للمشتركين. يرجى الترقية للوصول إلى هذه الميزة.
قم بالترقية الآنتصفح المزيد من مقاطع الفيديو ذات الصلة
How to Use Adobe Photoshop (Part 1) Graphic Design Tutorial for Beginners
Photoshop 2021 - Tutorial for Beginners in 13 MINUTES! [ COMPLETE ]

Tutorial Dasar Adobe Photoshop untuk Pemula | 15 MENIT LANGSUNG PAHAM | Adobe Photoshop #1
How To Create Pixelated Text Effect in Photoshop [Free File] - Photoshop Tutorials
Memahami Fungsi Layers di Photoshop
Interface Introduction to Adobe Photoshop Ep1/33 [Adobe Photoshop for Beginners]
5.0 / 5 (0 votes)
